
Distress oxide inks are so versatile, and I especially love layering them to come up with wonderful new designs. So, today I’m going to walk you through how to layer distress oxide inks, and just show you how easy it is to make a simple design with a stencil. You can do this with any stencil, so play around with this technique and have fun with it. Keep reading to learn how I made this card and what materials were used!
Watch the How to Layer Distress Oxide Inks Youtube video here.
Need a distress oxide ink birthday card? Find a great blending tutorial here.
Materials Used:
This blog may use affiliate links when they’re available. If you choose to make a purchase through one of these links, I may receive a small commission at no cost to you. I don’t make recommendations lightly, and will only link to products I know and trust.
- Sizzix BIGkick Machine [Scrapbook.com] [Amazon]
- EK Tools EK Scoring Board 12×12 [Amazon]
- Fiskars Recycled Bypass Trimmer, 12 Inch [Amazon]
- Misti Stamp Tool Original Size Stamp Positioner [Amazon]
- Trellis Stencil – Altenew [Scrapbook.com] [Altenew]
- Crafting Ink Blending Brush Set [Amazon]
- Carved Pumpkin – Ranger Ink Distress Oxides Ink Pad [Scrapbook.com] [Amazon]
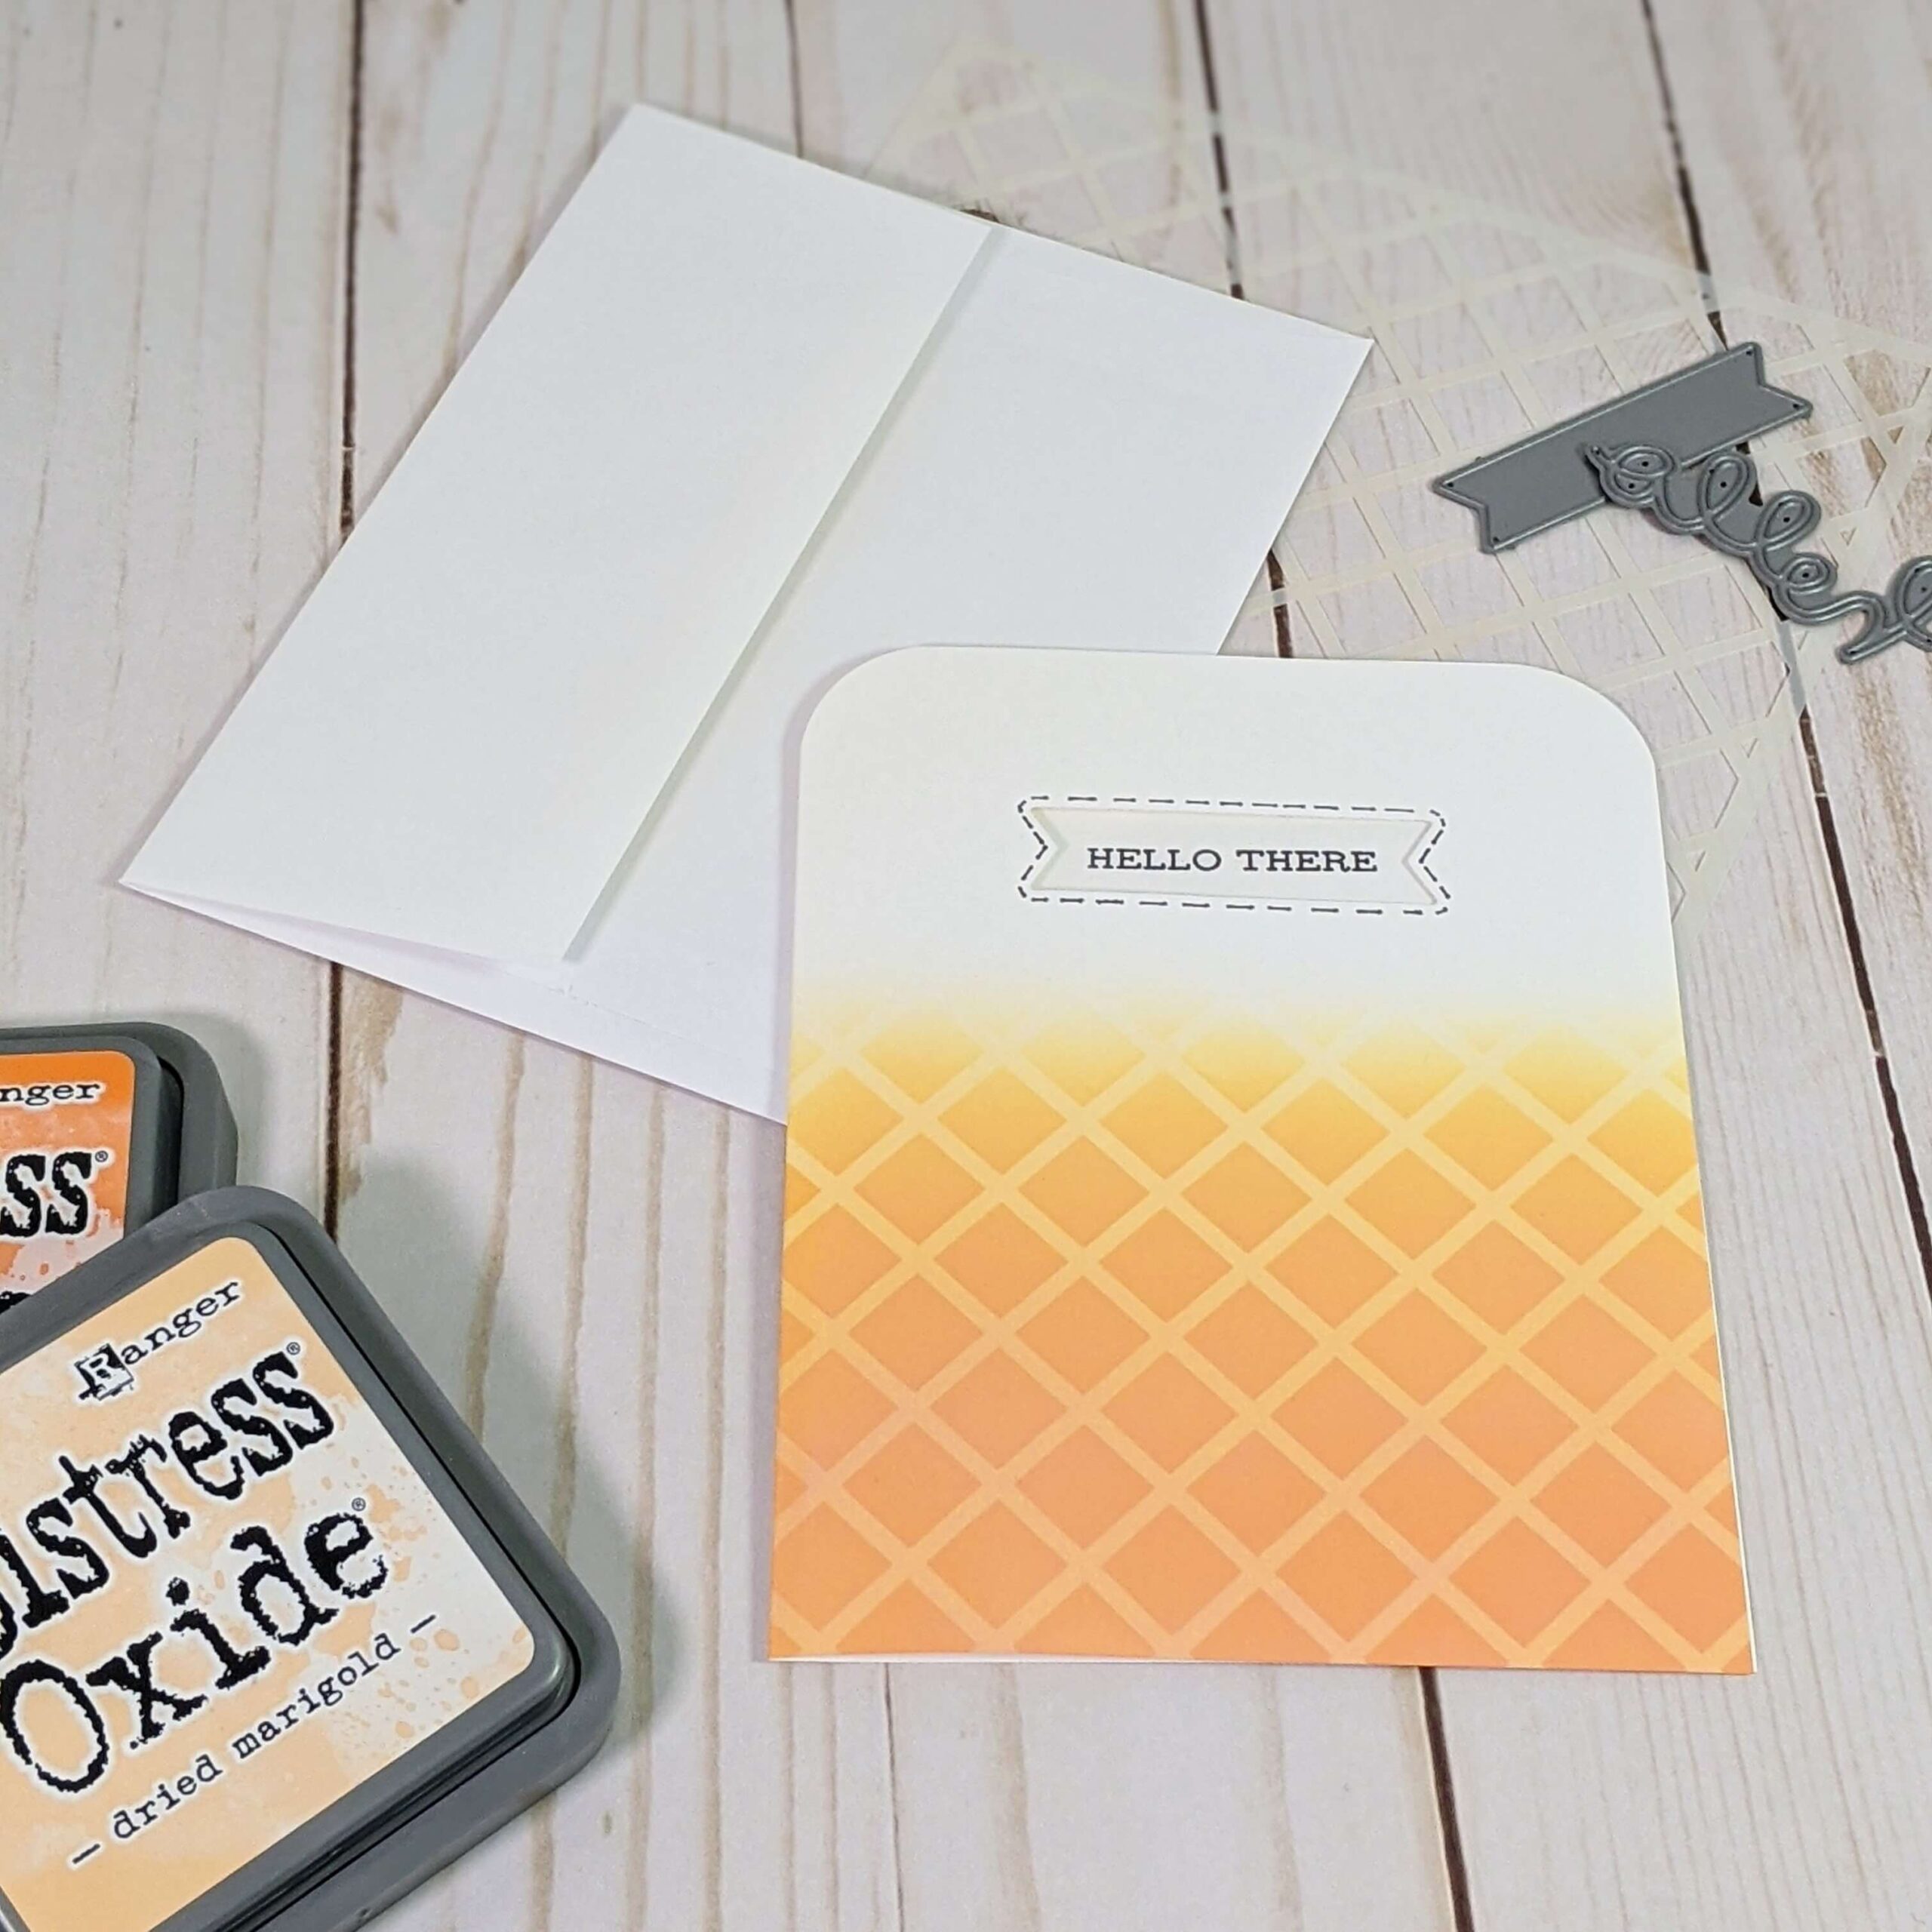
- Dried Marigold – Ranger Ink Distress Oxides Ink Pad [Scrapbook.com] [Amazon]
- Ranger Archival Ink Pad, Jet Black [Scrapbook.com] [Amazon]
- Sentiment Strips 2 Stamp Set – Altenew [Scrapbook.com] [Altenew]
- Magic Color Slider Die Set – Lawn Fawn [Scrapbook.com] [Amazon.com]
- Neenah Classic Crest Solar White 110lb Cardstock [Amazon]
- Grafix Acetate Pad, Clear [Amazon]
- Scor-Pal Scor-Tape – 1/8″X27 Yards [Amazon]
Looking for more ways to use layering distress oxide inks? Find it here!
How to Layer Distress Oxide Inks Tutorial:
Step 1. Create the card base and pick project colors.
There are two ways that you can plan your distress oxide layering project. You can apply the ink onto a card panel that you adhere to the base later, or you can apply the ink directly on the card base. I chose to apply my inks right on the card base because I wanted to diecut a window for the sentiment later. If you’re planning to ink right on the base, I suggest taping it down so that no ink gets on the inside.
Once you’ve prepped your card base pick your ink colors. You can choose two colors in the same family if you want it to look like a gentle fade. I chose to use Dried Marigold and Carved Pumpkin here.
Step 2. Apply the layered distress oxide ink.
Next, apply the lightest distress oxide ink color (Dried Marigold) to the base of the card and bring it to about two-thirds of the way up the base. Then lay down the Trellis Stencil from Altenew and adhere it to your card base using washi tape. Once the stencil is in place take the darker color (Carved Pumpkin) and start applying it over top of the stencil. Use less ink and just blend it in as you reach the top of the Dried Marigold color.

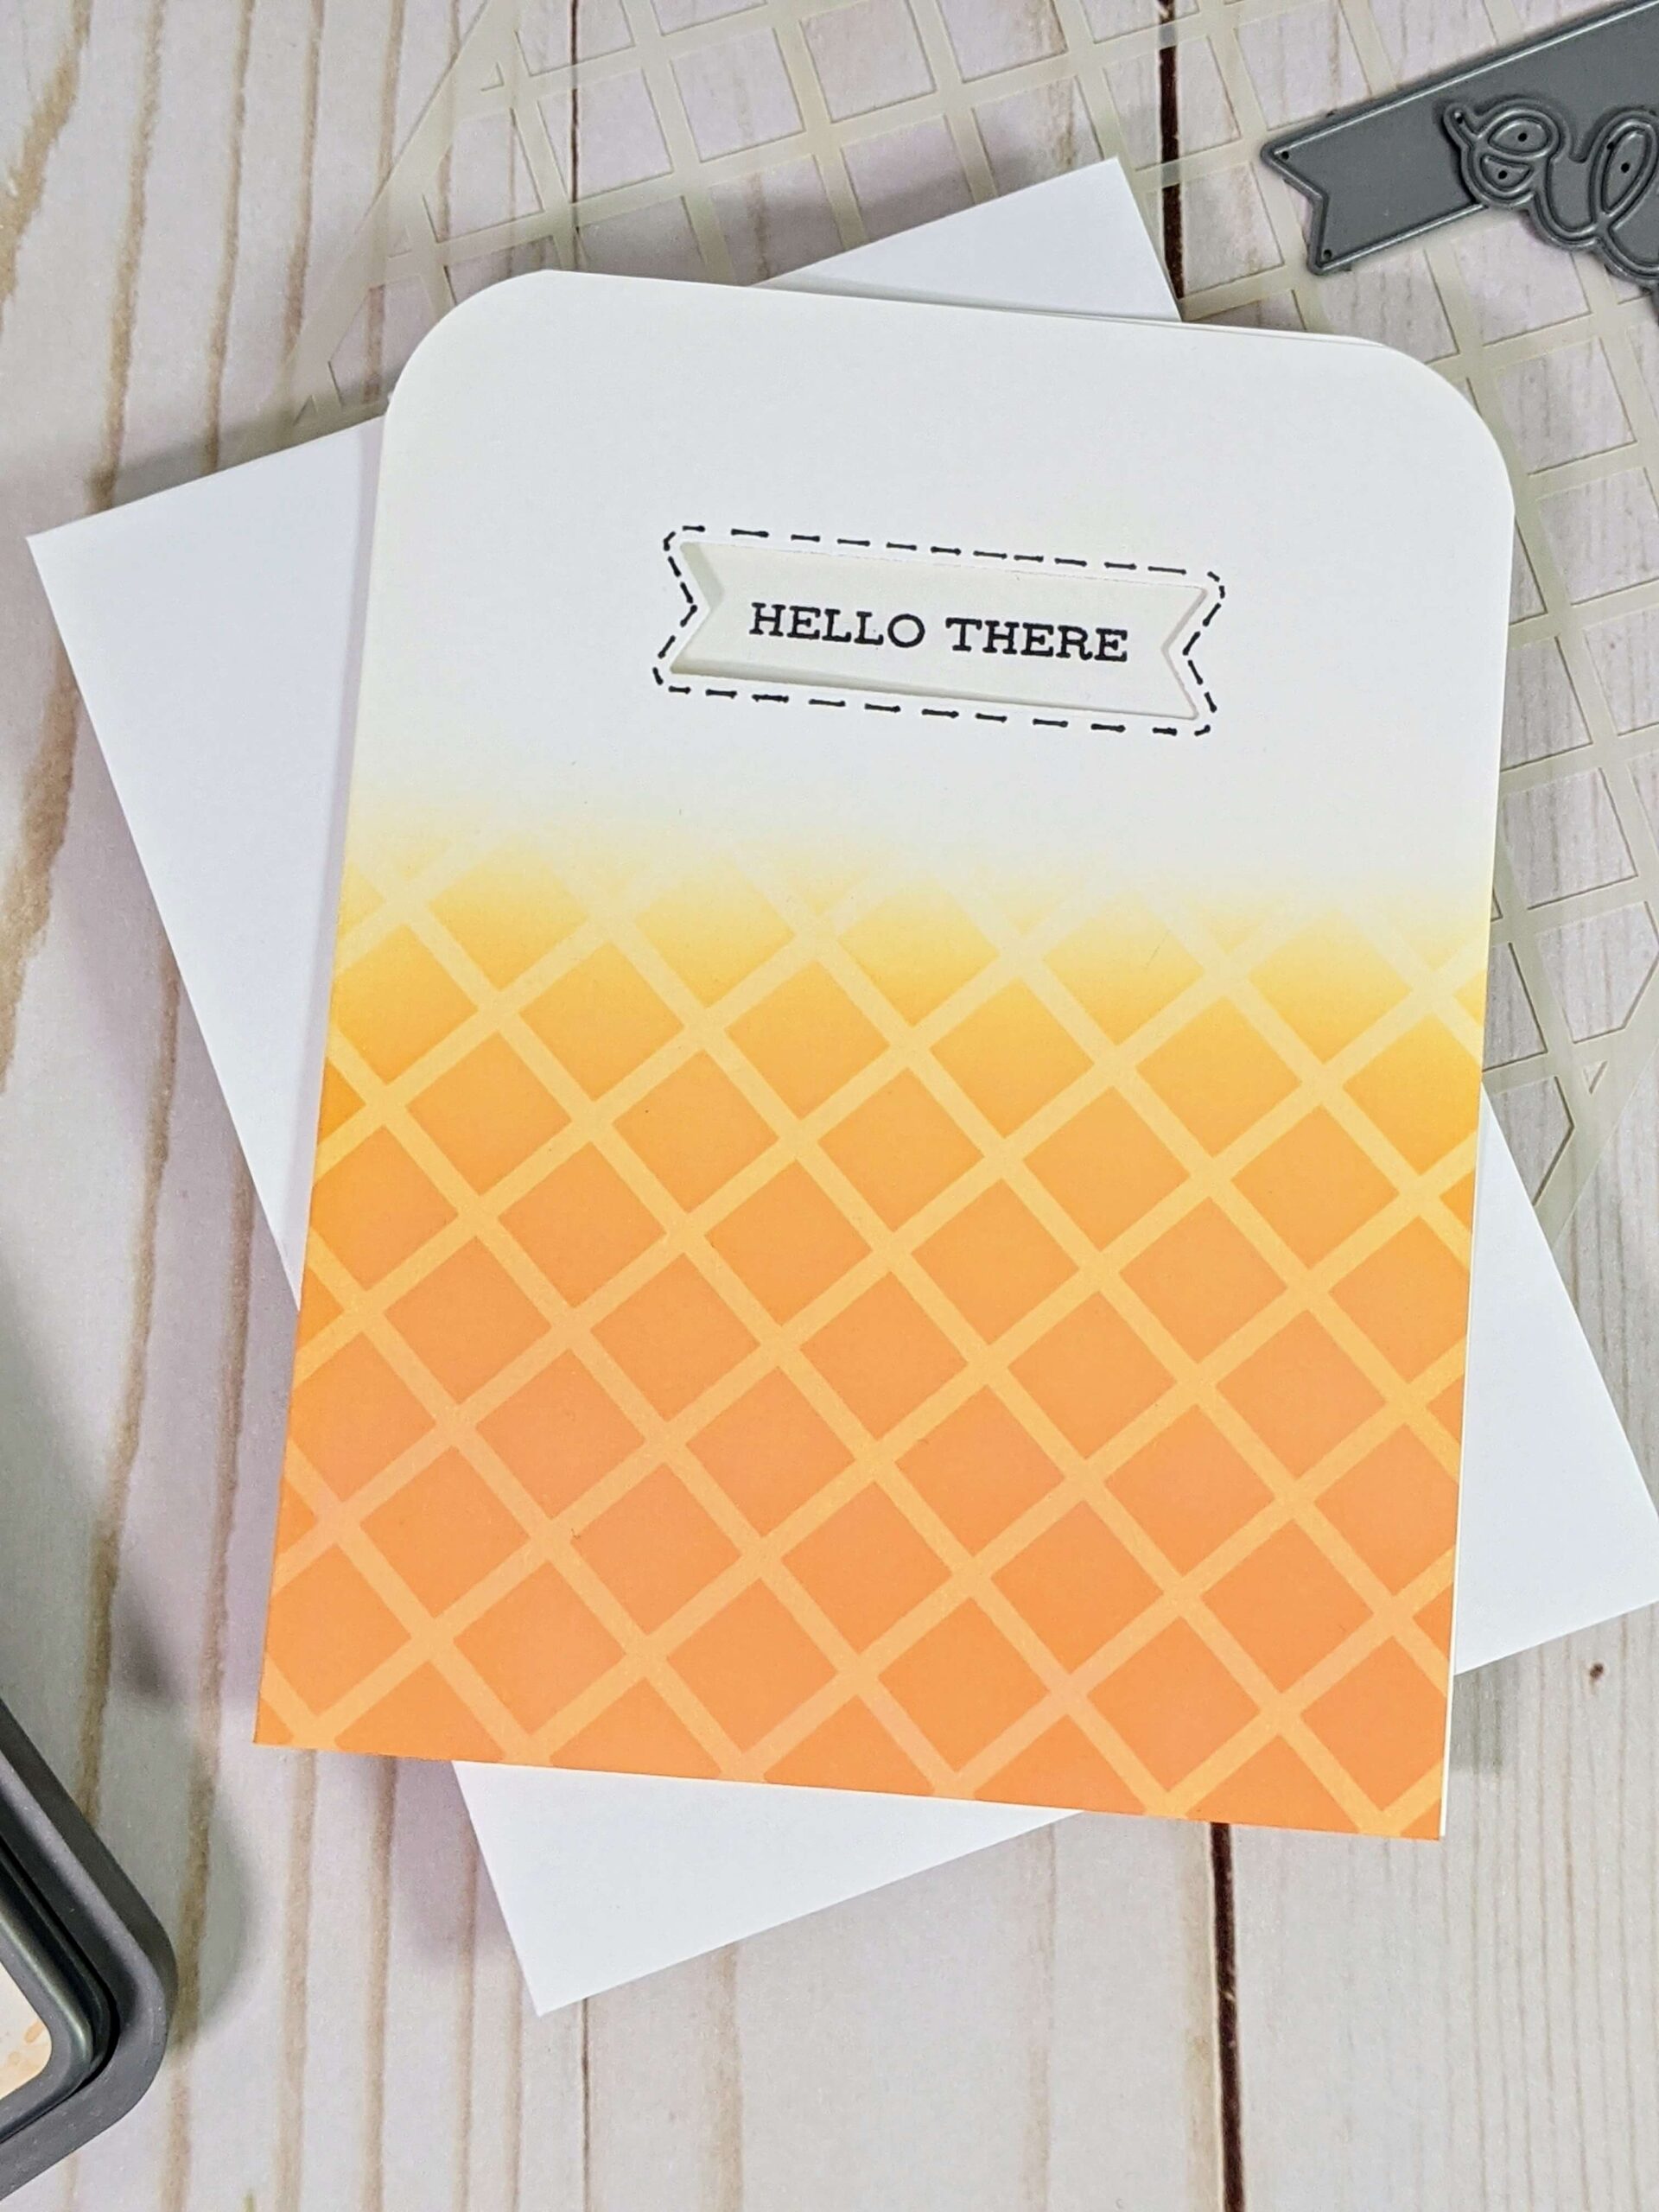
Step 3. Reveal pattern and create sentiment window.
Remove the stencil to reveal the design. Now if you’d like to create a window for your sentiment as I did here, you can use the Sizzix BIGkick die cutting machine, and the banner from the Magic Color Slider die set by Lawn Fawn to create a simple window at the top of the card. Simply use washi tape to keep the die in place as you run it through the machine.
Step 4. Add the sentiment and acetate.
Next center your sentiment stamp in the middle of the window and use Jet Black archival ink to stamp your sentiment down on the card. I used the Misti stamping tool to position the “hello there” stamp from the Altenew Sentiment Strips 2 stamp set, and ink it onto the card. But if you don’t have a Misti you could also use a stamp block.
Lastly, use some Scor-tape and a small rectangular piece of acetate to finish off the window and adhere the acetate to the inside front panel of the card to finish it off.
I hope you enjoyed this layered distress oxide ink tutorial. If you’re looking for more distress oxide ink tutorials, please check them out here! And don’t forget to follow me on Instagram, Facebook or Pinterest for the latest updates! You can also shop all the handmade cards that I’ve designed here.