
Have you ever bought a stencil, used it once then tucked it away? I used to think that every design I made had to be completely different. So I rarely repurposed materials like stencils and dies. If you’ve felt that way too, I’m going to challenge you to break out an old stencil and get creative with it. Today I’m showing you four ways to use one stencil. Please give it a try and leave a comment below with your experience!
Watch the Four Ways to Use One Stencil YouTube video here to get an in-depth look at this process.
Materials Used:
This blog may use affiliate links when they’re available. If you choose to make a purchase through one of these links, I may receive a small commission at no cost to you. I don’t make recommendations lightly, and will only link to products I know and trust.
- Fiskars Recycled Bypass Trimmer, 12 Inch [Amazon]
- Deco Wallpaper Stencil – Altenew [Scrapbook.com] [Altenew]
- Pixie Spray Repositionable Stencil Adhesive – iCraft [Scrapbook.com] [Amazon]
- Masking Magic – Gina K Designs [Scrapbook.com] [Amazon]
- Magic Color Slider Die Set – Lawn Fawn [Scrapbook.com] [Amazon.com]
- Crafting Ink Blending Brush Set [Amazon]
- Victorian Velvet – Ranger Ink Distress Oxides Ink Pad [Scrapbook.com] [Amazon]
- Dried Marigold – Ranger Ink Distress Oxides Ink Pad [Scrapbook.com] [Amazon]
- Scattered Straw – Ranger Ink Distress Oxides Ink Pad [Scrapbook.com] [Amazon]
- Neenah Classic Crest Solar White 80lb Cardstock [Scrapbook.com] [Amazon]
- True White Glass Crat Mat – Glassboard Studio [GBS]
- Pawn-Shaped Magnets – Glassboard Studio [GBS]
Prepping your Stencil
To start these four designs, I cut four panels of Neenah Classic Crest solar white 80lb cardstock. Then, I sprayed a light coat of Pixie Spray (a light tack repositionable adhesive for stencils) onto the stencil to help keep it in place as I was working. I also used some magnets to hold my paper and stencil down on my craft mat.
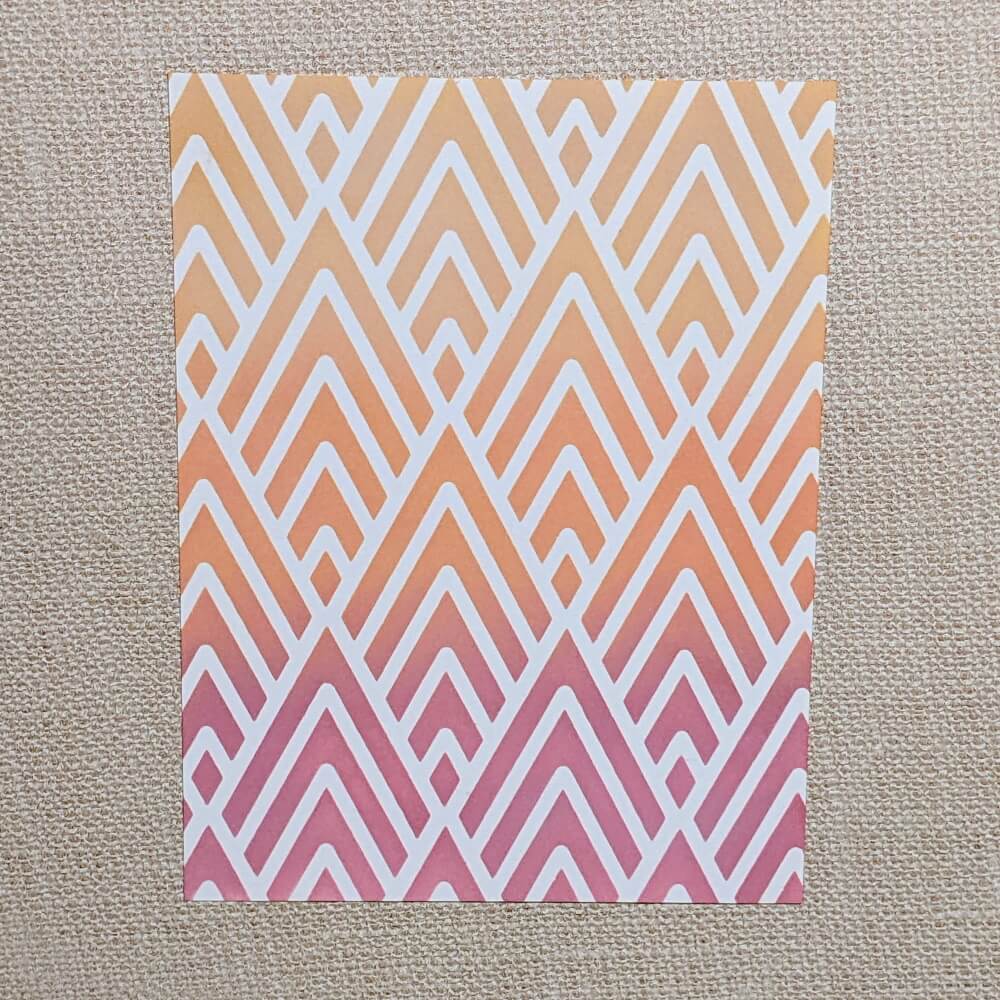
1. Full Background Stencil Technique
This full background design was made using three different Distress Oxide Ink colors; Victorian Velvet, Dried Marigold, and Scattered Straw. I started with Scattered Straw at the bottom and worked my way up the paper. Once a third of the paper was covered, I began adding the Dried Marigold distress oxide ink. Then, I used the leftover ink on my blending brushes to lightly work the two colors together to create a nice smooth transition.
When two-thirds of the paper was covered, I began adding the Victorian Velvet ink to the page. This time I started from the top and worked my way down. The Victorian Velvet is considerably darker than the other two colors so starting at the top allows it to blend a little easier. As I pulled off the stencil at the end, it revealed a beautiful pattern and created some lovely symmetry.
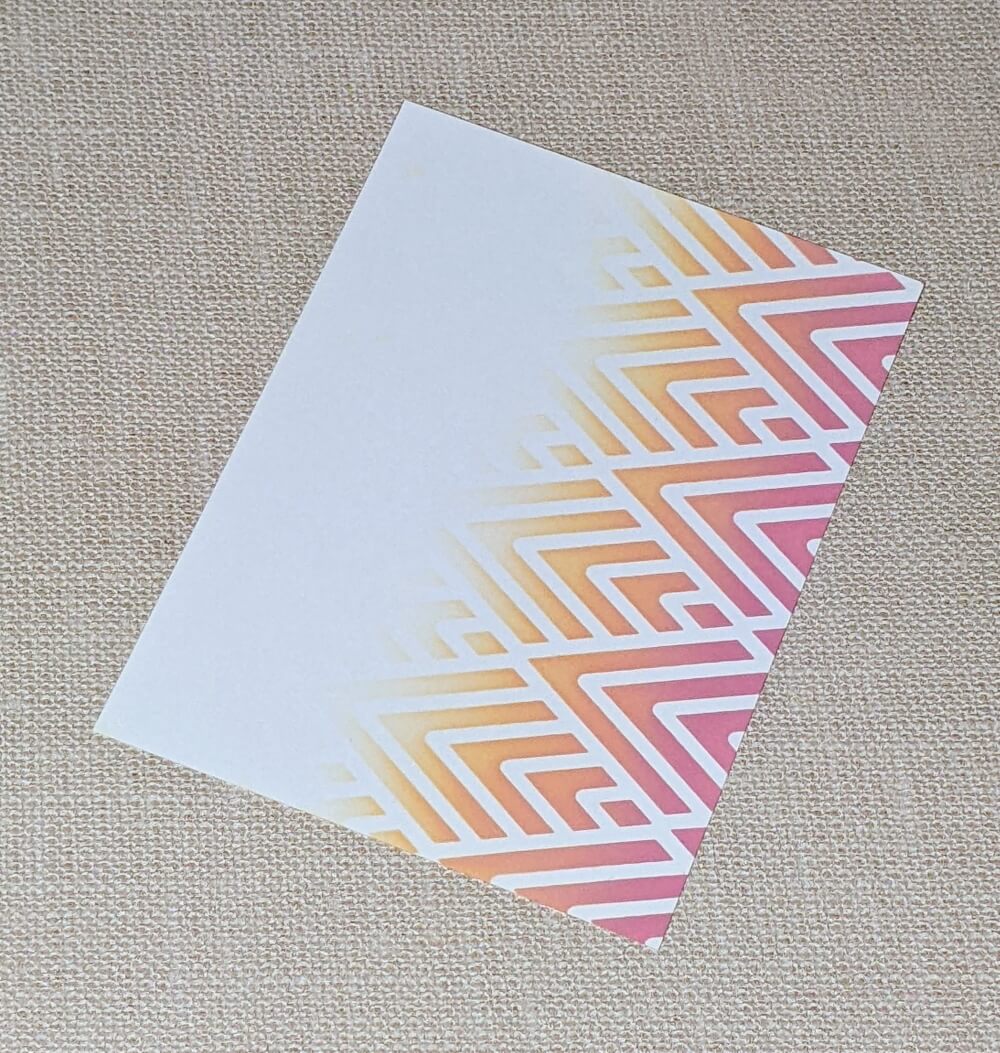
2. Faded Stencil Technique
This next faded stencil technque is similar to the first, but has a fun little twist to it. Here, I started on the right-hand side of the paper and moved to the left. I worked the Victorian Velvet ink into the page first. About a quarter of the way in, I switched to Dried Marigold.
Once one-third of the panel was covered, I stopped adding new ink to my blending brush, and just used the existing ink that was on them. I slowly and lightly worked that ink into the page continuing to move to the left in a circular motion. This allowed the ink and stencil to create a faded effect as it reaches the white area.
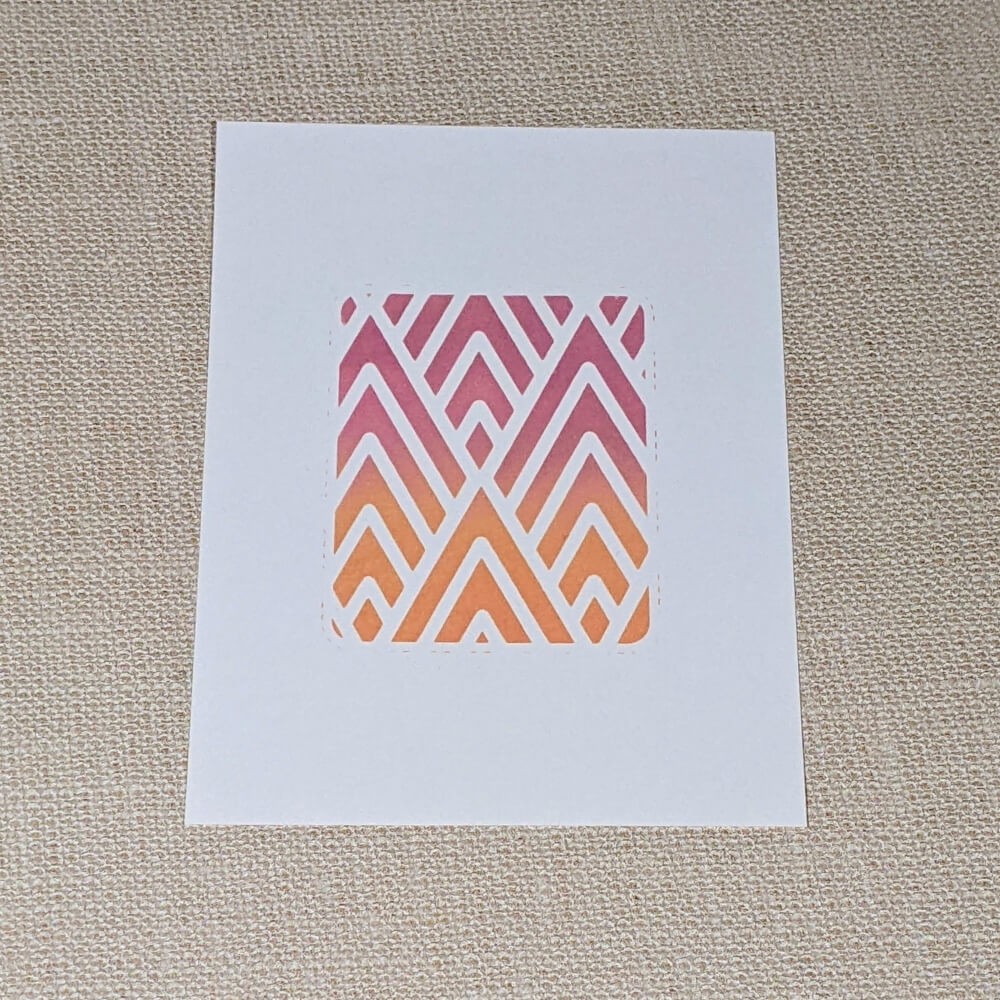
3. Focal Point Stencil Technique
The third, focal point stencil design, required some masking paper. I used Masking Magic from Gina K Designs and cut a rectangle in the center of it. Then, I applied the Dried Marigold and Victorian Velvet to the interior rectangle, using the same blending technique described in the first tutorial.
Once completed, I carefully removed the masking paper to reveal a beautiful focal point in the middle of this card panel. When I’m ready to use this panel, I could add a sentiment or die-cut some flowers to make this background pop a little bit more.
Tip: Always remember to remove the masking tape slowly and carefully to keep from ripping the paper!
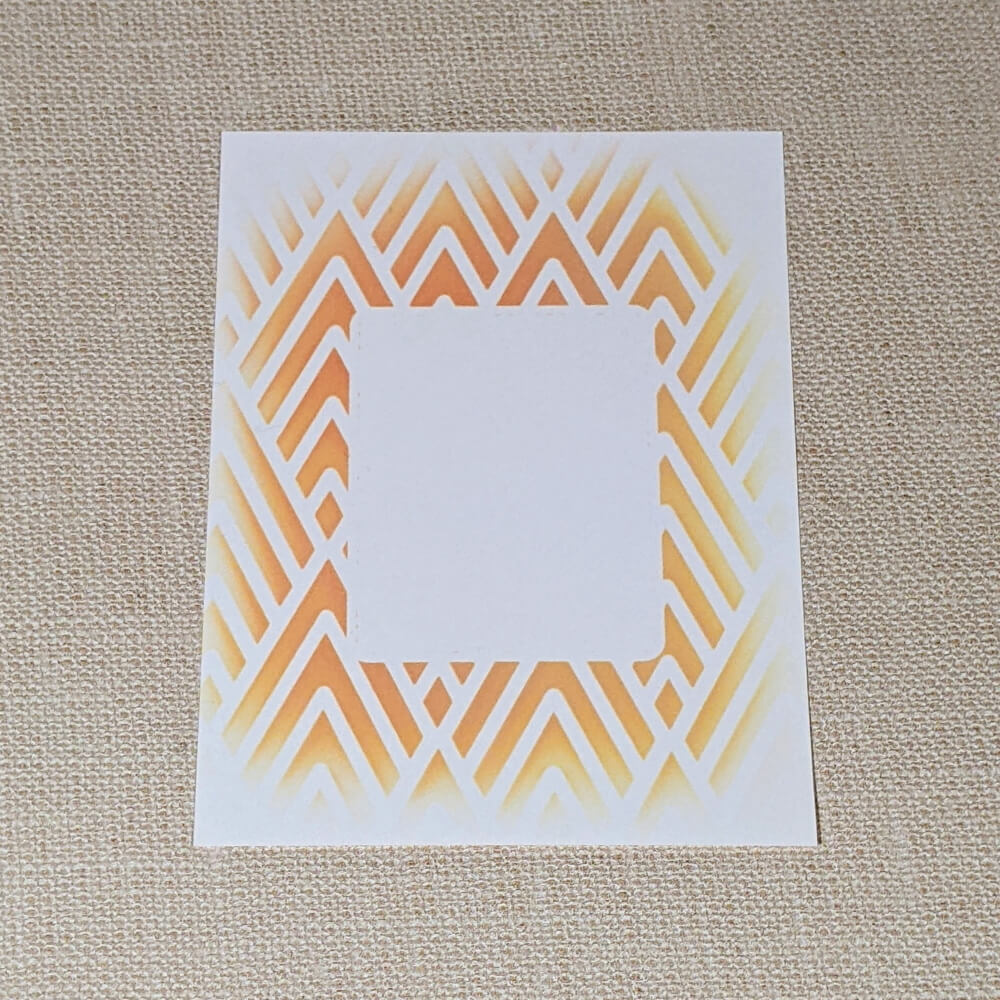
4. Framed Stencil Technique
For the last design, I created a framed stenciled look by placing that leftover rectangular making paper in the center of the panel. Then, I added Dried Marigold and Scattered Straw ink around the making paper. This created a framed look with Dried Marigold on the interior and Scattered Straw on the exterior.
Also, I worked the Scattered Straw out towards the edge but didn’t push it all the way to the very edge. I really wanted to keep that faded effect. Lastly, I removed the Stencil and the masking paper to reveal this lovely framed pattern.
Tips to Consider:
I really like how these four panels turned out, and I hope this article was helpful for you! Remember you are not limited to creating only four designs. Make as many as you can think of. They can be as complex or as easy as you want to make them. You could add a base color before you put your stencil on paper, or add these stencil techniques onto colored paper. You could explore using paste instead of ink just to give you a little bit more depth if you want. The sky is the limit.
Get as creative as you want with these techniques and don’t forget to share what you did in the comments below!
If you’re looking for more stencil tutorials, you can find them here. And don’t forget to follow me on Instagram and Pinterest for the latest creative inspiration! You can also shop all the handmade projects that I’ve designed here.