")
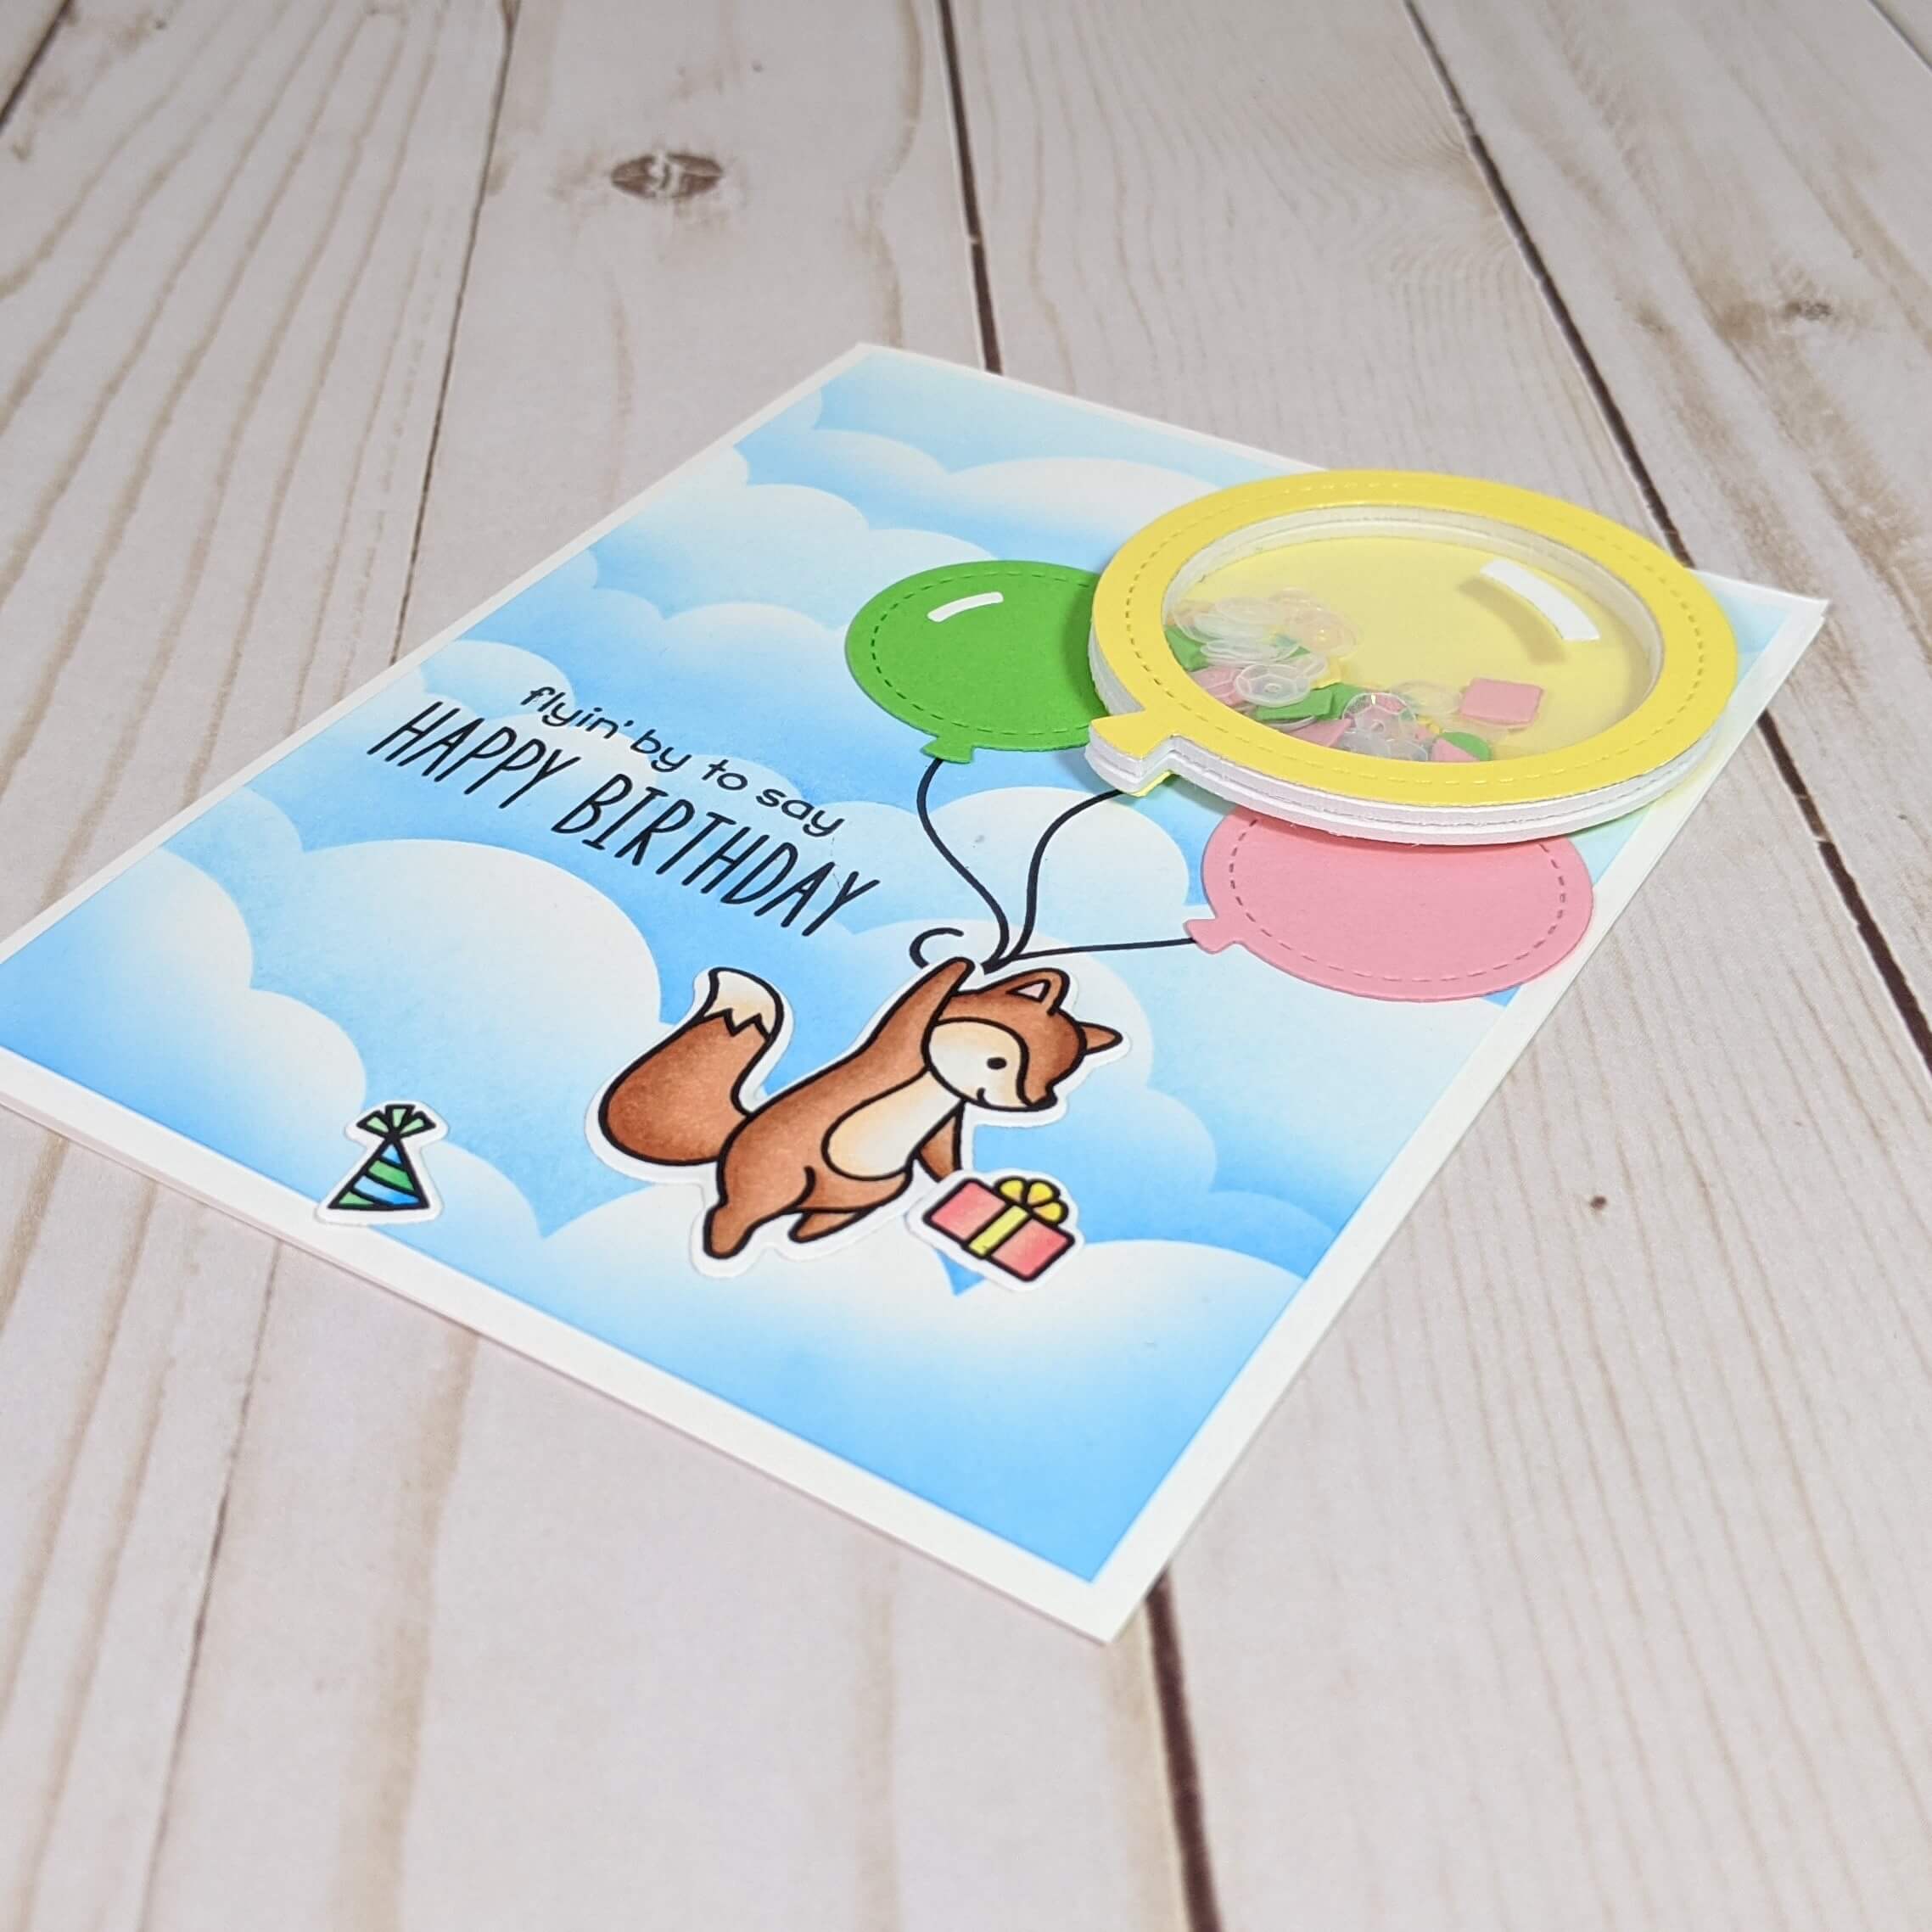
Birthdays are special occasions! If you’re looking to add an extra dose of charm to the next birthday card you give, why not try making a birthday shaker card? Shaker cards are delightful interactive cards with a transparent window filled with colorful sequins, confetti, or other small embellishments. Get ready to unleash your creativity and make a memorable keepsake that will leave a lasting impression on any birthday celebration. Keep reading to learn how to create your own birthday shaker card.
Watch my Birthday Shaker Card YouTube tutorial here.
Birthday Shaker Card Materials Used:
This blog may use affiliate links when they’re available. If you choose to make a purchase through one of these links, I may receive a small commission at no cost to you. I don’t make recommendations lightly, and will only link to products I know and trust.
- R20 Blush Copic Sketch Marker [Scrapbookpal.com] [Amazon]
- R43 Bougainvillaea Copic Sketch Marker [Scrapbookpal.com] [Amazon]
- Y13 Lemon Yellow Copic Sketch Marker [Scrapbookpal.com] [Amazon]
- E00 Cotton Pearl Copic Sketch Marker [Scrapbookpal.com] [Amazon]
- E11 Barley Beige Copic Sketch Marker [Scrapbookpal.com] [Amazon]
- E13 Light Suntan Copic Sketch Marker [Scrapbookpal.com] [Amazon]
- E15 Dark Suntan [Scrapbookpal.com] [Amazon]
- YG41 Pale Cobalt Green Copic Sketch Marker [Scrapbookpal.com] [Amazon]
- G02 Spectrum Green Copic Sketch Marker [Scrapbookpal.com] [Amazon]
- B00 Frost Blue Copic Sketch Marker [Scrapbookpal.com] [Amazon]
- B04 Tahitian Blue Copic Sketch Marker [Scrapbookpal.com] [Amazon]
- Clear Chromatix Blending Marker (Chromatix Dry out quickly, so I recommend Copic instead)
- Sizzix BIGkick Machine [Scrapbook.com] [Amazon]
- EK Tools EK Scoring Board 12×12 [Amazon]
- Feather No.55 Switch-Blade Shear, 5.5 Inch [Amazon]
- Fiskars Recycled Bypass Trimmer, 12 Inch [Amazon]
- Misti Stamp Tool Original Size Stamp Positioner [Amazon]
- Stamp Shammy – Lawn Fawn [Scrapbook.com] [Amazon]
- Cloudy Stencil – Lawn Fawn [Scrapbook.com] [Amazon]
- Crafting Ink Blending Brush Set [Amazon]
- Tumbled Glass – Ranger Ink Distress Oxides Ink Pad [Scrapbook.com] [Amazon]
- Salty Ocean – Ranger Ink Distress Oxides Ink Pad [Scrapbook.com] [Amazon]
- Ranger Archival Ink Pad, Jet Black [Scrapbook.com] [Amazon]
- Outside In Stitched Balloon Stackables – Lawn Fawn [Scrapbook.com] [Amazon]
- Stitched Balloon Frames Die Set – Lawn Fawn [Scrapbook.com] [Amazon]
- Really High Five Stamp Set – Lawn Fawn [Scrapbook.com] [Amazon]
- Really High Five Die Set – Lawn Fawn [Scrapbook.com] [Amazon]
- Grafix Acetate Pad, Clear [Amazon]
- Neenah Classic Crest Solar White 80lb Cardstock [Scrapbook.com] [Amazon]
- White Foam Sheets – Time 4 Crafts [Amazon]
- Recollections Cardstock Paper, Essentials 20 Colors [Amazon]
- EK Tools Powder Tool [Scrapbook.com] [Amazon]
- Scrapbook Adhesives Initially Repositionable Mounting Squares [Scrapbook.com] [Amazon]
- Tombow MONO Aqua Liquid Glue [Scrapbookpal.com] [Amazon]
- 4 Pieces Stamp Blocks – Whaline [Amazon]
- 6mm Clear Iridescent Sequins [Amazon]

Interested in learning how to make a shaker gift tag? Learn more here.
Birthday Shaker Card Tutorial:
Step 1. Color the Fox, Birthday Gift, and Party Hat.
Begin by stamping and coloring something small that will be holding your shaker balloon. I chose this fox from the Really High Five Stamp Set from Lawn Fawn. Color the fox and any additional accent pieces like a birthday gift or party hat. I used Copic Sketch markers, but you can use any coloring tools that you prefer. I also like to use vibrant colors to make these colored stamps stand out more.
Step 2. Stencil the Background with Clouds.
Place the Cloudy Stencil from Lawn Fawn over the cardstock you have chosen for the background near the top of the page. Hold it firmly in place and use a blending brush to apply ink over the stencil, gently working your way up to create a cloud pattern. Move the stencil lower on the paper and rotate the stencil. Repeat the ink blending process with the same color or a different color. Continue this process until the paper is filled with clouds!
Step 3. Die-Cut Your Balloons.
Select three different colors of cardstock for the balloons on the card. Use the Outside In Stitched Balloon Stackables dies from Lawn Fawn to create these balloons in various sizes. You will also need to die-cut a piece of acetate for the shaker balloon to make the window for the shaker as well.
Next, create a balloon outline and walls for the shaker balloon. I used the Stitched Balloon Frames die set from Lawn Fawn to do this. I used cardstock for the exterior outline that goes above the acetate on the design, and 3 layers of foam sheets to make the walls. I’ve found that liquid adhesive was the easiest to use for this project. I used Tombow MONO Aqua liquid glue.
Step 4. Create the Shaker Balloon.
Making a birthday shaker is pretty simple overall. Start by gluing the acetate to the cardboard balloon outline. This will be the front of your shaker. Make sure it’s centered and aligned. Set it under a stamping block to apply some pressure and set it aside to dry.
Next, glue the side walls together. As I mentioned, I had 3 layers of foam sheets that I cut to make the walls of my shaker. So I applied glue in between each layer, made sure they were aligned, and set them aside to dry under another stamp block. I recommend gluing each layer and allowing it to dry one at a time. Once the balloon walls are dry, apply them to the shaker background.
Add your shaker supplies before the top of your shaker to the bottom. First, apply a light layer of baby powder to the acetate and along the walls to remove any static or sticky residue. Next, add confetti or sequins inside the balloon walls. Lastly, glue the acetate onto the balloon walls to close your shaker. Let it dry completely, then give it a shake!
Learn how to make a fun and easy shaker Valentine’s Day card here!
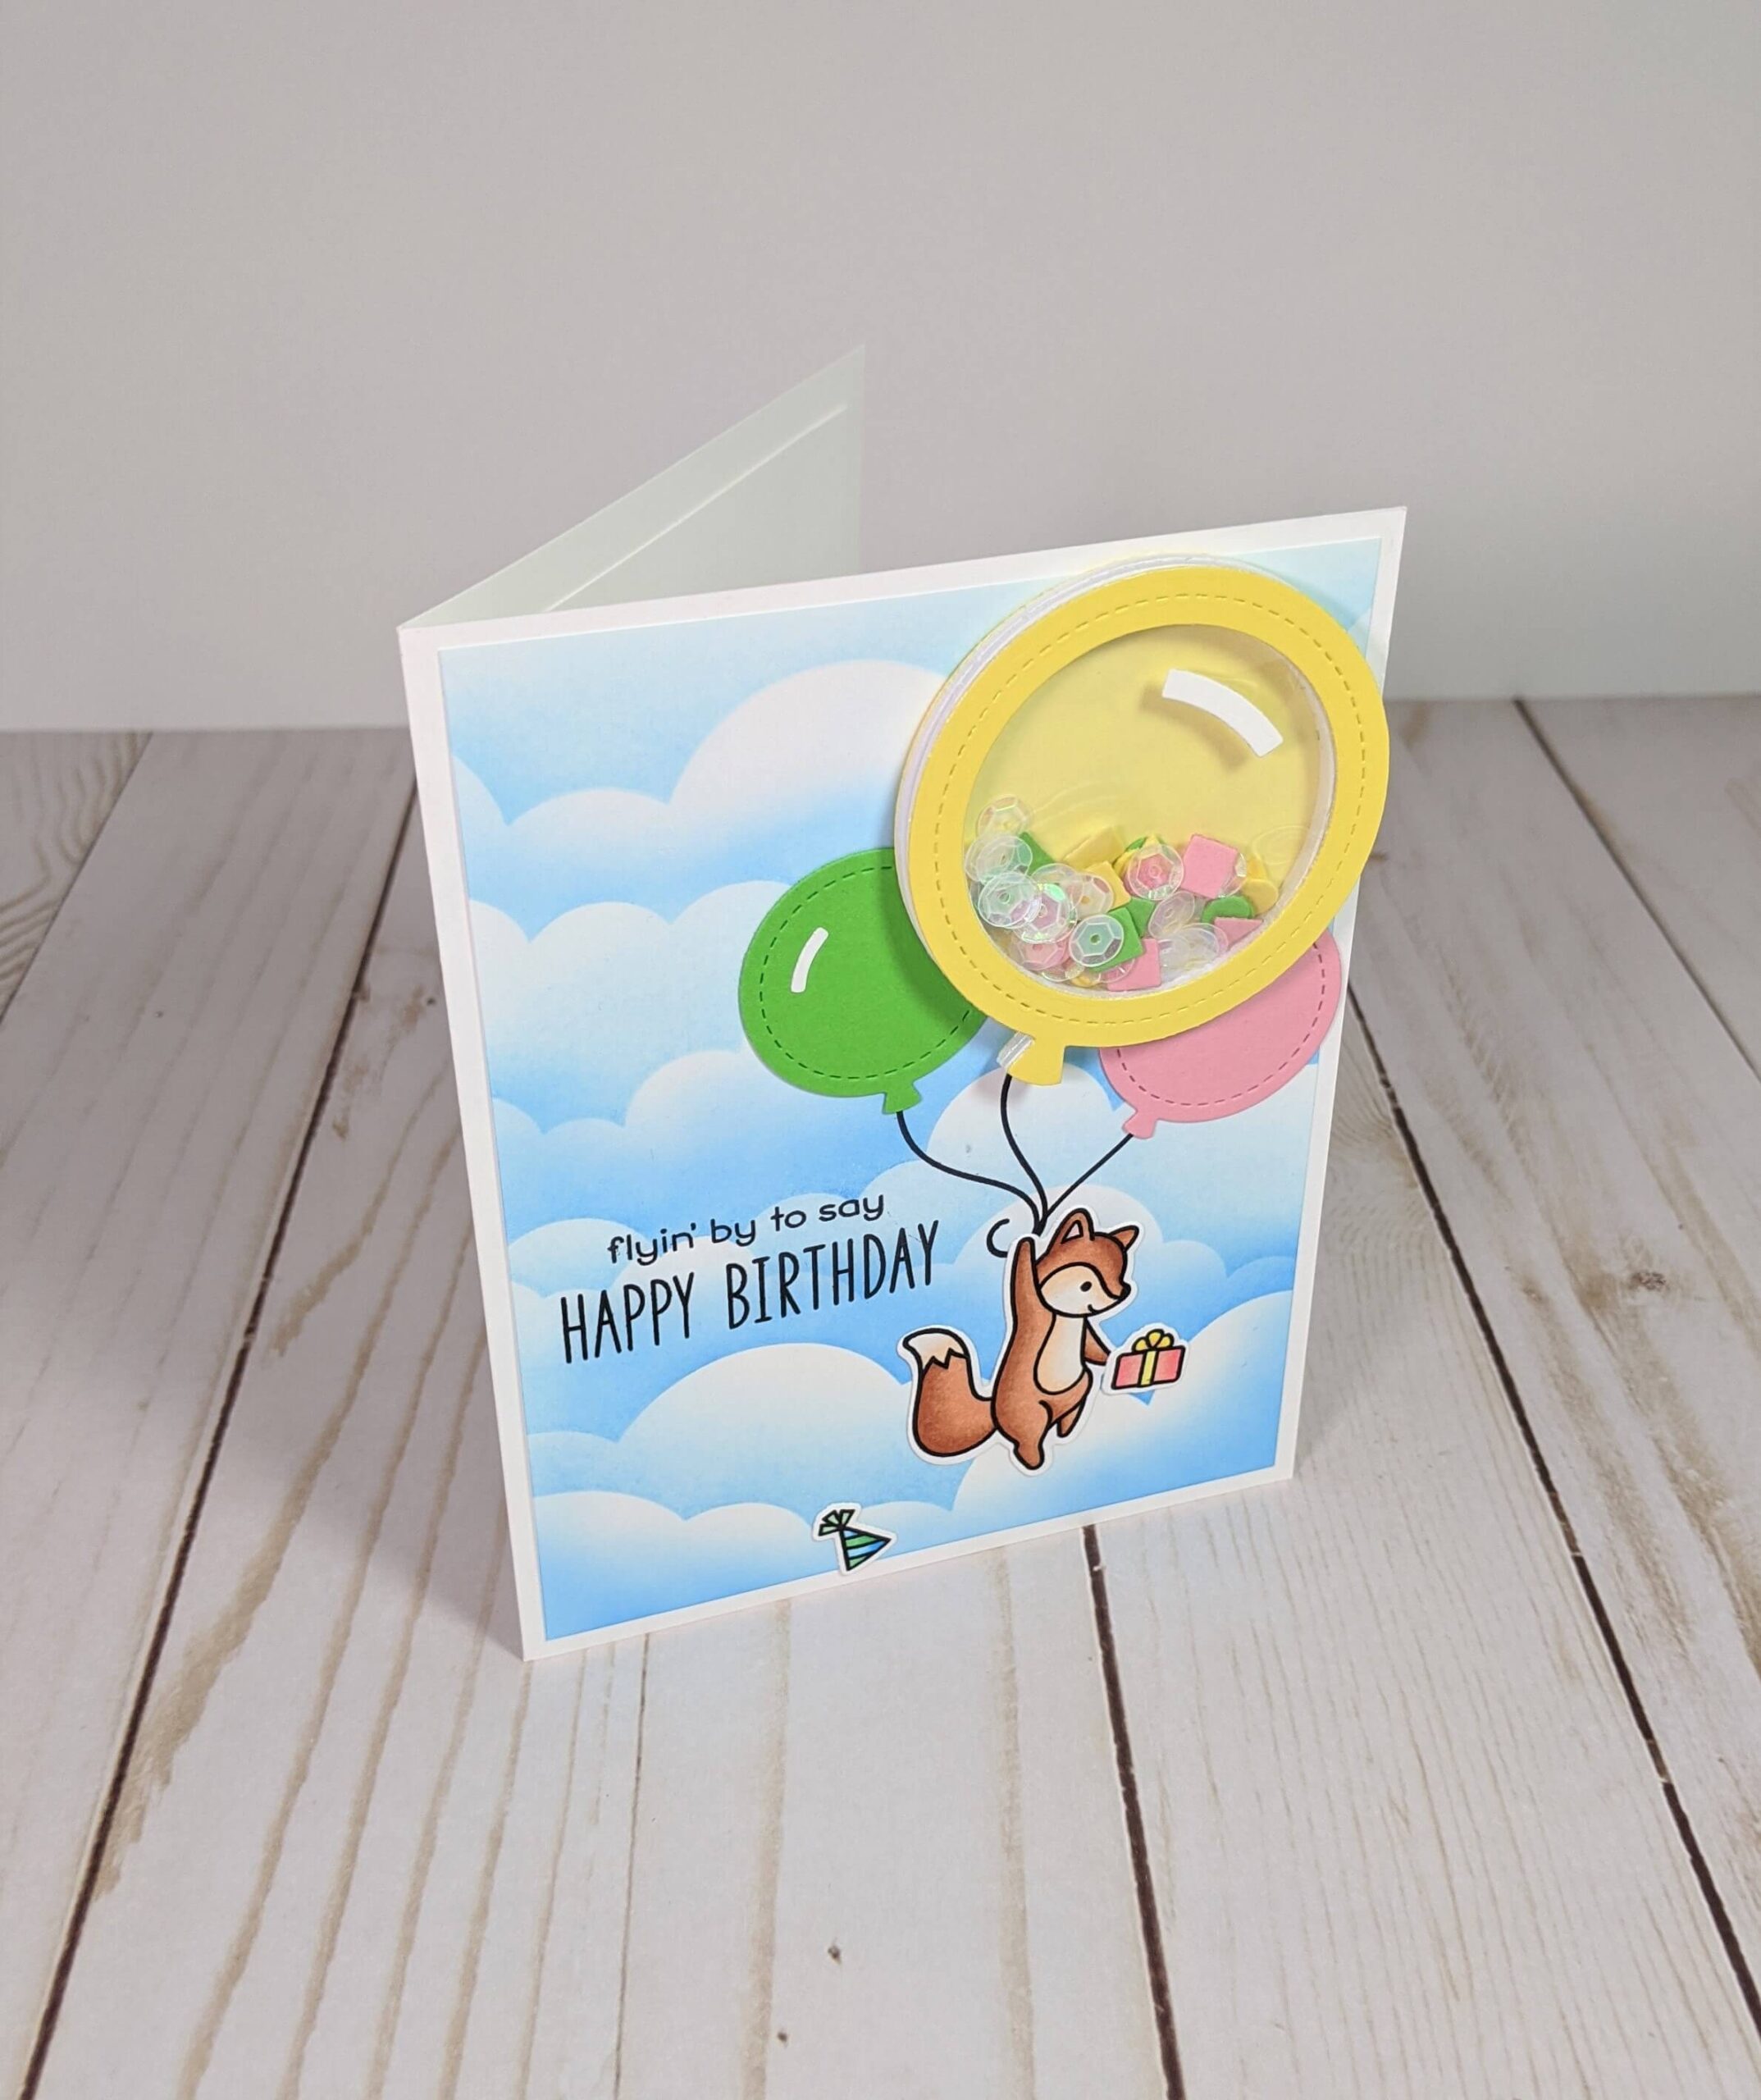
Step 5. Apply Everything to the Card Base
Once the shaker element is complete, apply the balloon shaker to the desired position on the card base, making sure it is securely attached. then arrange and adhere the colored fox, birthday gift, party hat, and other balloons around it. Slide the other balloons underneath the shaker, to help it stand out even more.
And there you have it! Your handmade birthday shaker card is now ready to surprise and delight the lucky recipient. I hope you enjoyed learning about this card! If you’re looking for more interactive card tutorials, find them here! Don’t forget to sign up for my creative inspiration newsletter for the latest card making tips and tricks. You can also find me on Instagram, and Pinterest for the latest at One Paper Street! Or shop the handmade cards that I’ve designed here.