
If you’re looking to add a creative touch to your coloring with pencils, stencils are an easy way to do it. This simple guide teaches how to use stencils to make a beautiful work of art using only a few tools.
Today, we’re exploring unique ways to get creative with stencils. I like finding alternative uses for products and stencils are no exception! Usually, when you think of a stencil, you assume it will be used with ink to create a pattern. In this project, however, I decided to take a different approach and use my stencil as a tracing guide for an intricate colored pencil design.
Watch the How to use Stencils with Colored Pencils YouTube video here.
Materials Used:
This blog may use affiliate links when they’re available. If you choose to make a purchase through one of these links, I may receive a small commission at no cost to you. I don’t make recommendations lightly, and will only link to products I know and trust.
- 1.50 Size Koh-I-Noor Radiograph Refillable Pen [Amazon]
- 60 Piece – Faber-Castell Polychromos Colored Pencil Set [Amazon]
- 120 Pieces – Faber-Castell Polychromos Colored Pencil Set [Amazon]
Pencil #’s Used: 101, 102, 103, 107, 108, 119, 125, and 194 - 4 Pieces Stamp Blocks – Whaline [Amazon]
- BIGkick Machine – Sizzix [Scrapbook.com] [Amazon]
- 12×12 Scoring Board – EK Tools [Amazon]
- No.55 Switch-Blade Shear, 5.5 Inch – Feather [Amazon]
- Fiskars Recycled Bypass Trimmer, 12 Inch [Amazon]
- Feathery Stencil – Altenew [Scrapbook.com] [Altenew]
- Happy Birthday Line Border Die – Lawn Fawn [Scrapbook.com] [Amazon]
- Ebony Black Nuvo Crystal Drops [Scrapbook.com] [Amazon]
- Kraft Cardstock Paper – Recollections [Amazon]
- Neenah Classic Crest Solar White 80lb Cardstock [Scrapbook.com] [Amazon]
- Tombow MONO Aqua Liquid Glue [Scrapbookpal.com] [Amazon]
Tutorial: Use Stencils for Coloring with Pencils
Step 1. Select your stencil.
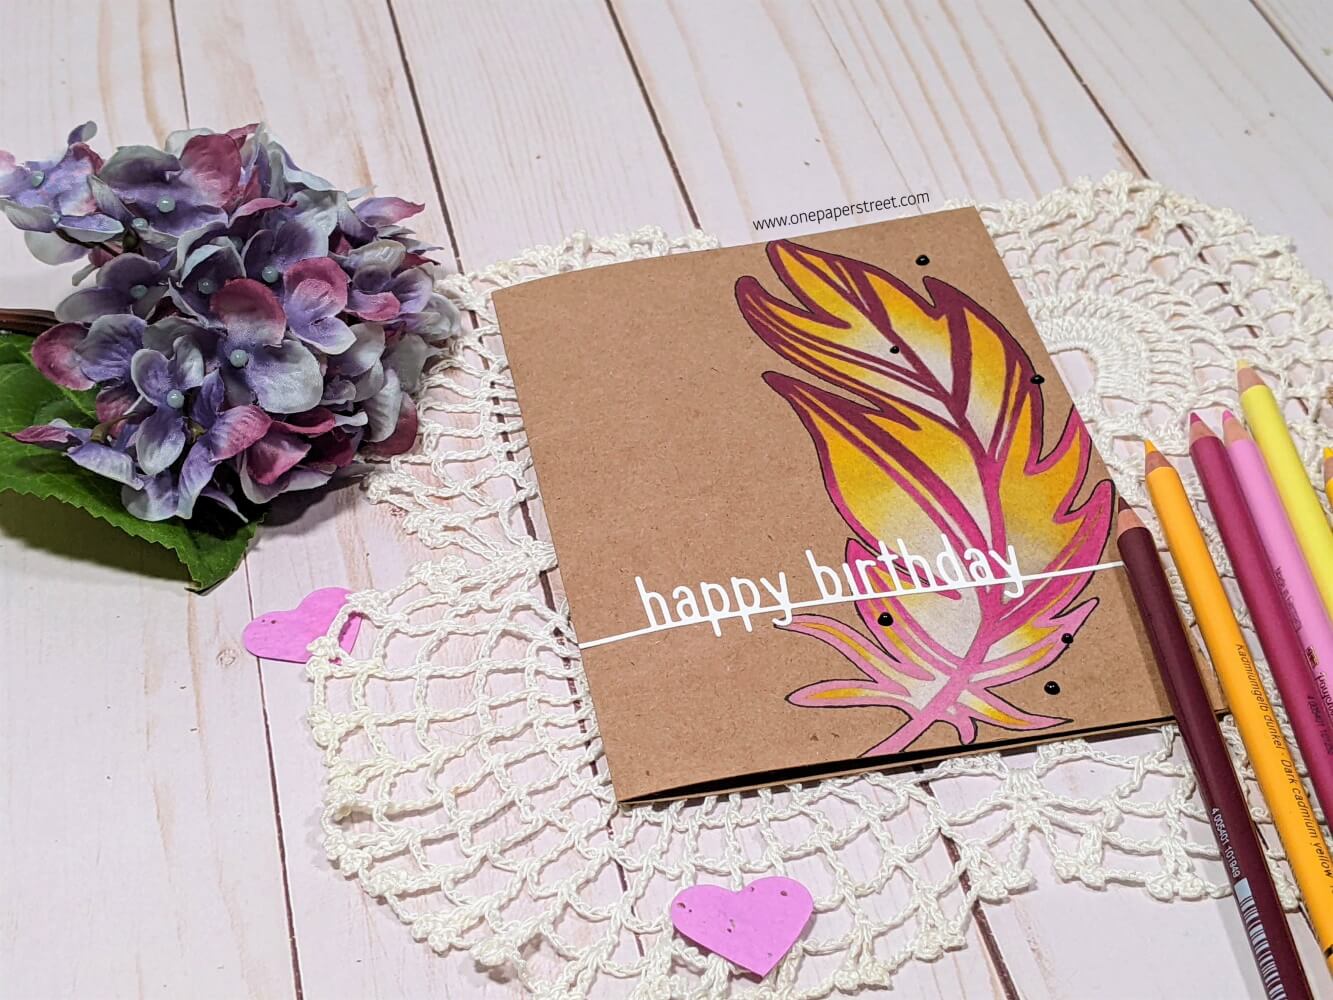
The first step in creating your colored pencil design is to choose your stencil. Take some time to think about the overall look you want to achieve and select a stencil that will help you accomplish that. Consider whether you want to create an accent piece or cover the entire page. Make sure that the size of your stencil is appropriate for the paper you will be working on. I’m using the Feathery Stencil from Altenew and placing it on a 5×7 A7 kraft card base for this project. This stencil is quite large, so an A7 card base works well for this project.
Step 2. Outline the stencil pattern using a graphite pencil.
Once you have selected your stencil, the next step is to secure it in place on your paper. I’ve used magnets, but a low-tack tape or paper clips would also work to hold it in place. Begin tracing the design with a graphite pencil. It’s important to use a light touch when tracing so that your pencil lines aren’t too dark.
The tracing process may not be perfect, so be prepared to improvise and make adjustments as needed. Once you have finished tracing the stencil, remove it and take a look at your design. Are there any areas where your lines are incomplete? Free-hand draw any missing lines in your design as needed.
Step 3. Color the design with colored pencils.
Here comes the exciting part! It’s time to start coloring with your pencils! Choose the colors you plan to use for your design and begin coloring. You can try a blending technique like I did, or you can just begin coloring and see where things take you. The most important part in this process is to have fun with it!
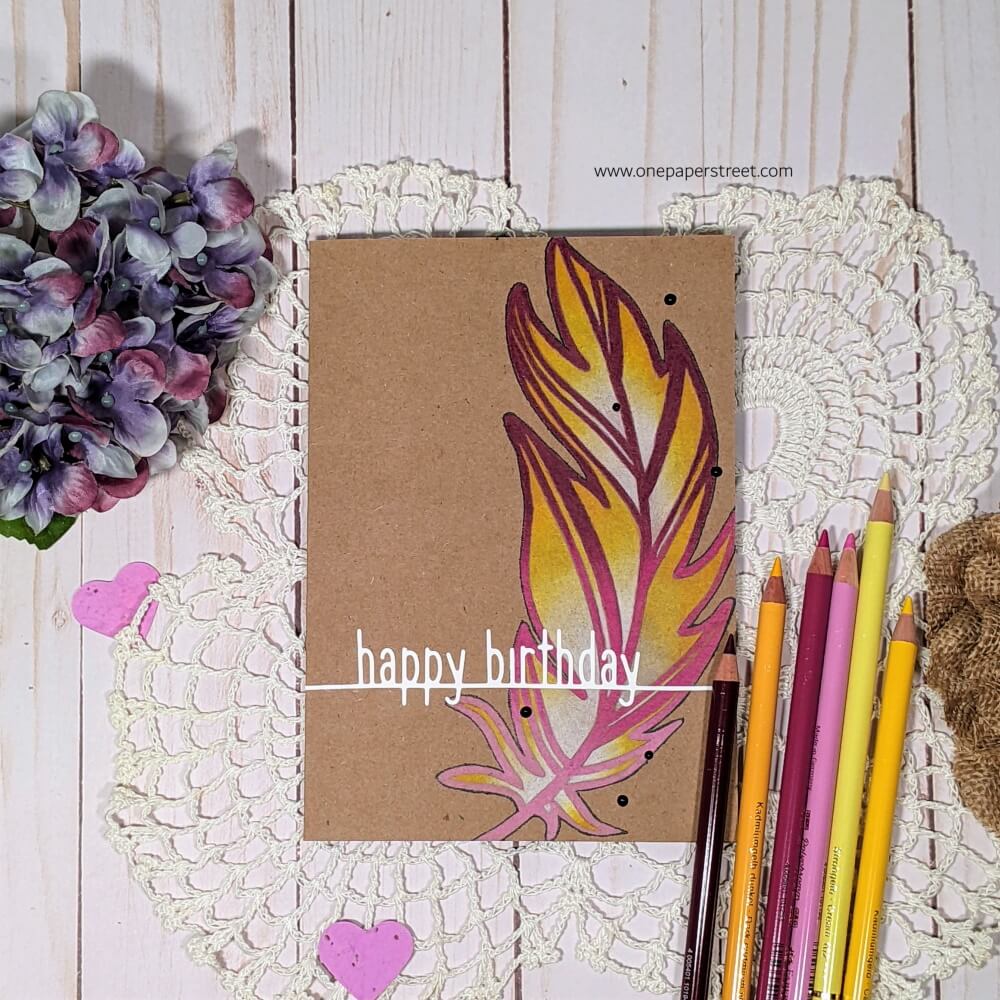
I used Faber-Castell Polychromos colored pencils to create this design. I started with the magenta outline using pencils 119, 125, and 194 for the outline. Here, I started with the darkest color at the top, then moved down to the lightest color at the bottom. The interior of the feather was colored using 101, 102, 103, 107, and 108. The blended effect was made using the lightest white colors towards the stem of the feather and the darkest yellows in the exterior areas.
Want to learn more about blending with colored pencils? Click here.
Step 5. Add any finishing touches!
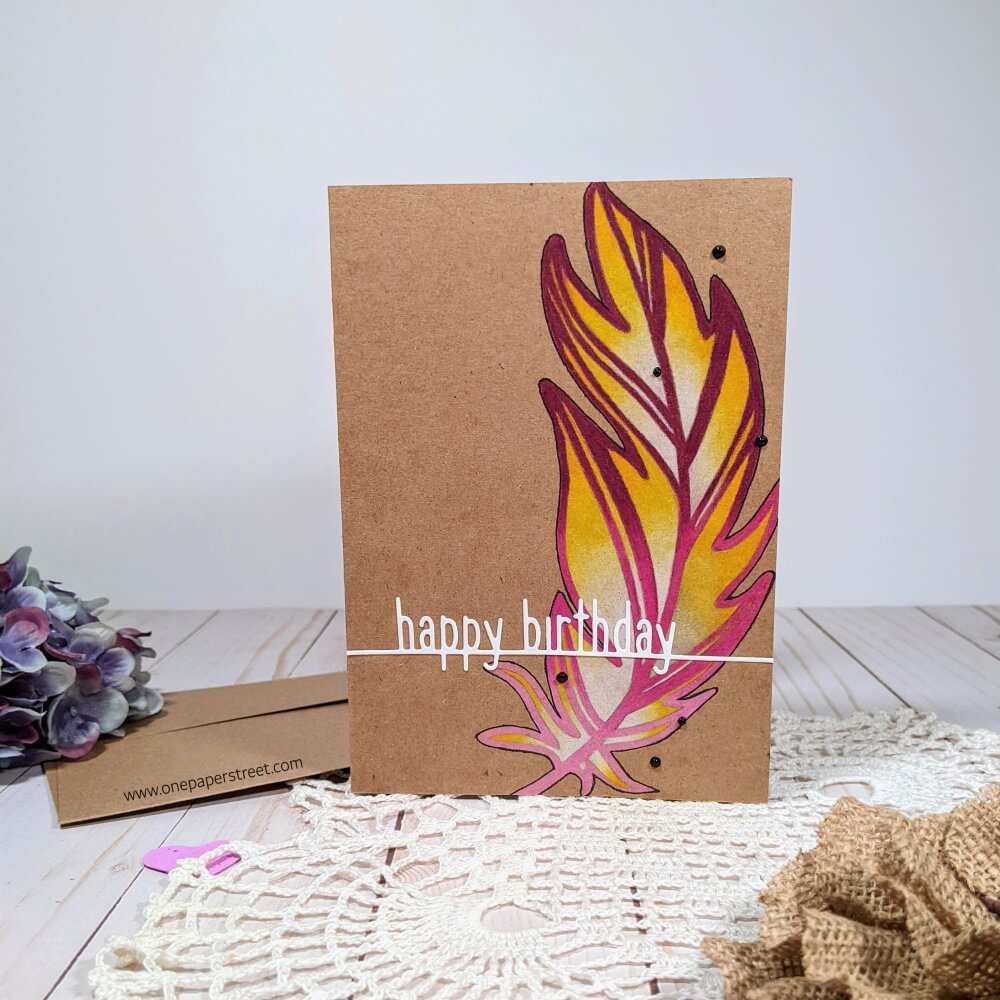
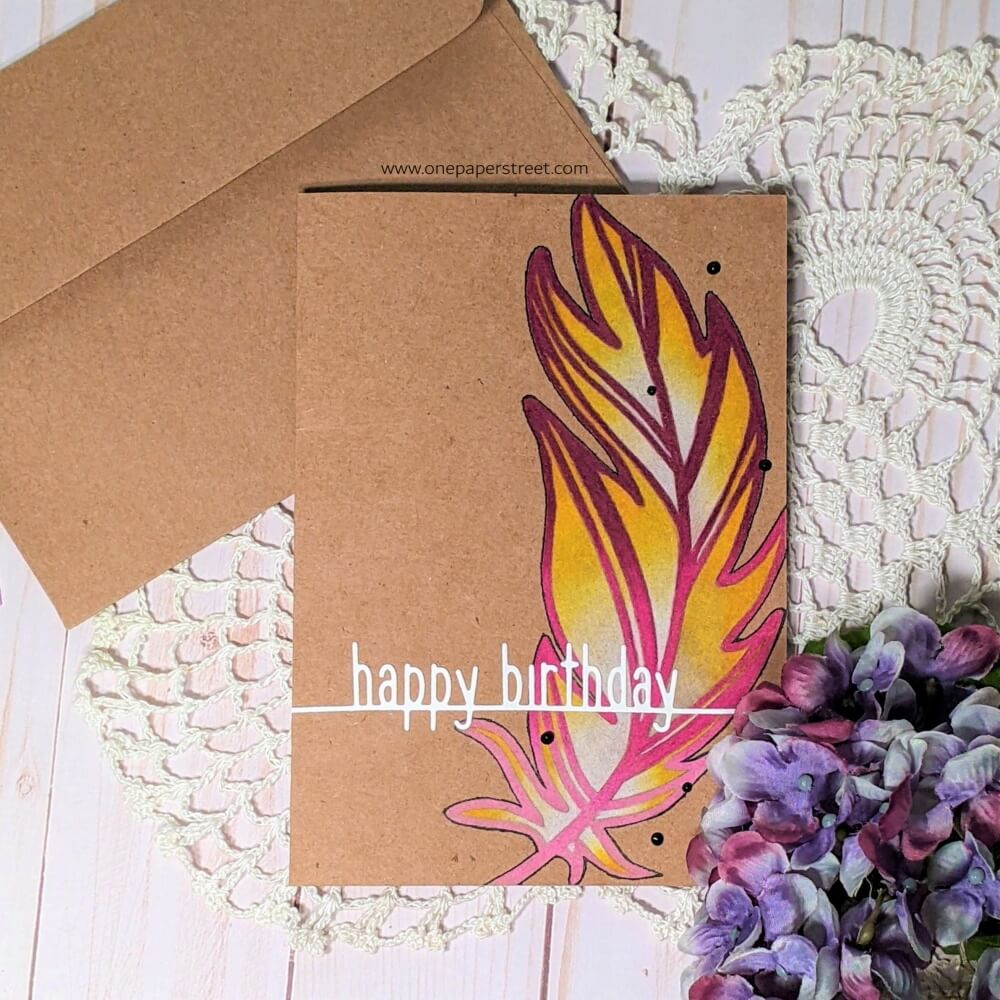
Finally, it’s time to add any finishing touches. I chose to incorporate a “happy birthday” sentiment from Lawn Fawn on the bottom third of my card. Additionally, I added some Nuvo Drops around the feather to complement the black outline around the feather and give it a cohesive look.
I hope you enjoyed learning about how to use stencils when coloring with pencils. To learn more about colored pencil techniques, you can also check out Colored Pencil Tips to Remember or Colored Pencil Blending for Beginners.
Don’t forget to follow me on Instagram, Facebook or Pinterest for the latest tutorials and updates! You can also shop all the handmade cards that I’ve designed here. Happy crafting!