
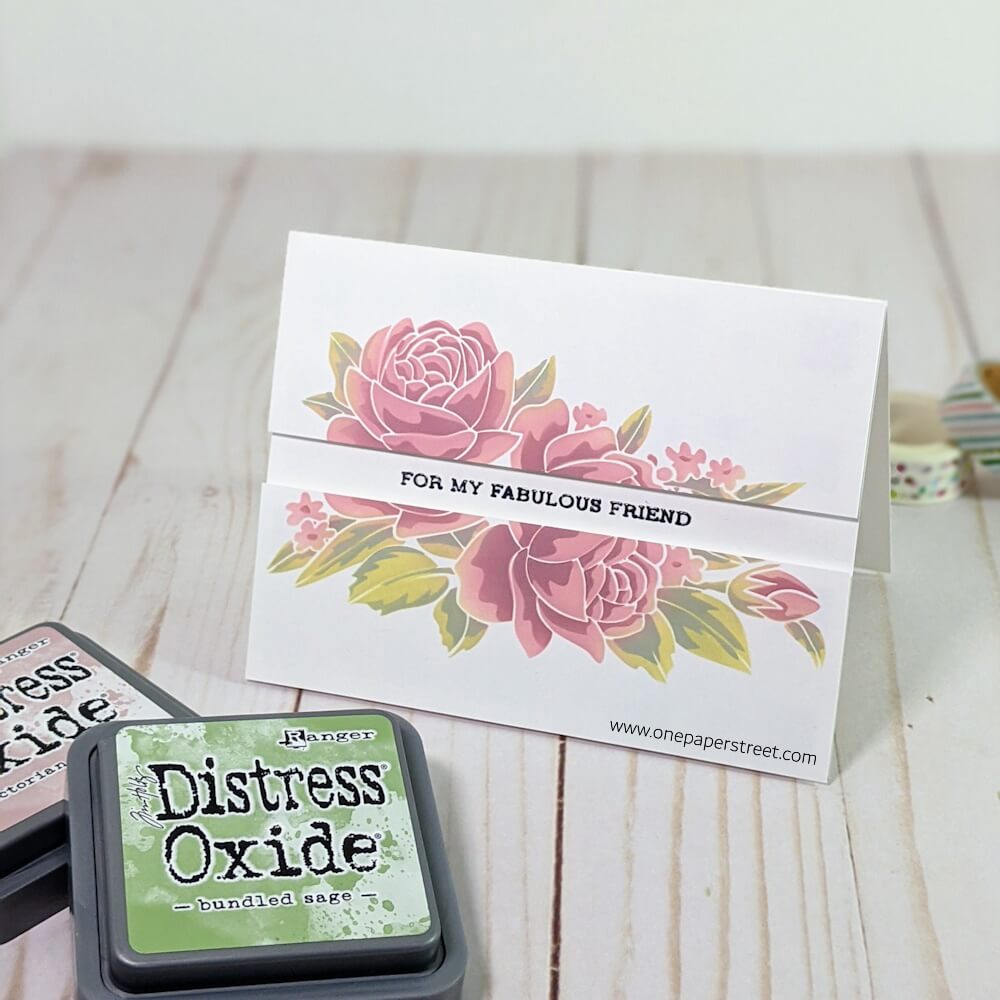
I’ve been a fan of stencils for a while, but I’ve had my eye on these Altenew layering stencils because they give you a level of detail and depth that other stencils just don’t! I absolutely love how this floral stenciled card turned out, and I can’t wait to share the tips and tricks that I learned while making it. So keep reading to learn more, and let me know what is your favorite stenciling technique is in the comments below!
Watch the Layering Stencils YouTube video here.
Materials Used:
This blog may use affiliate links when they’re available. If you choose to make a purchase through one of these links, I may receive a small commission at no cost to you. I don’t make recommendations lightly, and will only link to products I know and trust.
- EK Tools EK Scoring Board 12×12 [Amazon]
- Fiskars Recycled Bypass Trimmer, 12 Inch [Amazon]
- Misti Stamp Tool Original Size Stamp Positioner [Amazon]
- Lawn Fawn Stamp Shammy [Scrapbook.com] [Amazon]
- Altenew – Sweet Spring Stencil [Scrapbook.com] [Altenew]
- Crafting Ink Blending Brush Set [Amazon]
- Victorian Velvet – Ranger Ink Distress Oxides Ink Pad [Scrapbook.com] [Amazon]
- Aged Mahogany – Ranger Ink Distress Oxides Ink Pad [Scrapbook.com] [Amazon]
- Shabby Shutters – Ranger Ink Distress Oxides Ink Pad [Scrapbook.com] [Amazon]
- Bundled Sage – Ranger Ink Distress Oxides Ink Pad [Scrapbook.com] [Amazon]
- Black Soot – Ranger Ink Distress Oxides Ink Pad [Scrapbook.com] [Amazon]
- Sentiment Strips 2 Stamp Set – Altenew [Scrapbook.com] [Altenew]
- Neenah Classic Crest Solar White 80lb Cardstock [Scrapbook.com] [Amazon]
- Stampendous Detail Embossing Powder Clear Transparent [Amazon]
- 1/2-Inch Forever In Time 3D Pop Dots Square Dual-Adhesive Foam Mount [Scrapbook.com] [Amazon]
- 1/4-Inch Forever In Time 3D Pop Dots Square Dual-Adhesive Foam Mount [Amazon]
Looking for more stenciling tutorials? Find them here!
Altenew Layering Stencil Tutorial:
Step 1. Pick the stencil supplies and ink colors.
To kick things off I’m using the Sweet Spring Stencil from Altenew. This stencil is great for layering because it has two sides. One layer is used as the base, creating the largest parts of the floral design. It can be used alone or paired with the other side by flipping it over and adding another layer of additional smaller details.
I’m using both sides of the stencil to create the layering effect. I’m also using four different colors of distress oxide inks. Victorian Velvet and Shabby Shutters were used as the base colors. Then I used Bundled Sage and Aged Mahogany on the accent areas.
Step 2. Ink the base layer of the stencil.
I taped my stencil down to some 80 lb Neenah Solar White cardstock using washi tape. Then I began working the Victorian Velvet into the roses on the first layer of the design. As I applied the ink on the flower I moved my blending brush in a circular motion to work the ink smoothly into the paper.
I only focused on the flowers at the start, then I repeated this process with a clean blending brush, and my Shabby Shutters distress oxide ink. When I moved to the leaves I used more of a swiping motion with my brush, instead of a circular motion, because the leaves were so small. Naturally, I got some ink onto the other colors but I just tried to keep it to a minimum!
Tip: I mentioned this in the video above, but have patience as you move through this layering stencil process. It takes time. So move slowly and don’t be discouraged if you don’t get it right the first time!
Step 3. Turn the stencil over and ink the second layer.
Now that I finished the first half, I peeled the washi tape carefully to avoid ripping the paper then I flipped the stencil over to the other side and secured it with more washi tape. At this point, I repeated the inking process using Aged Mahogany on the flowers and Bundled Sage on the leaves.
Step 4. Draw guidelines for the sentiment.
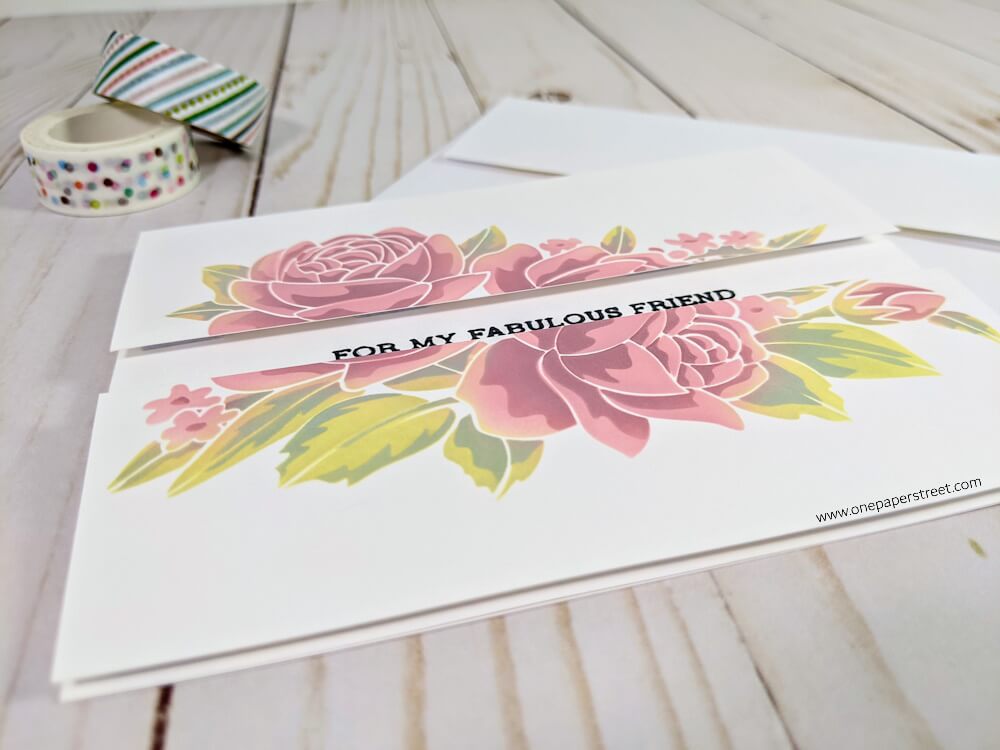
Once I peeled the stencil off of the finished design, I cut the roses in half right down the middle. I also trimmed off a little bit of white space above and below the flowers to give the sentiment some room on my A2 sized card base. Next, I lined up the two pieces of cardstock against the card base and traced out where the sentiment would go.
Step 5. Stamp and emboss the sentiment.
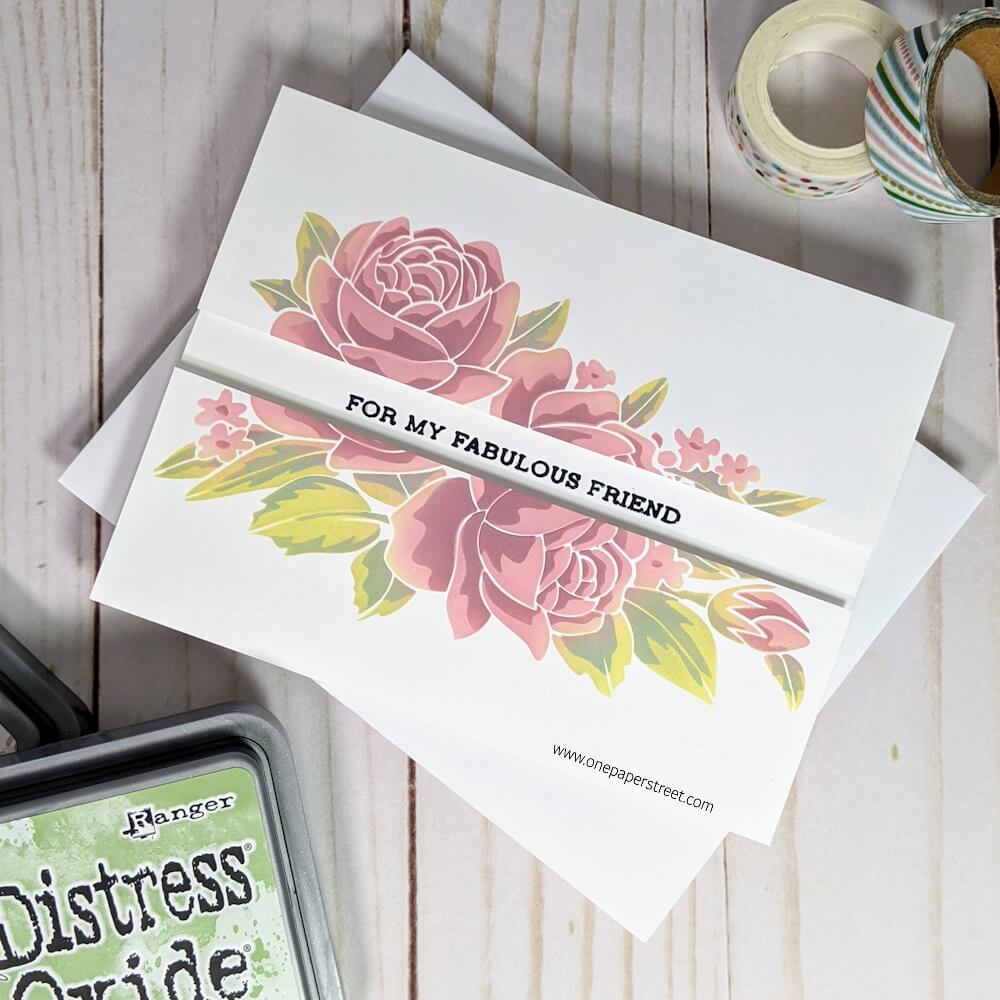
For the sentiment, I used the “for my fabulous friend stamp” from the Altenew Sentiment Strips 2 stamp set. I also used Black Soot distress oxide ink to stamp the sentiment so that I could emboss it. I placed the card base on my Misti stamping tool and used the lines that I had drawn to position my stamp right in the middle of the cardstock. Then I heated the embossing powder to set it.
Step 6. Apply the stenciled design to the card base.
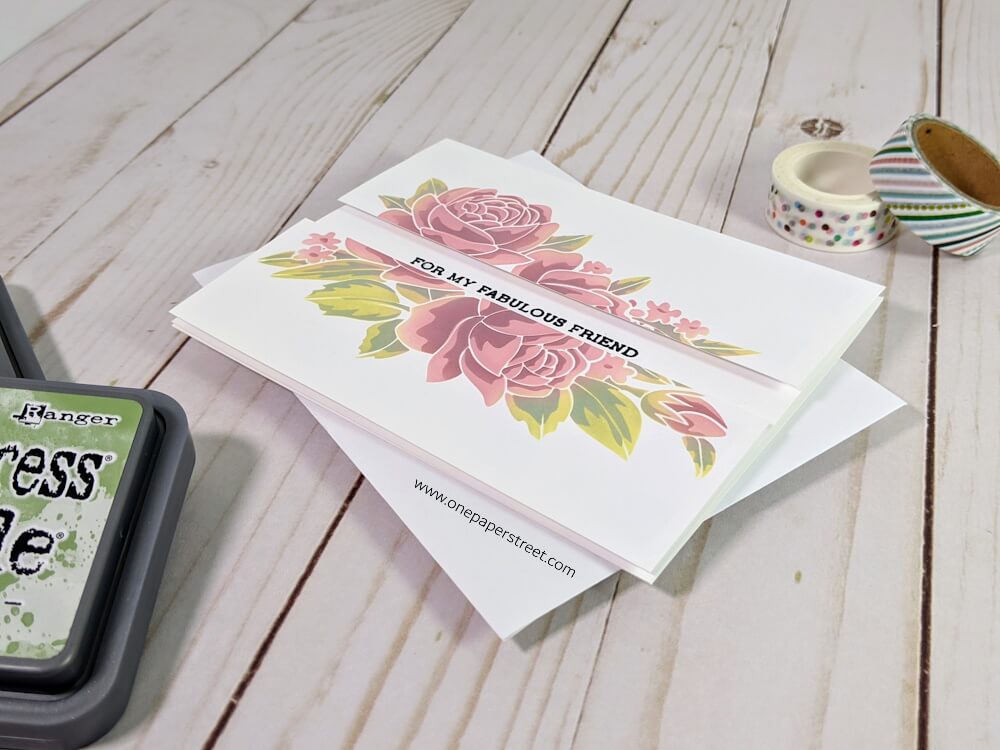
Lastly, it was time to put on the finishing touches on the cards so I erased the guidelines that I had drawn and placed some Forever in Time pop dots on the back of each side of my stenciled flower design. Then I carefully positioned the two pieces on the top and bottom of the card base making sure that they were level and aligned with the edges of the card base.
I hope you enjoyed this card! I also wrote a post on how to use stencils and distress oxides to make backgrounds. Check it out, and follow me on Instagram, Facebook, or Pinterest for the latest updates! You can also shop all the handmade cards that I’ve designed here.