
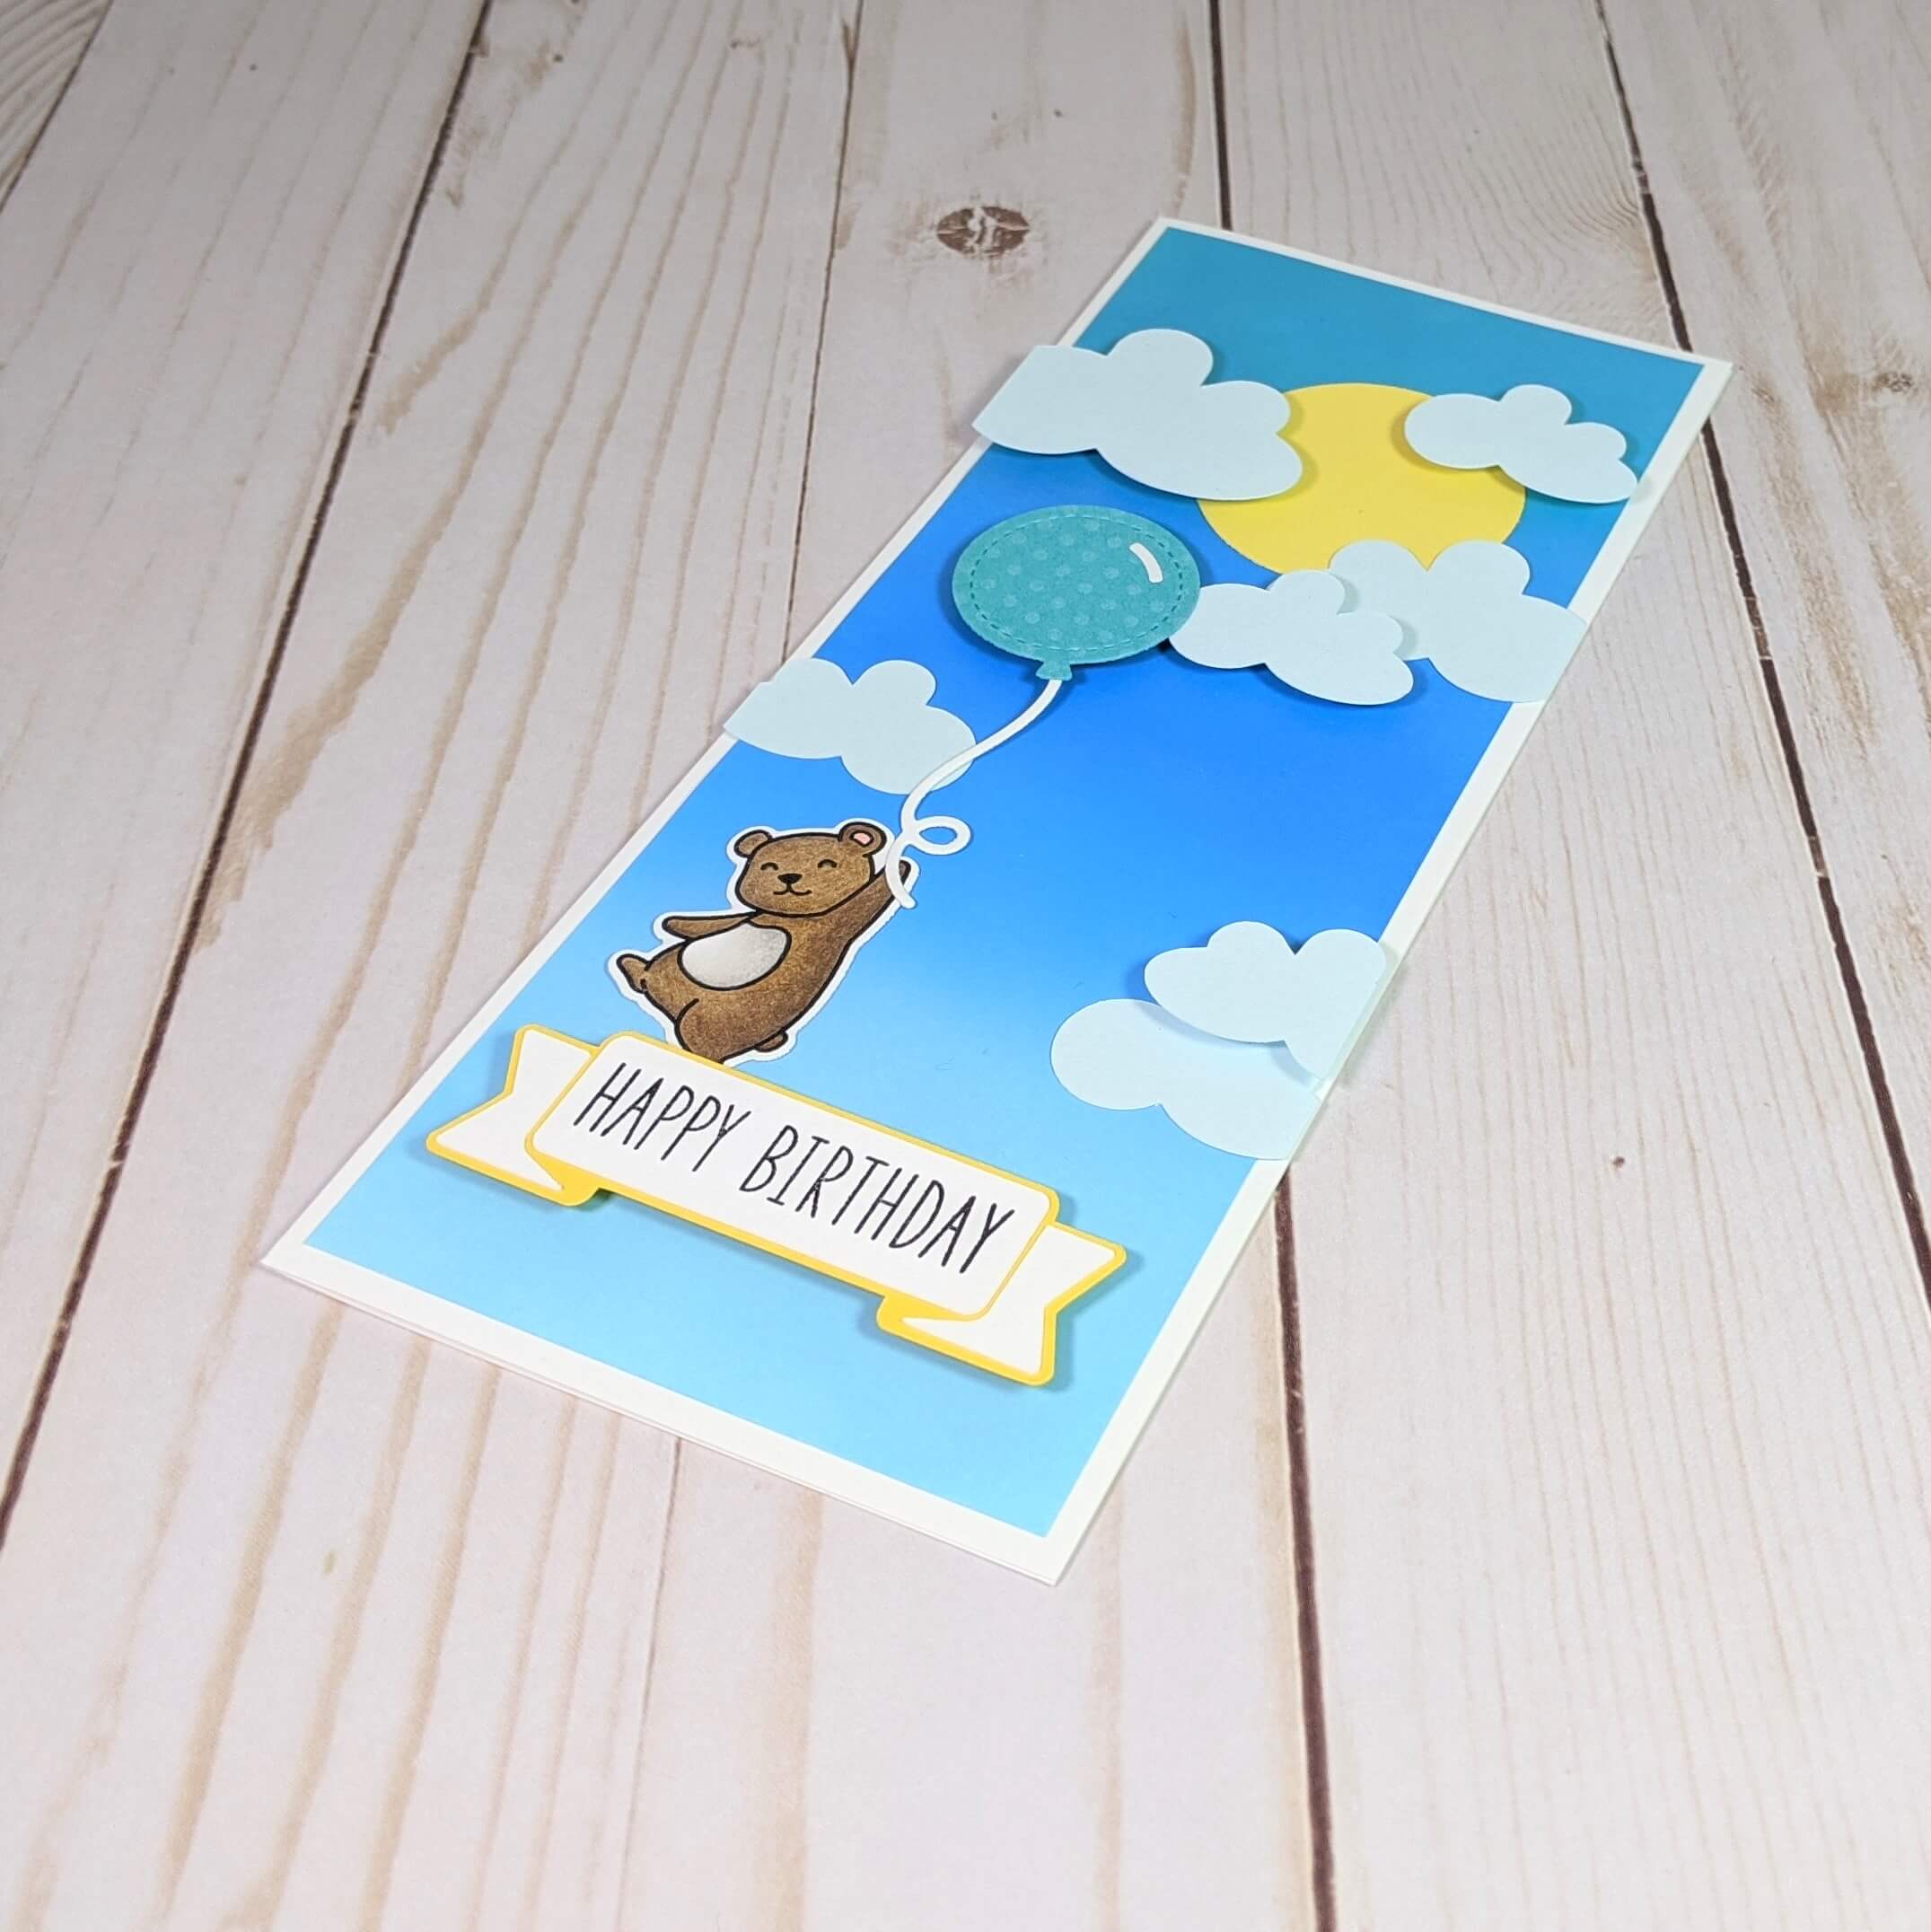
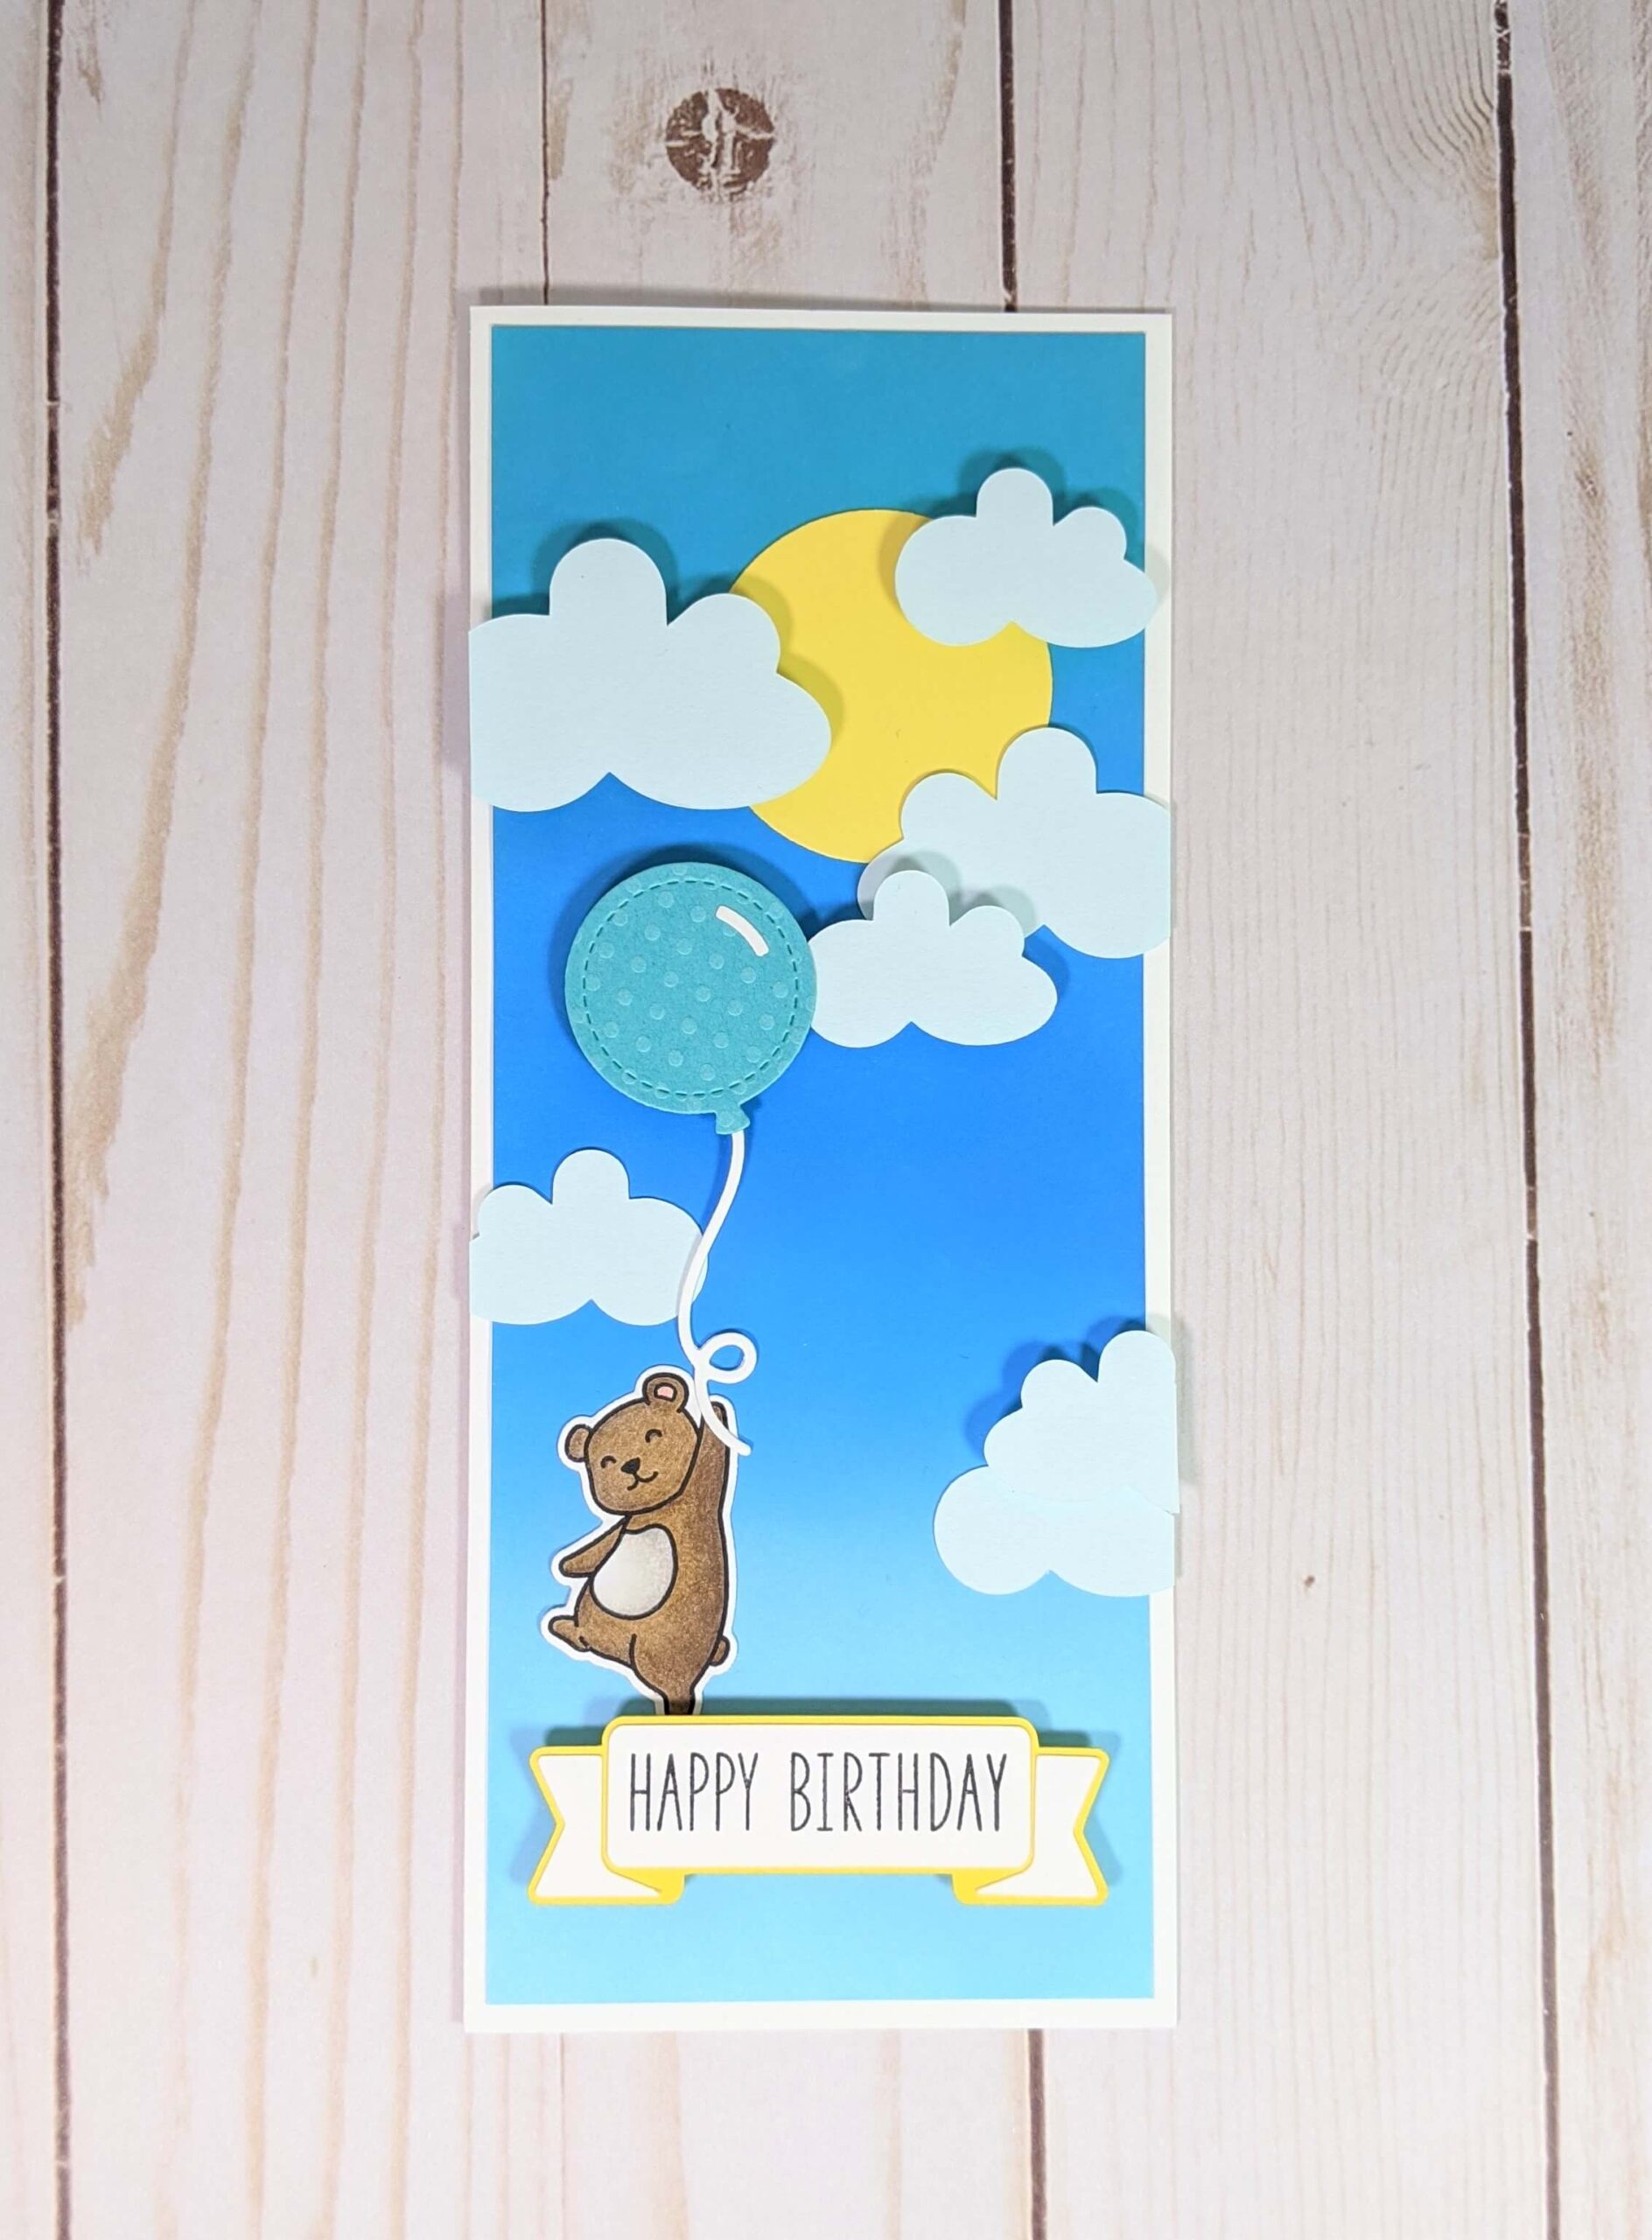
I’m a huge fan of this latest slimline birthday card, and I’m excited to show you how I made it. This distress oxide ink blending tutorial is easy to follow and you can mix and match your own colors! This birthday card is also special to me because I was able to build this scene with leftover die cuts from past projects! Keep reading to find all the supplies that I used and a detailed overview of how I made this card!
Watch this Slimline Birthday Card Twitch Broadcast here.
Materials Used:
This blog may use affiliate links when they’re available. If you choose to make a purchase through one of these links, I may receive a small commission at no cost to you. I don’t make recommendations lightly, and will only link to products I know and trust.
- Crafting Ink Blending Brush Set [Amazon]
- Tumbled Glass Distress Oxides Ink Pad – Ranger Ink – Tim Holtz [Scrapbook.com] [Amazon]
- Salty Ocean Distress Oxides Ink Pad – Ranger Ink – Tim Holtz [Scrapbook.com] [Amazon]
- Peacock Feathers Distress Oxides Ink Pad – Ranger Ink – Tim Holtz [Scrapbook.com] [Amazon]
- Jet Black Ranger Archival Ink Pad [Scrapbook.com] [Amazon]
- Outside In Stitched Balloon Stackables – Lawn Fawn Die Set [Scrapbook.com] [Amazon]
- Stitched Balloon Frames – Lawn Fawn Die Set [Scrapbook.com] [Amazon]
- Really High Five – Lawn Fawn Stamp Set [Scrapbook.com] [Amazon]
- Really High Five – Lawn Fawn Die Set [Scrapbook.com] [Amazon]
- Bazzill Swiss Dot Cardstock – Mermaid [Amazon]
- Recollections Cardstock Paper, Essentials 20 Colors [Amazon]
- Neenah Classic Crest Solar White 80lb Cardstock [Scrapbook.com] [Amazon]
- Tombow MONO Aqua Liquid Glue [Scrapbookpal.com] [Amazon]
- Scrapbook Adhesives Initially Repositionable Mounting Squares [Scrapbook.com] [Amazon]
- Forever In Time 3D Pop Dots Square Dual-Adhesive Foam Mount, 1/4-Inch [Amazon]
- Faber-Castell Polychromos Colored Pencil Set – 60 Pieces [Amazon]
- Faber-Castell Polychromos Colored Pencil Set – 120 Pieces [Amazon]
- Cricut Explore Air 2 Machine [Cricut] [Amazon]
- Adhesive Cricut Cutting Mat, Standard Grip [Scrapbook.com] [Cricut] [Amazon]
- Basic Tool Set – Cricut [Cricut] [Amazon]
- Whaline 4 Pieces Stamp Blocks [Amazon]
- Sizzix BIGkick Machine [Scrapbook.com] [Amazon]
- EK Tools EK Scoring Board 12×12 [Amazon]
- Feather No.55 Switch-Blade Shear, 5.5 Inch [Amazon]
- Fiskars Recycled Bypass Trimmer, 12 Inch [Amazon]
- Trim Slant Tip Tweezers [Amazon]
- Misti Stamp Tool Original Size Stamp Positioner [Amazon]
- Lawn Fawn Stamp Shammy [Scrapbook.com] [Amazon]
Cricut Images Used:
- Clouds Background and Overlay (Miss Kate Cuttables – The Great Outdoors)
- Banner (Cutie Planner Pieces)
More distress oxide ink blending tutorials can be found here.
Slimline Birthday Card Tutorial:
Step 1. Use distress oxide inks to blend the background.
I used three distress oxide inks to blend the sky on this slimline birthday card. Peacock Feathers distress oxide ink was used for the top of the sky and is the darkest color. Then I used Salty Ocean for the mid-tone, and Tumbled Glass ink for the lightest color creating the bottom of the sky.
When working with distress oxide ink blending techniques, I find that I get the best results by moving my blending brush in a circular motion while it’s on the paper. It also keeps the ink from building up too much in one spot. I started with Peacock Feathers, laying down a layer of that darkest ink with my largest blending brush. Then I grabbed a second clean brush for the Salty Ocean and work that into the middle of the cardstock. I also started working the Salty Ocean into the Peacock Feathers while alternating colors to help it blend cleanly. Lastly, I moved to the Tumbled Glass distress oxide ink for the bottom of the sky.
Tip: Did you know that you can also use this ink blending technique with stencils? Learn more here.
Step 2. Apply the distress oxide inked background to the card base.
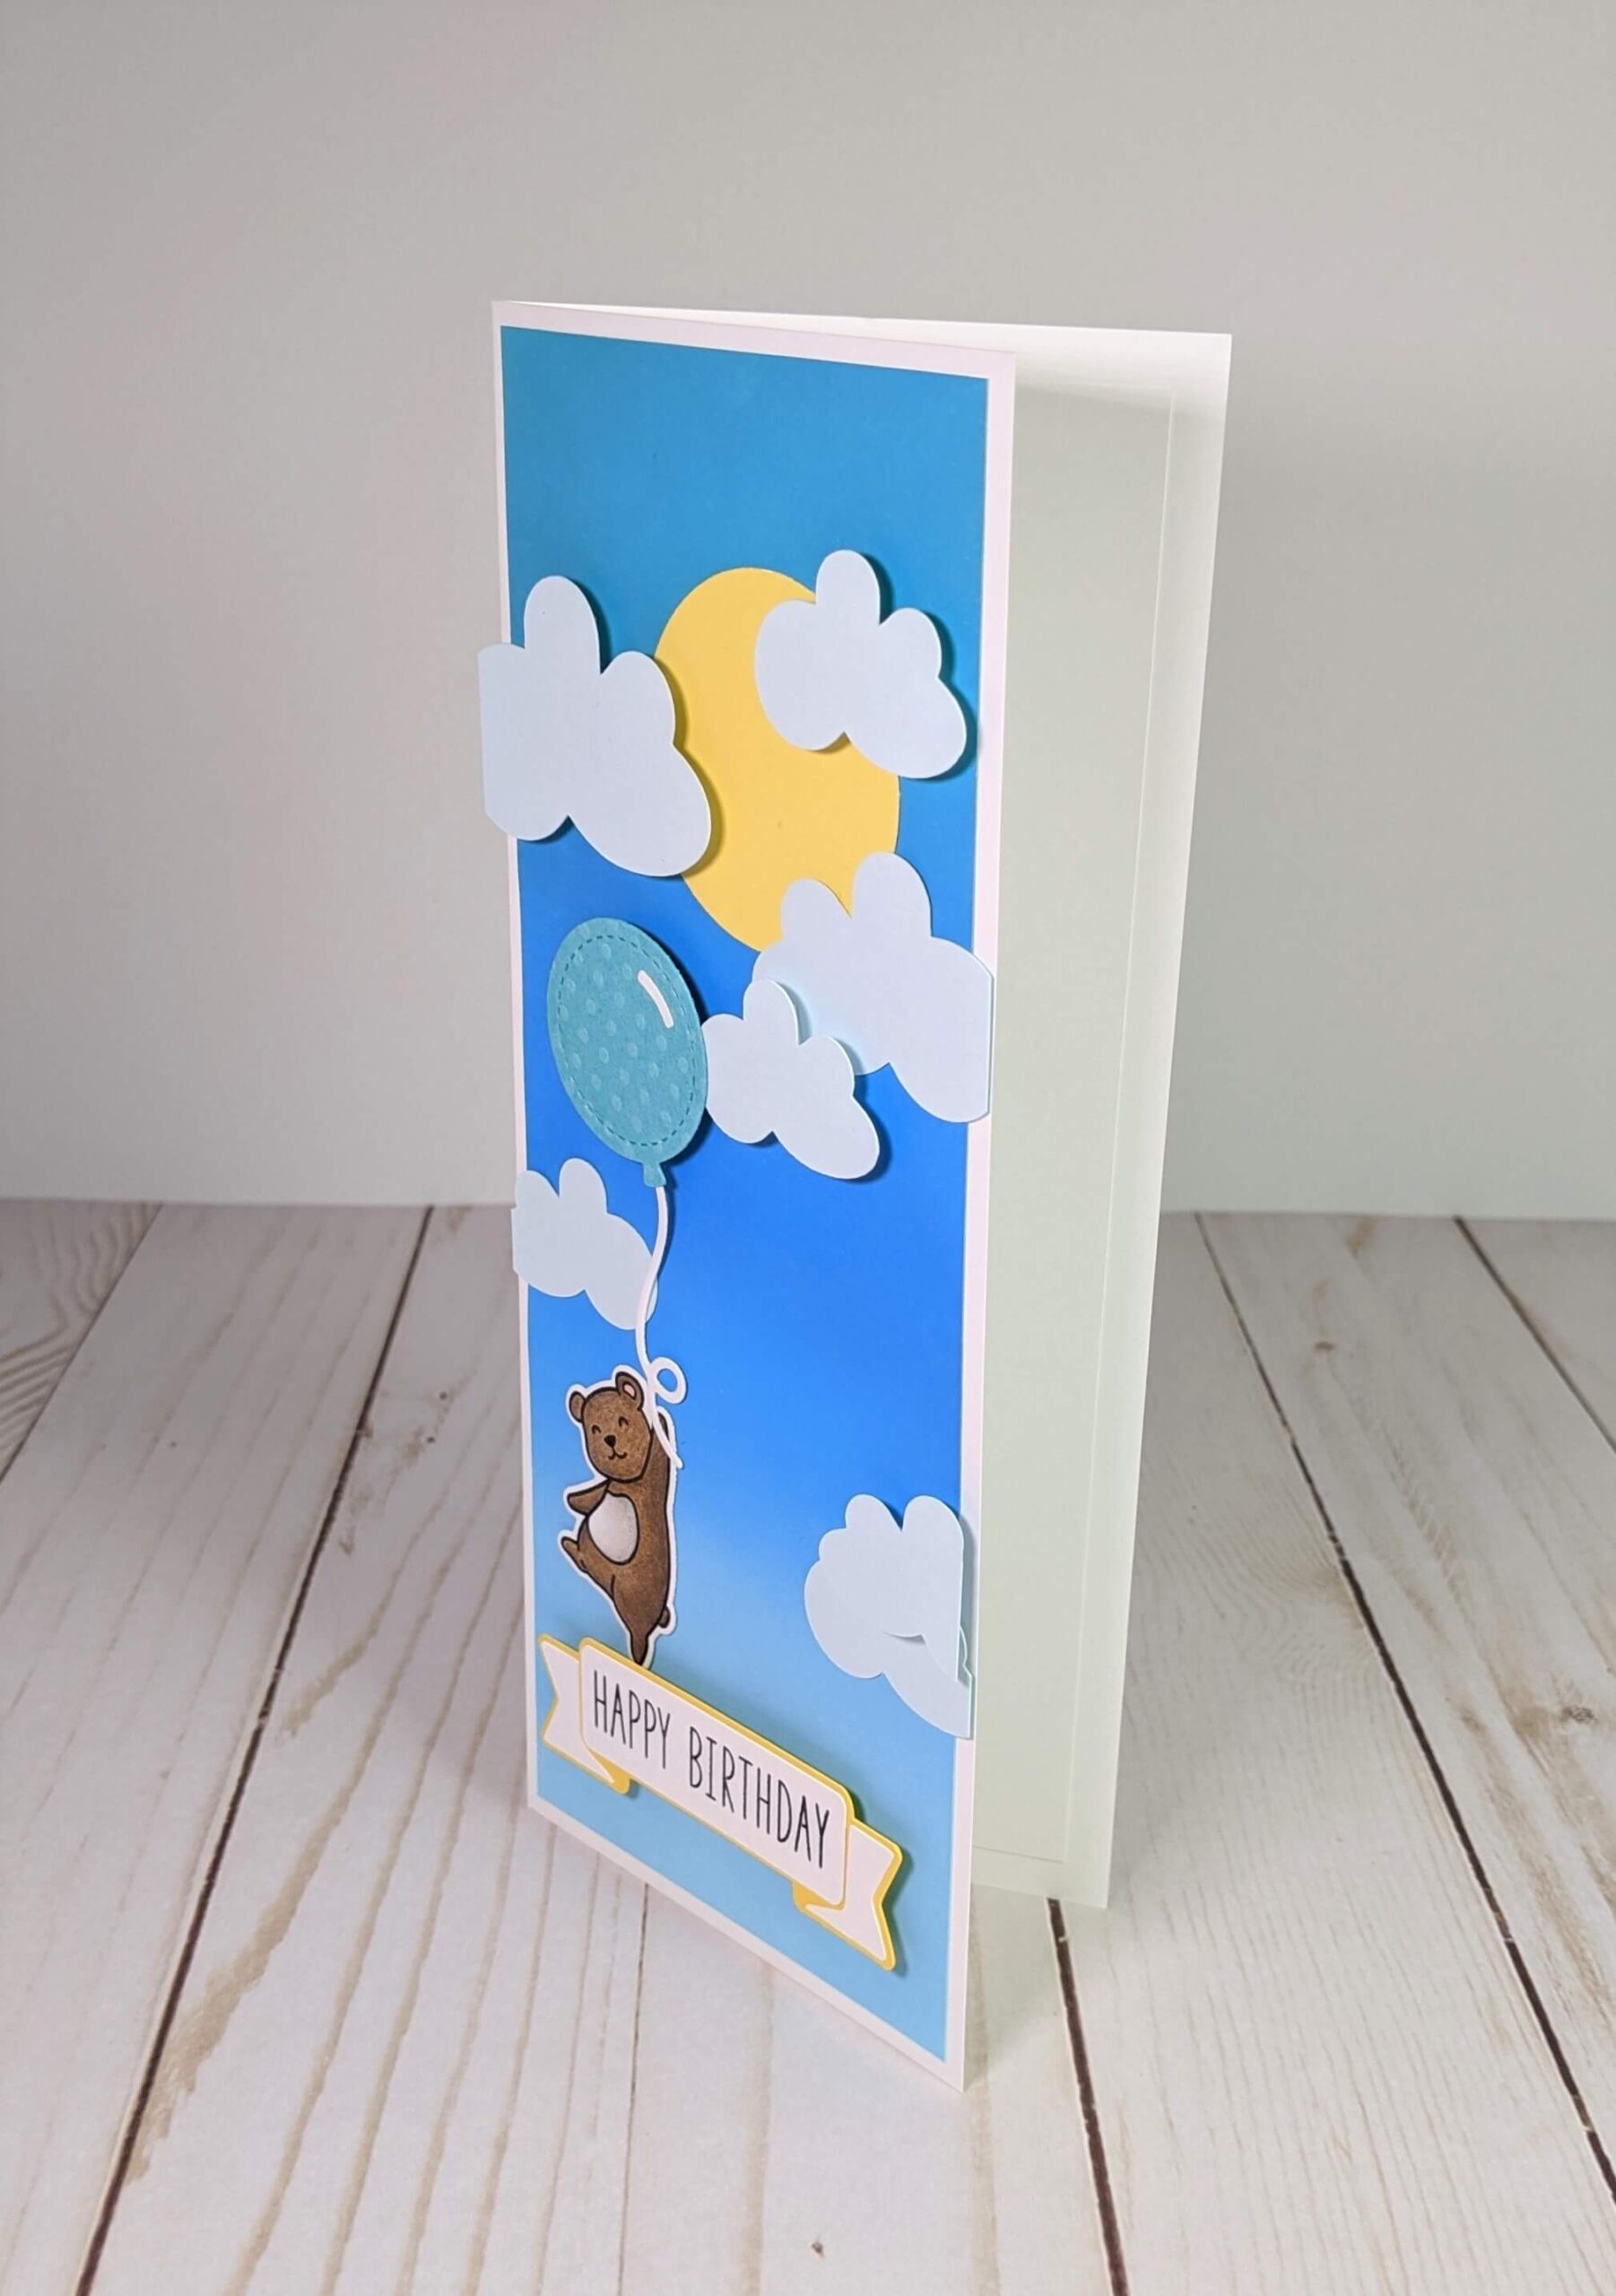
When I was done with the distress oxide inked background I trimmed a sheet of Neenah Solar White cardstock to be 6′ x 8.5′ and scored it down the middle to make this slimline birthday card base. Then I applied the background (about 8.25′ x 3.24′) to the base using some Scrapbook Adhesives mounting squares. Once the background was firmly in place, I could begin creating the birthday theme.
Step 3. Add die cuts to create the slimline birthday card scene
Now, I mentioned that I would be using leftover scraps to finish off this card. Well, I tend to store all the pretty dies that I’ve cut out or colored in a basket in hopes of using them some time in the future. And it really panned out for this card!
The sun on this slimline birthday card was made from the inside negative of the lawn fawn Stitched Balloon Frames die set. The clouds were the negatives that I had leftover from a baby shower card I had made with my Cricut Explore Air 2 machine. I cut the balloon using Mermaid Swiss Dots Bazzill cardstock and the Outside In Stitched Balloon Stackables die set. Then, I had the bear left over from a 60th birthday card that I had made using the Really High Five stamp set from Lawn Fawn. I placed the balloon in the bear’s hand using some Tombo MONO Aqua liquid glue. I held it down with a stamping block to let it dry. While it was drying, I finished placing my clouds on the card. Then I used a Happy Birthday banner that I made with my Cricut machine.
I hope you enjoyed this slimline birthday card tutorial. Follow me on Instagram, Facebook, or Pinterest for the latest updates! You can also shop all the handmade cards that I’ve designed here.