
Feeling stuck when it comes to creating your own colored pencil drawing? Maybe you follow tutorials but are hesitant to start an original piece. If you can relate to this feeling, you’re not alone. Many people struggle with how to get started. In this article, I’m sharing 4 tips for planning a colored pencil drawing. These are the concepts that I focus on when I’m trying to start something new. They apply to any medium, and I hope they help encourage you to start a project that you might be putting off. Keep reading to learn more.
Watch my 4 Tips for Planning a Colored Pencil Drawing YouTube video here.
Materials Used:
This blog may use affiliate links when they’re available. If you choose to make a purchase through one of these links, I may receive a small commission at no cost to you. I don’t make recommendations lightly, and will only link to products I know and trust.
- 120 Pieces – Faber-Castell Polychromos Colored Pencil Set [Amazon]
- HB Pencil – General Semi-Hex Graphite Drawing Set [Blick] [Amazon]
- Strathmore Colored Pencil Paper Pad 400 Series [Blick] [Amazon]
- Strathmore Tracing Paper Pad 300 Series [Blick]
Planning a Colored Pencil Drawing
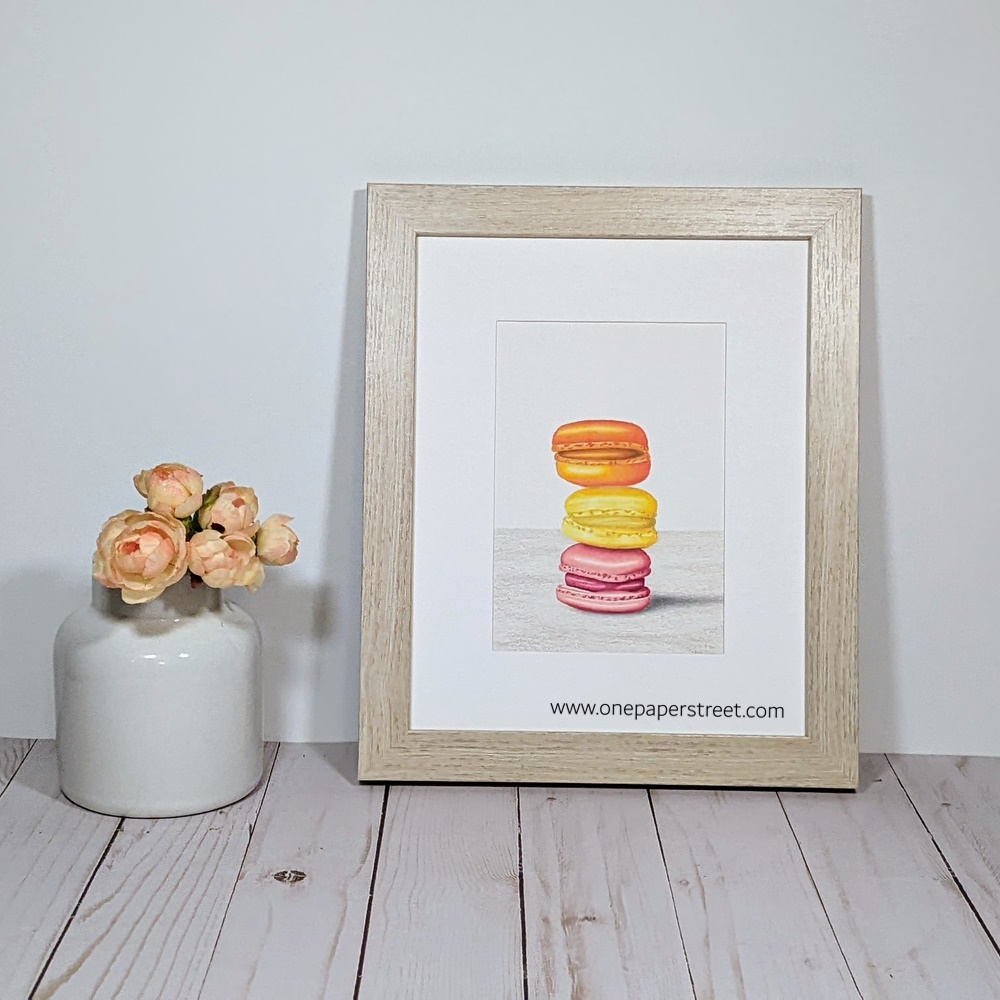
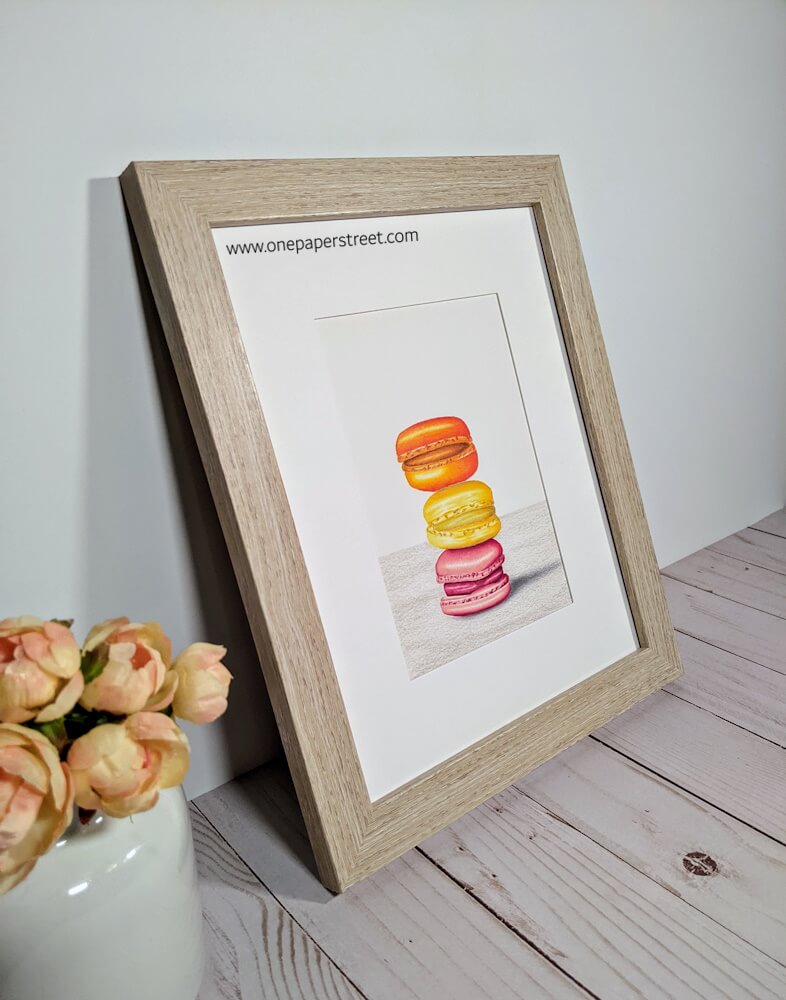
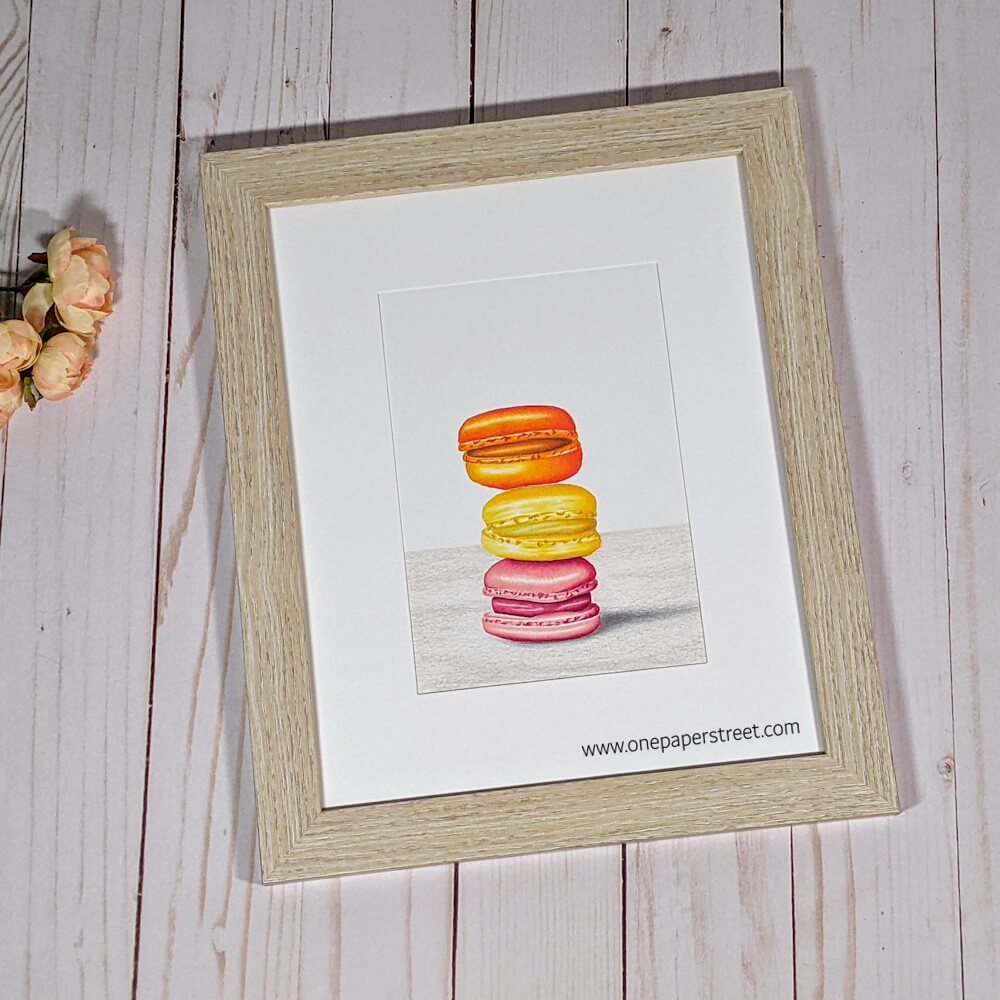
I was inspired to share these 4 tips to plan a colored pencil drawing as I was working on this macaron drawing I made. I created a short timelapse video that you can find above. This piece took me approximately 11 hours to draw and color, and it was a journey filled with fun and valuable lessons. So let’s dig in!
Don’t Be Afraid to Try New Things:
First, don’t be afraid to create something new, and don’t expect perfection on the first try. I’ve never made a food drawing before. So, this is my first attempt at drawing and coloring macaroons. I was initially nervous to start, but just because I’ve never done it doesn’t mean I shouldn’t try. Overall I’m really happy with how it turned out.
I know that in time as I plan more food drawings, my work will improve. So I need to be careful that I’m not too critical of my work. And let’s face it, as artists, we often tend to be our own worst critics. Just remember, next time you try something new, celebrate the lessons you learned during the creation process. Celebrate that piece you made even if you’re not in love with it. You’re on a journey to make a future piece that will be even more beautiful.
Choose Your Color Palette:
Next, plan out the right colors for your piece. If you’re not sure about those colors, then make some swatches. Test the colors next to each other, blend them together, and see if they work for you.
If you’re using a reference photo, don’t feel obligated to match the colors on that photo. Try changing your reference photo to black and white so you’re not influenced by that color scheme. Give yourself some freedom to work. Pick your own colors, and use the black and white photo as a light source guide instead.
Work in Phases:
Try breaking down your project into manageable phases. You’ll see in the video I shared that I completed each macaron before moving on to the next one. This not only reduces overwhelm but also instills a sense of accomplishment at each stage of the artwork.
This process can also be helpful if you’re uncertain about a section of your project. For example, I wasn’t sure how to color the filling in between the macaron cookies, so I decided to color the cookies before the filling. By the time I got to the filling I had built up my confidence a little.
Chose where your light source will be:
Bight source is also important. Decide on where your light source will be before you start your project. It will help you plan how to shade your artwork. Our brains interpret shape based on where the highlights, midtones, and shadows are on a picture. So you’ll want to use different shades of color throughout your piece based on where you think the light source will be.
For example, my light source is coming from the front left side of my macaroons. So if I look at them dead on, I can see that the pink macaroon has some light shining on its top cookie and a little off to the left. so that’s where I’ve added my highlights. Whereas the orange macaroon has far more light on the bottom cookie based on the direction of the light and where it’s positioned in my view.
I hope these tips have been helpful. The most important thing I want to leave you with is that anyone who enjoys art can create something wonderful. Don’t let fear keep you from expressing your creative voice.
If you’re interested in learning more, please check out my other colored pencil tips here and here. Thanks for stopping by. And don’t forget to sign up for my creative inspiration newsletter for the latest crafty tips and tricks. You can also find me on Instagram and Pinterest for the latest at One Paper Street! Or shop my handmade cards here!