Stencils make up such an important part of my card making supply stash. I use them all the time because they are so simple to use and pair with other techniques. In today’s tutorial, I’m walking you through how to use a really simple background stencil technique so that you can find new and creative ways to make your own design. Keep reading to learn more about the supplies I used and the process That went into making this card!
I’ve also shared a couple other tutorials where I use this technique in a slightly different way. You can check these cards out here, and here.
Materials Used:
This blog may use affiliate links when they’re available. If you choose to make a purchase through one of these links, I may receive a small commission at no cost to you. I don’t make recommendations lightly, and will only link to products I know and trust.
- R20 Blush Copic Sketch Marker [Scrapbookpal.com] [Amazon]
- Y13 Lemon Yellow Copic Sketch Marker [Scrapbookpal.com] [Amazon]
- Y17 Golden Yellow Copic Sketch Marker [Scrapbookpal.com] [Amazon]
- YG41 Pale Cobalt Green Copic Sketch Marker [Scrapbookpal.com] [Amazon]
- G02 Spectrum Green Copic Sketch Marker [Scrapbookpal.com] [Amazon]
- B00 Frost Blue Copic Sketch Marker [Scrapbookpal.com] [Amazon]
- B28 Royal Blue Copic Sketch Marker [Scrapbookpal.com] [Amazon]
- V04 Lilac Copic Sketch Marker [Scrapbookpal.com] [Amazon]
- Whaline 4 Pieces Stamp Blocks [Amazon]
- EK Tools EK Scoring Board 12×12 [Amazon]
- Feather No.55 Switch-Blade Shear, 5.5 Inch [Amazon]
- Fiskars Recycled Bypass Trimmer, 12 Inch [Amazon]
- Trim Slant Tip Tweezers [Amazon]
- Lawn Fawn Stamp Shammy [Scrapbook.com] [Amazon]
- Faber-Castell – Mix and Match Collection – Mixed Media Stencils – Graphics [Scrapbook.com] [Amazon]
- The Stamp Market – Friendly Bunch Stamp Set [Scrapbook.com]
- Ranger Archival Ink Pad, Jet Black [Scrapbook.com] [Amazon]
- Festive Berries Ranger Ink Distress Oxides Ink Pad [Scrapbook.com] [Amazon]
- Carved Pumpkin Ranger Ink Distress Oxides Ink Pad [Scrapbook.com] [Amazon]
- Mustard Seed Ranger Ink Distress Oxides Ink Pad [Scrapbook.com] [Amazon]
- Seedless Preserves Ranger Ink Distress Oxides Ink Pad [Scrapbook.com] [Amazon]
- Blueprint Sketch Ranger Ink Distress Oxides Ink Pad [Scrapbook.com]
- Peacock Feathers Ranger Ink Distress Oxides Ink Pad [Scrapbook.com] [Amazon]
- Crafting Ink Blending Brush Set [Amazon]
- Red Sunstone Nuvo Glitter Drops [Scrapbook.com] [Tonic Studios] [Amazon]
- Emerald City Nuvo Glitter Drops [Scrapbook.com] [Tonic Studios] [Amazon]
- Neenah Classic Crest Solar White 110lb Cardstock [Amazon]
- Neenah Classic Crest Solar White 80lb Cardstock [Scrapbook.com] [Amazon]
- Craft Specialties Double Sided White Foam Tape – 1/2″ X 36 Yards – 1/16″ Thick [Amazon]
- Washi Tape (to secure the card base to the stencil)

Simple Background Stenciling Tutorial:
Step 1. Prep the card base and secure the stencil.
When I first began planning this card, I knew that I wanted to apply the background stencil directly to the card base. So, I chose to create my card base on 110 lb Neenah solar white cardstock. Then I grabbed some washi tape and my circular background stencil from the Faber-Castell mix and match stencil collection.
I positioned the stencil on the card base where I wanted it then put some washi tape on the inside of the card/back of the stencil so that it wouldn’t move as I was applying the ink. I also put a scrap sheet of paper inside the card base. This would allow me to apply the ink without worrying about getting it on the other side of the base.
Step 2. Apply the ink to the card base.
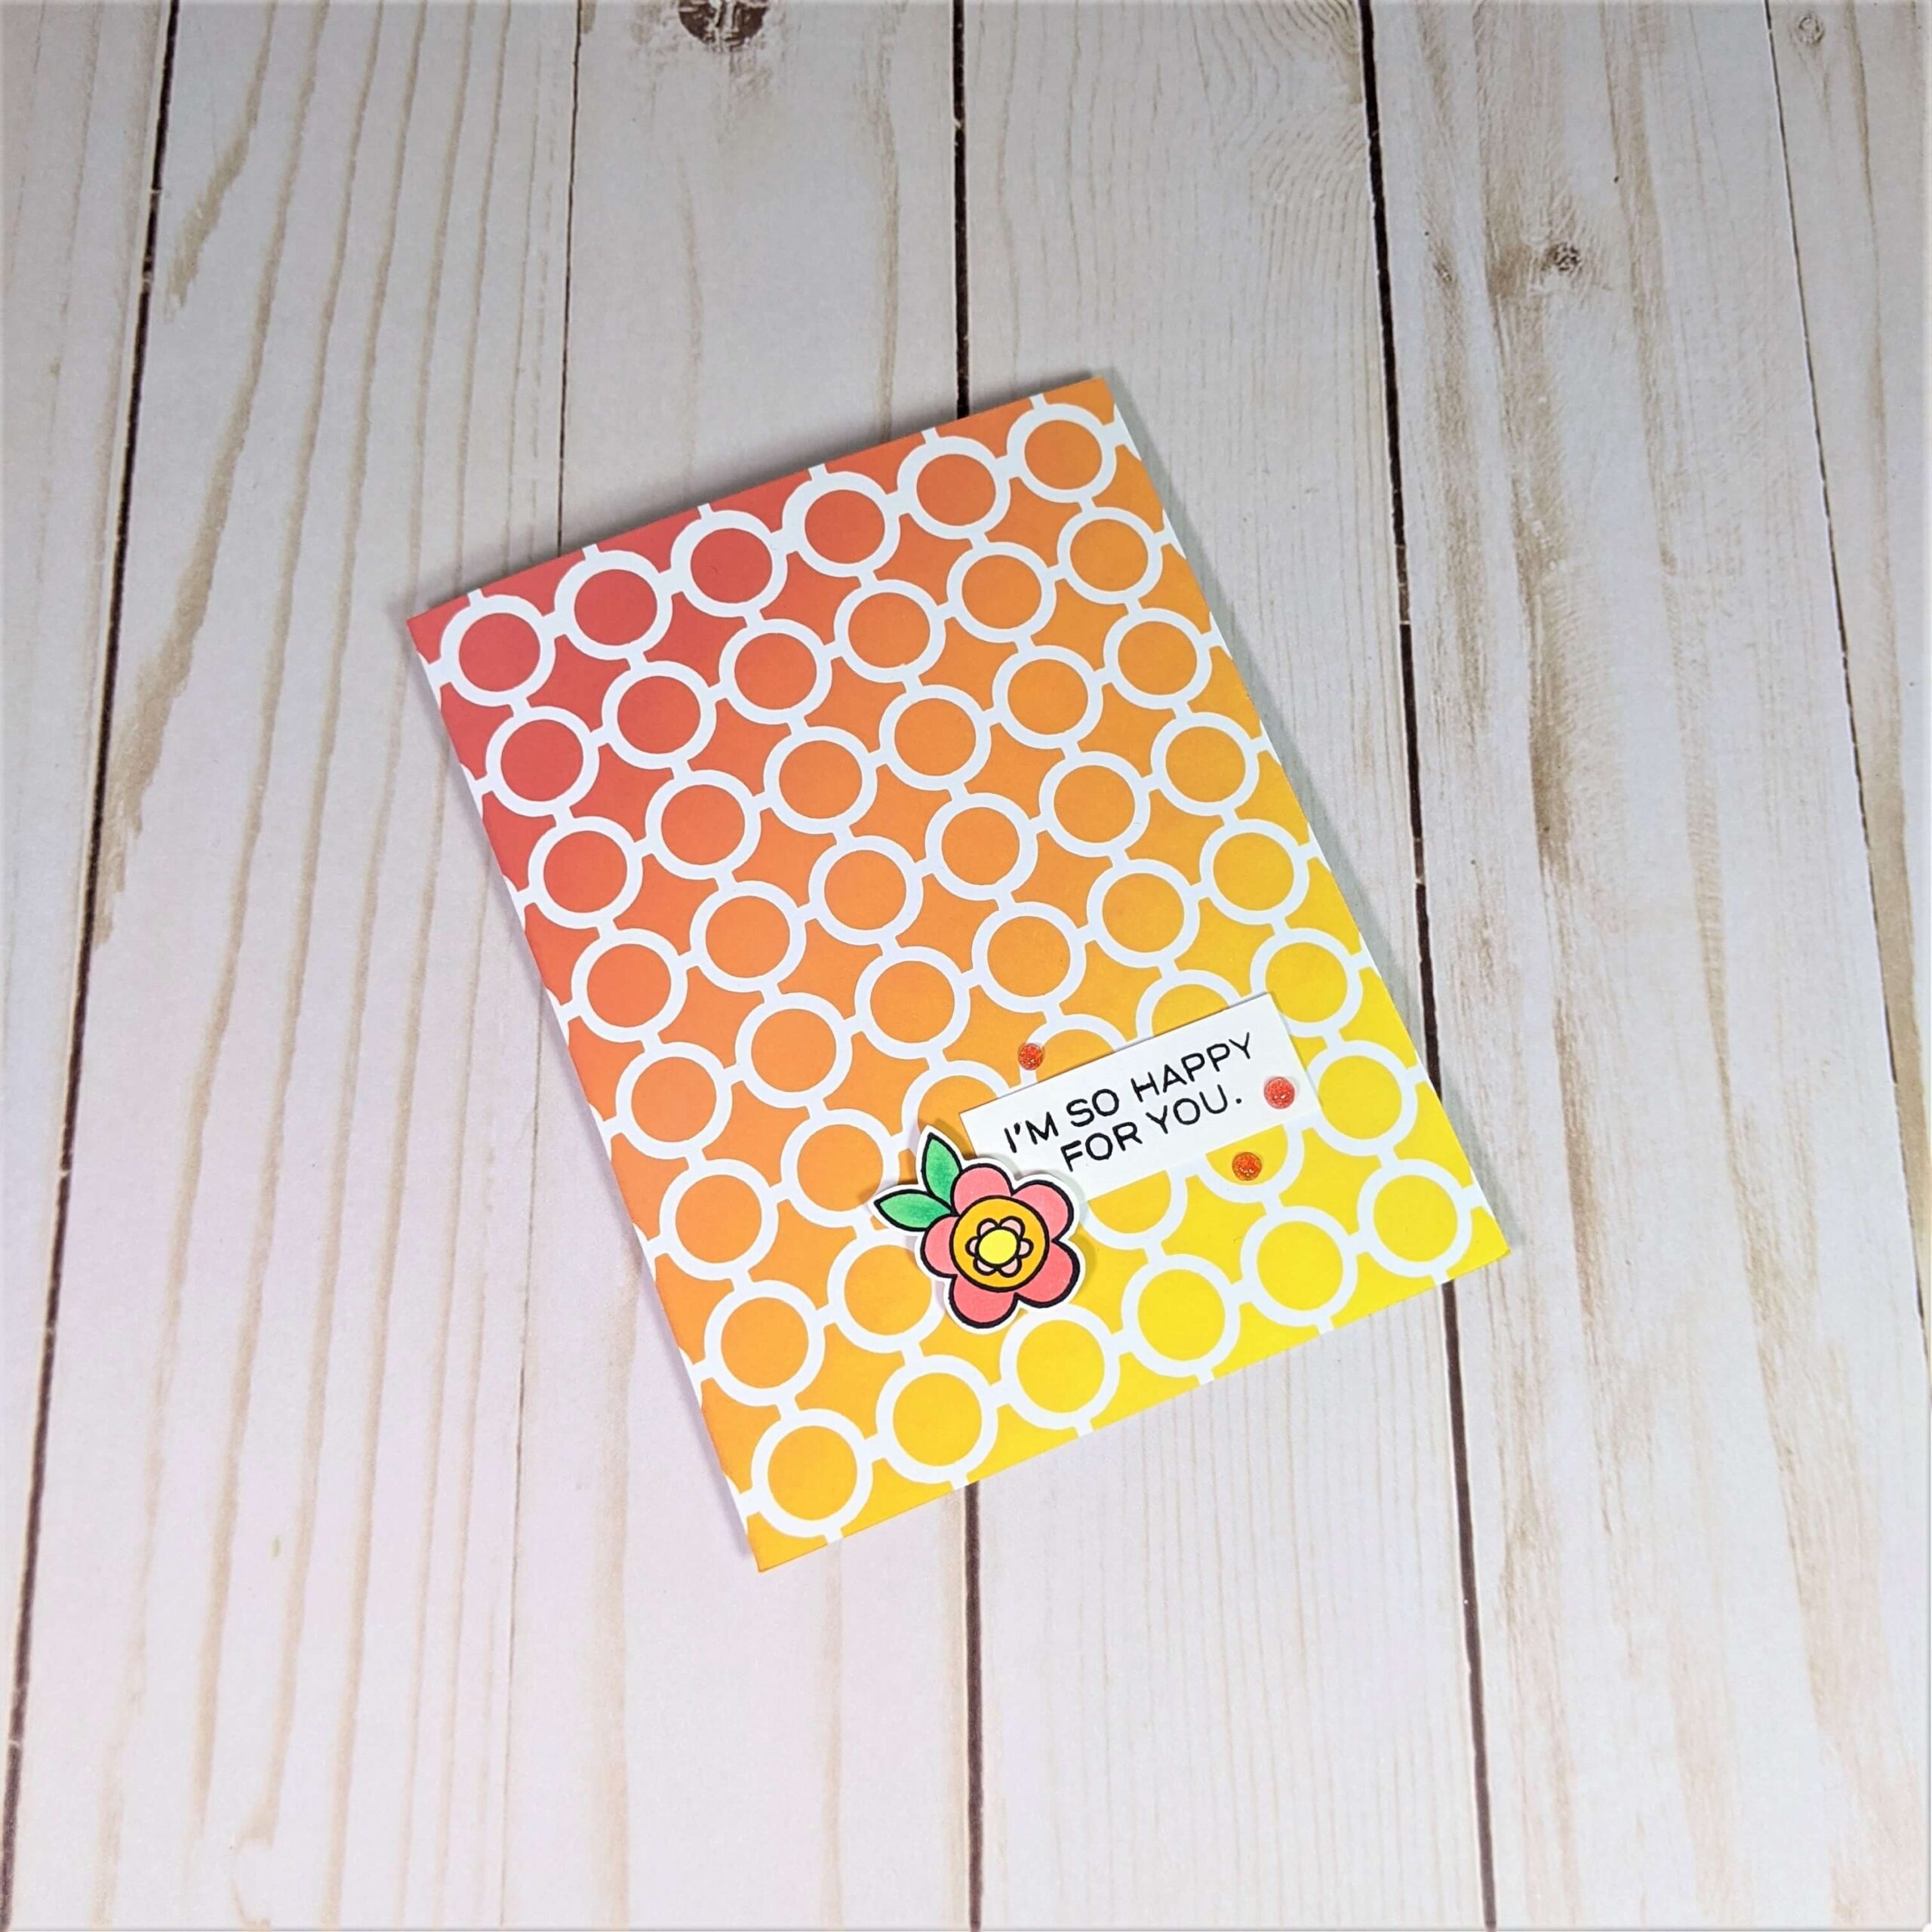
Once the card base was prepped and protected, I began applying the ink. I used distress oxide inks to create a seamlessly blended look in between the colors and made two cards using this technique. For the first card, the one with the warmer orange tones, I used festive berries, carved pumpkin, and mustard seed distress oxide inks. The card with the cooler blue tones was made using seedless preserves, blueprint sketch, and peacock feathers distress oxide inks.
I applied the inks over the paper and stencil diagonally using some large blending brushes. Starting at the edge of the paper, I worked my way inward slowly, starting with one color then moving to the next. As I was transitioning between colors, I would also alternate colors with two different blending brushes. This gave me a very smooth transition from one color to the next. I repeated these steps with each color, on each card.
Step 3. Gently peel the stencil off.
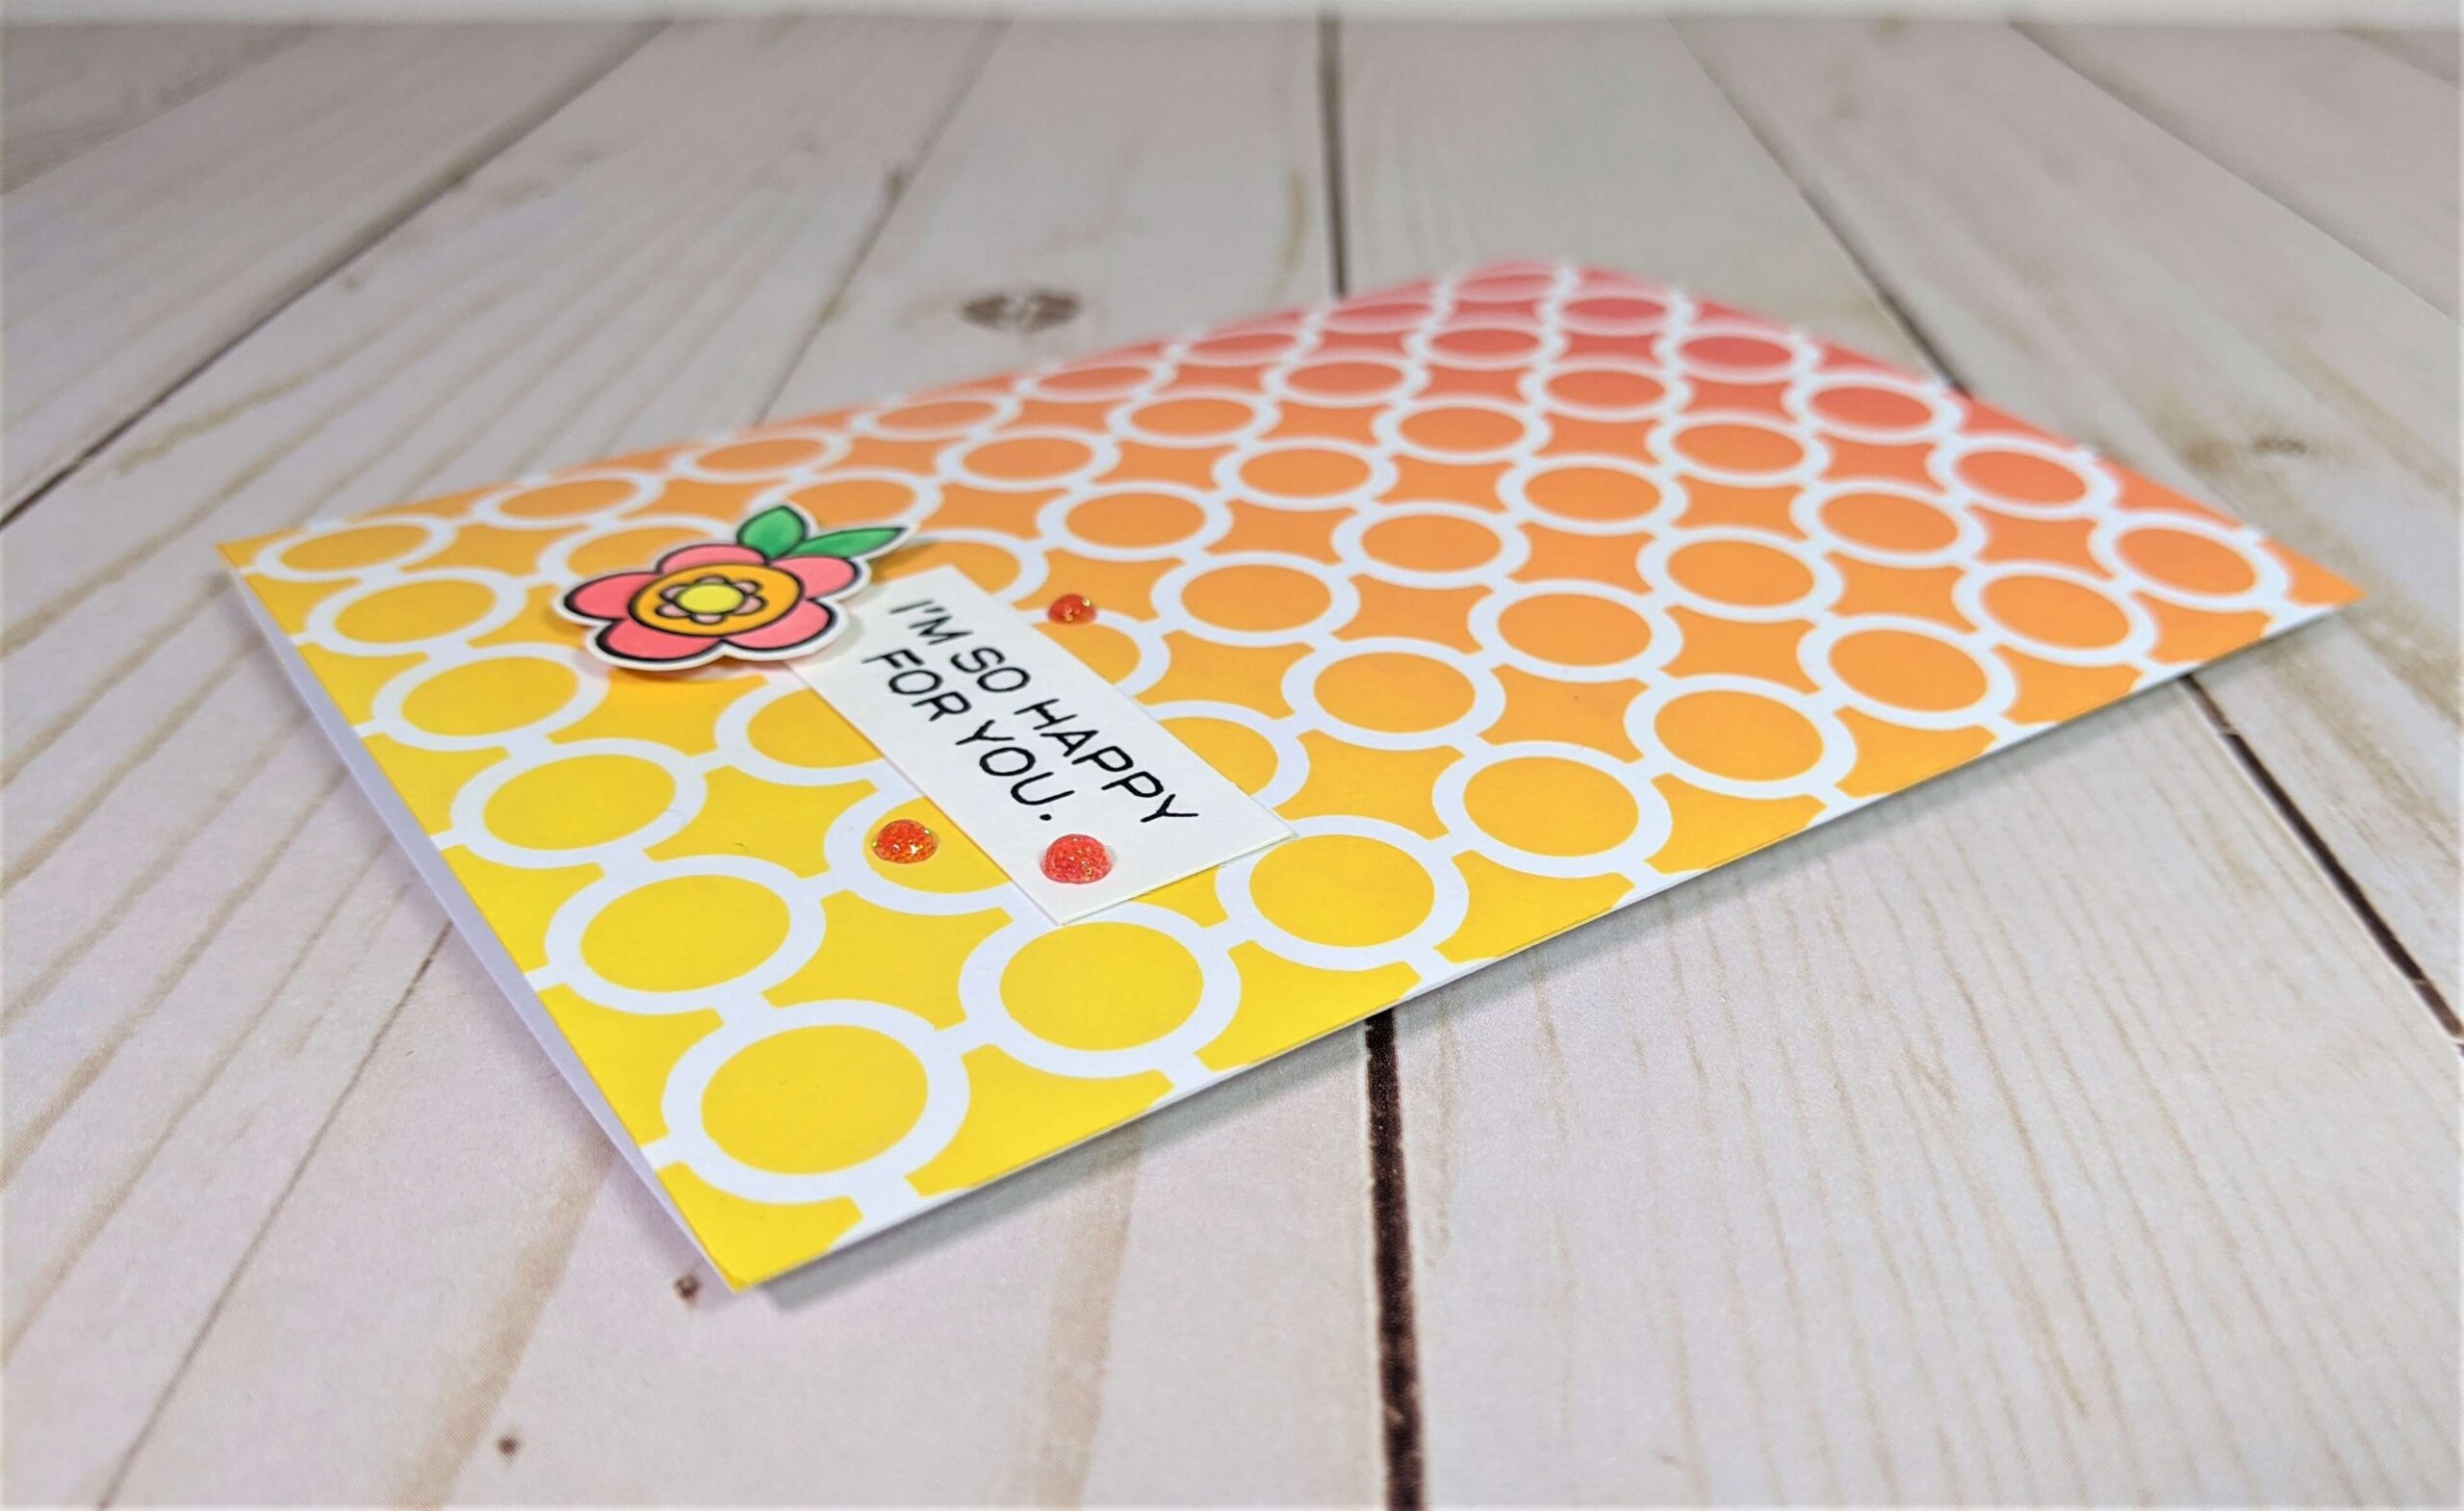
Once the ink was applied, I gently pulled the washi tape back and pulled the background stencil off of the card base. This revealed the beautiful background pattern that you see in these pictures.
I also had this cute little flower stamp that I thought would go nicely with the background colors I used, so I grabbed my jet black archival ink from Ranger and stamped it onto some 80lb Neenah solar white cardstock. Using my Copic markers, I colored two little flowers. I used Blush (R20), Lemon Yellow (Y13), Golden Yellow (Y17), Pale Cobalt Green (YG41), and Spectrum Green (G02) Copic markers to color in the flower for the warm card. Then, I used Frost Blue (B00), Royal Blue (B28), Lilac Pale (V04), Cobalt Green (YG41), and Spectrum Green (G02) for the cooler card.
Step 4. Add a sentiment and any embellishments.
Lastly, I used my jet black archival ink once more, to stamp this lovely “I’m so happy for you” sentiment from The Stamp Market. Once the ink had dried, I simply used my scissors to trim it down to size and added some red sunstone and emerald city Nuvo glitter drops as finishing touches on this card.

I hope that you enjoyed this finished background stencil card! I have several other ink blending tutorials that you can find here! So check them out and, follow me on Instagram, Facebook or Pinterest for the latest updates! You can also shop all the handmade cards that I’ve designed here.