
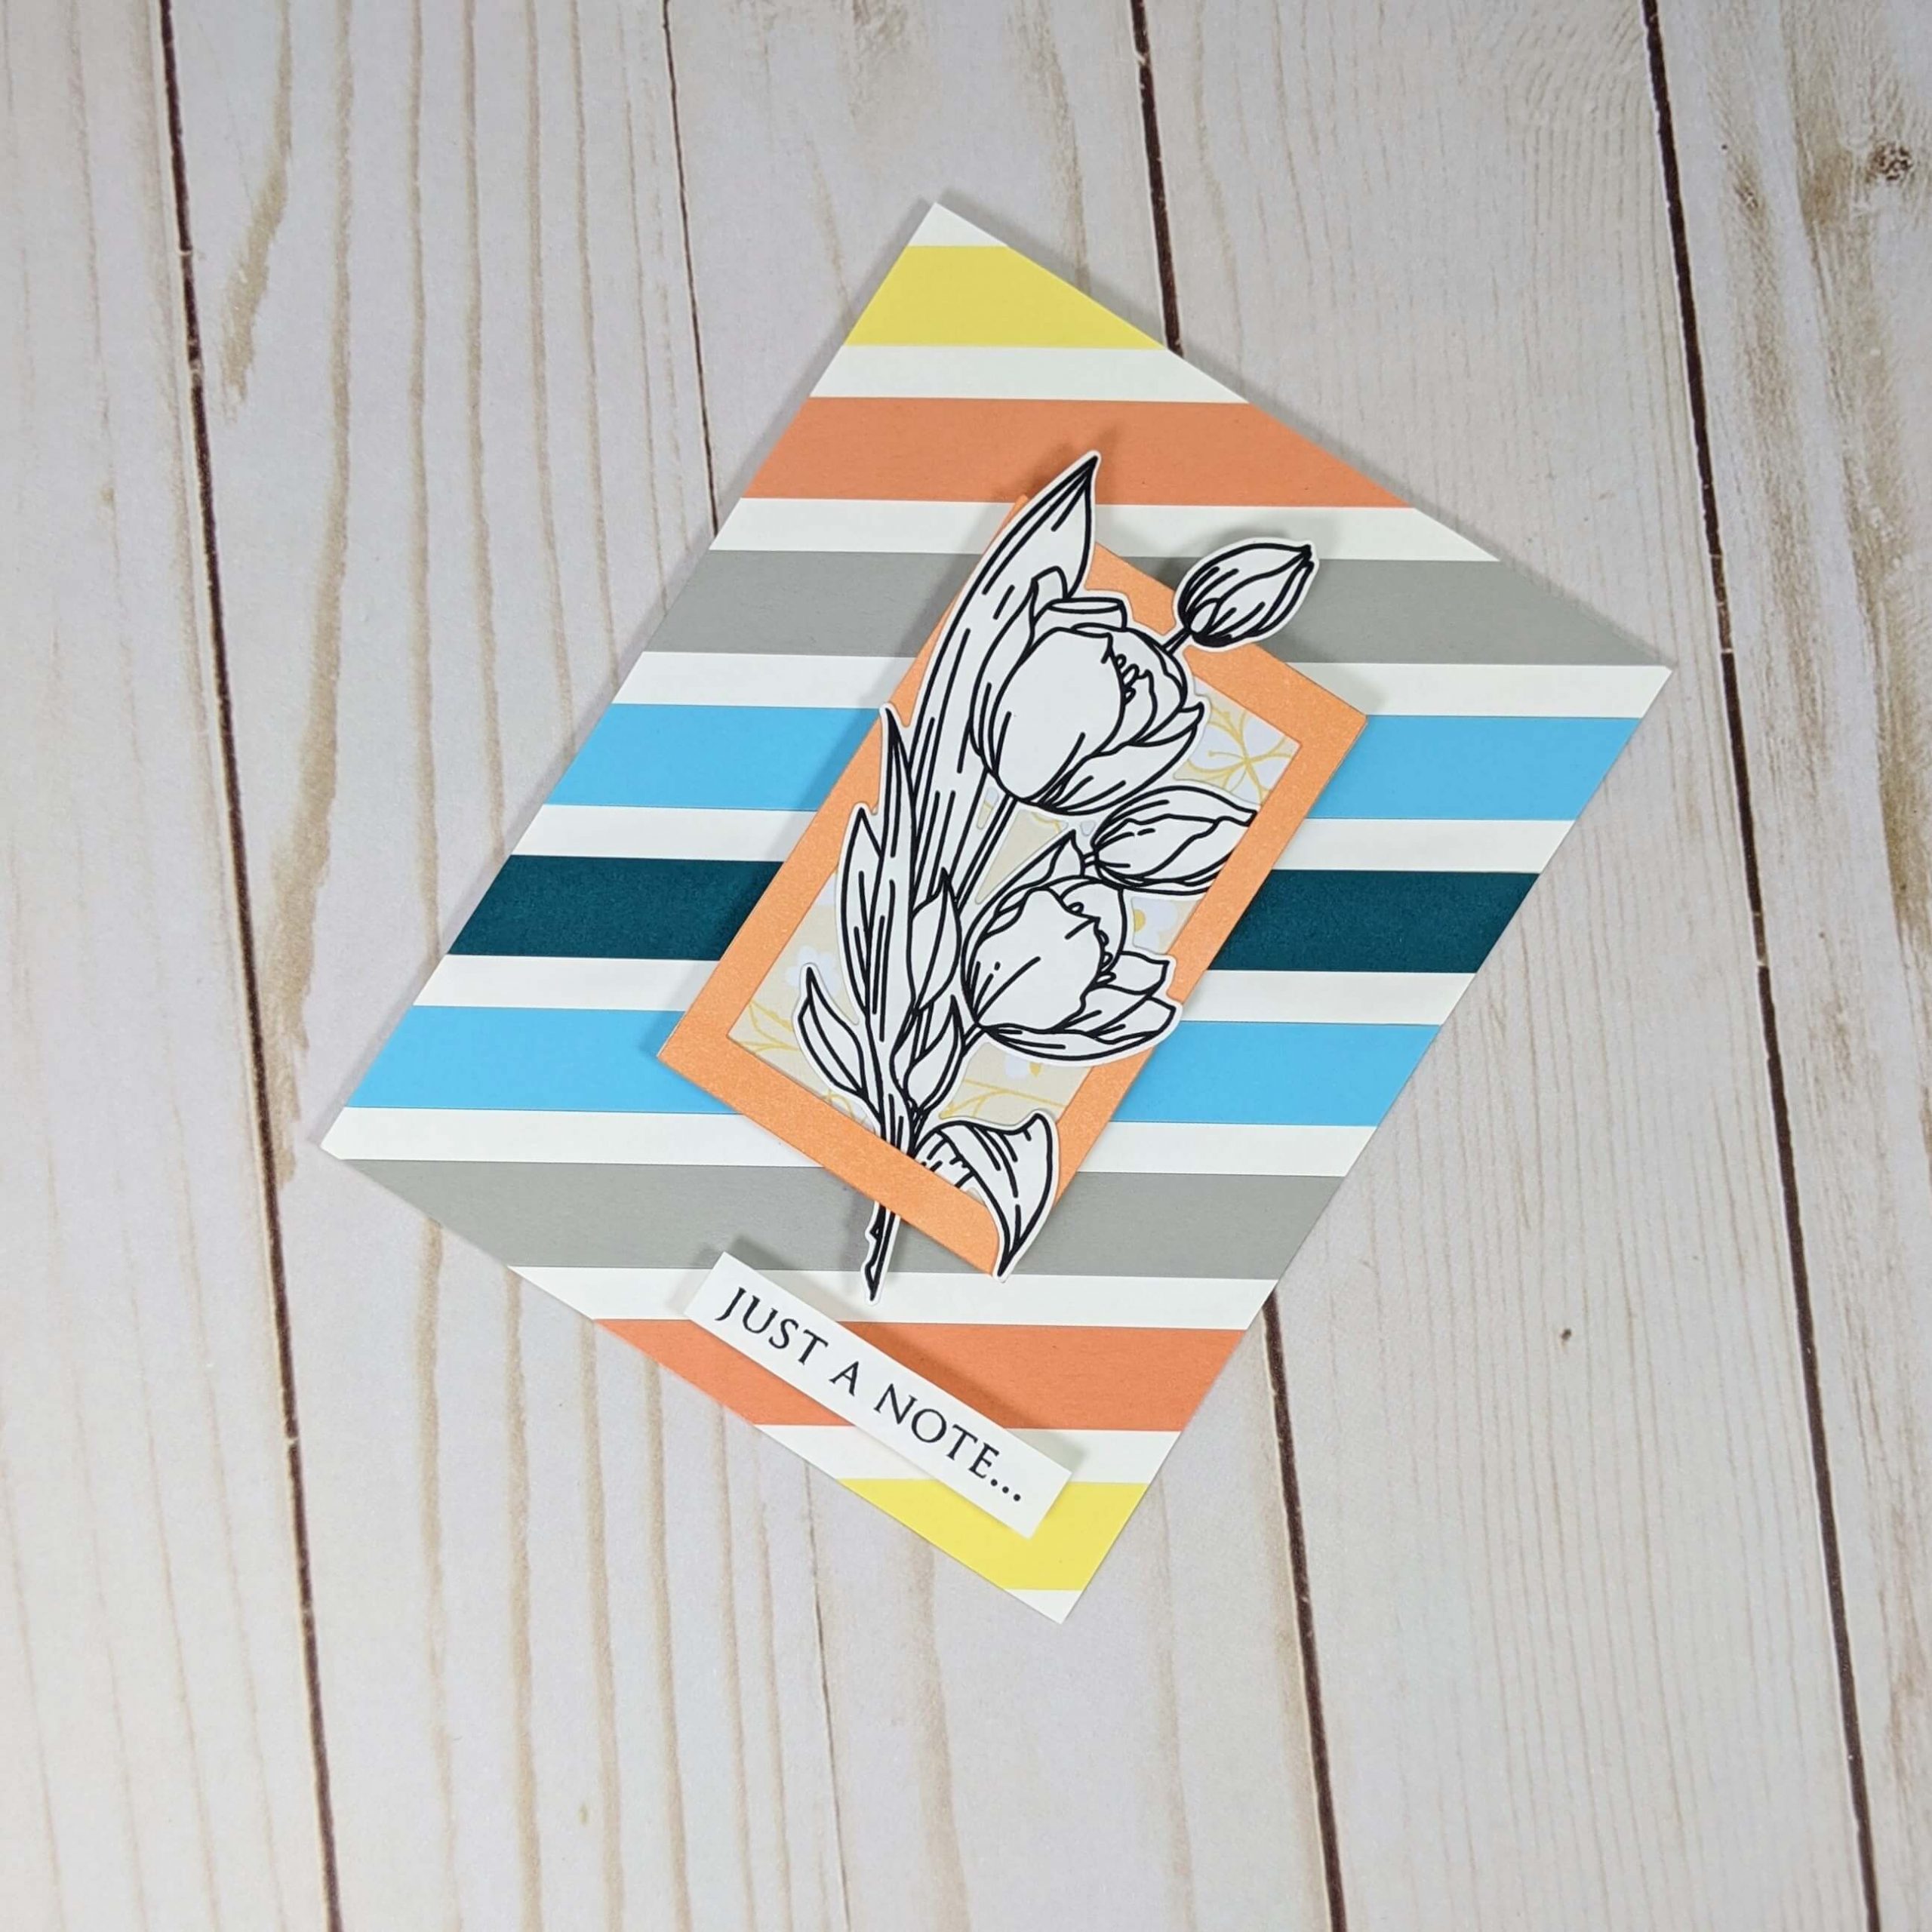
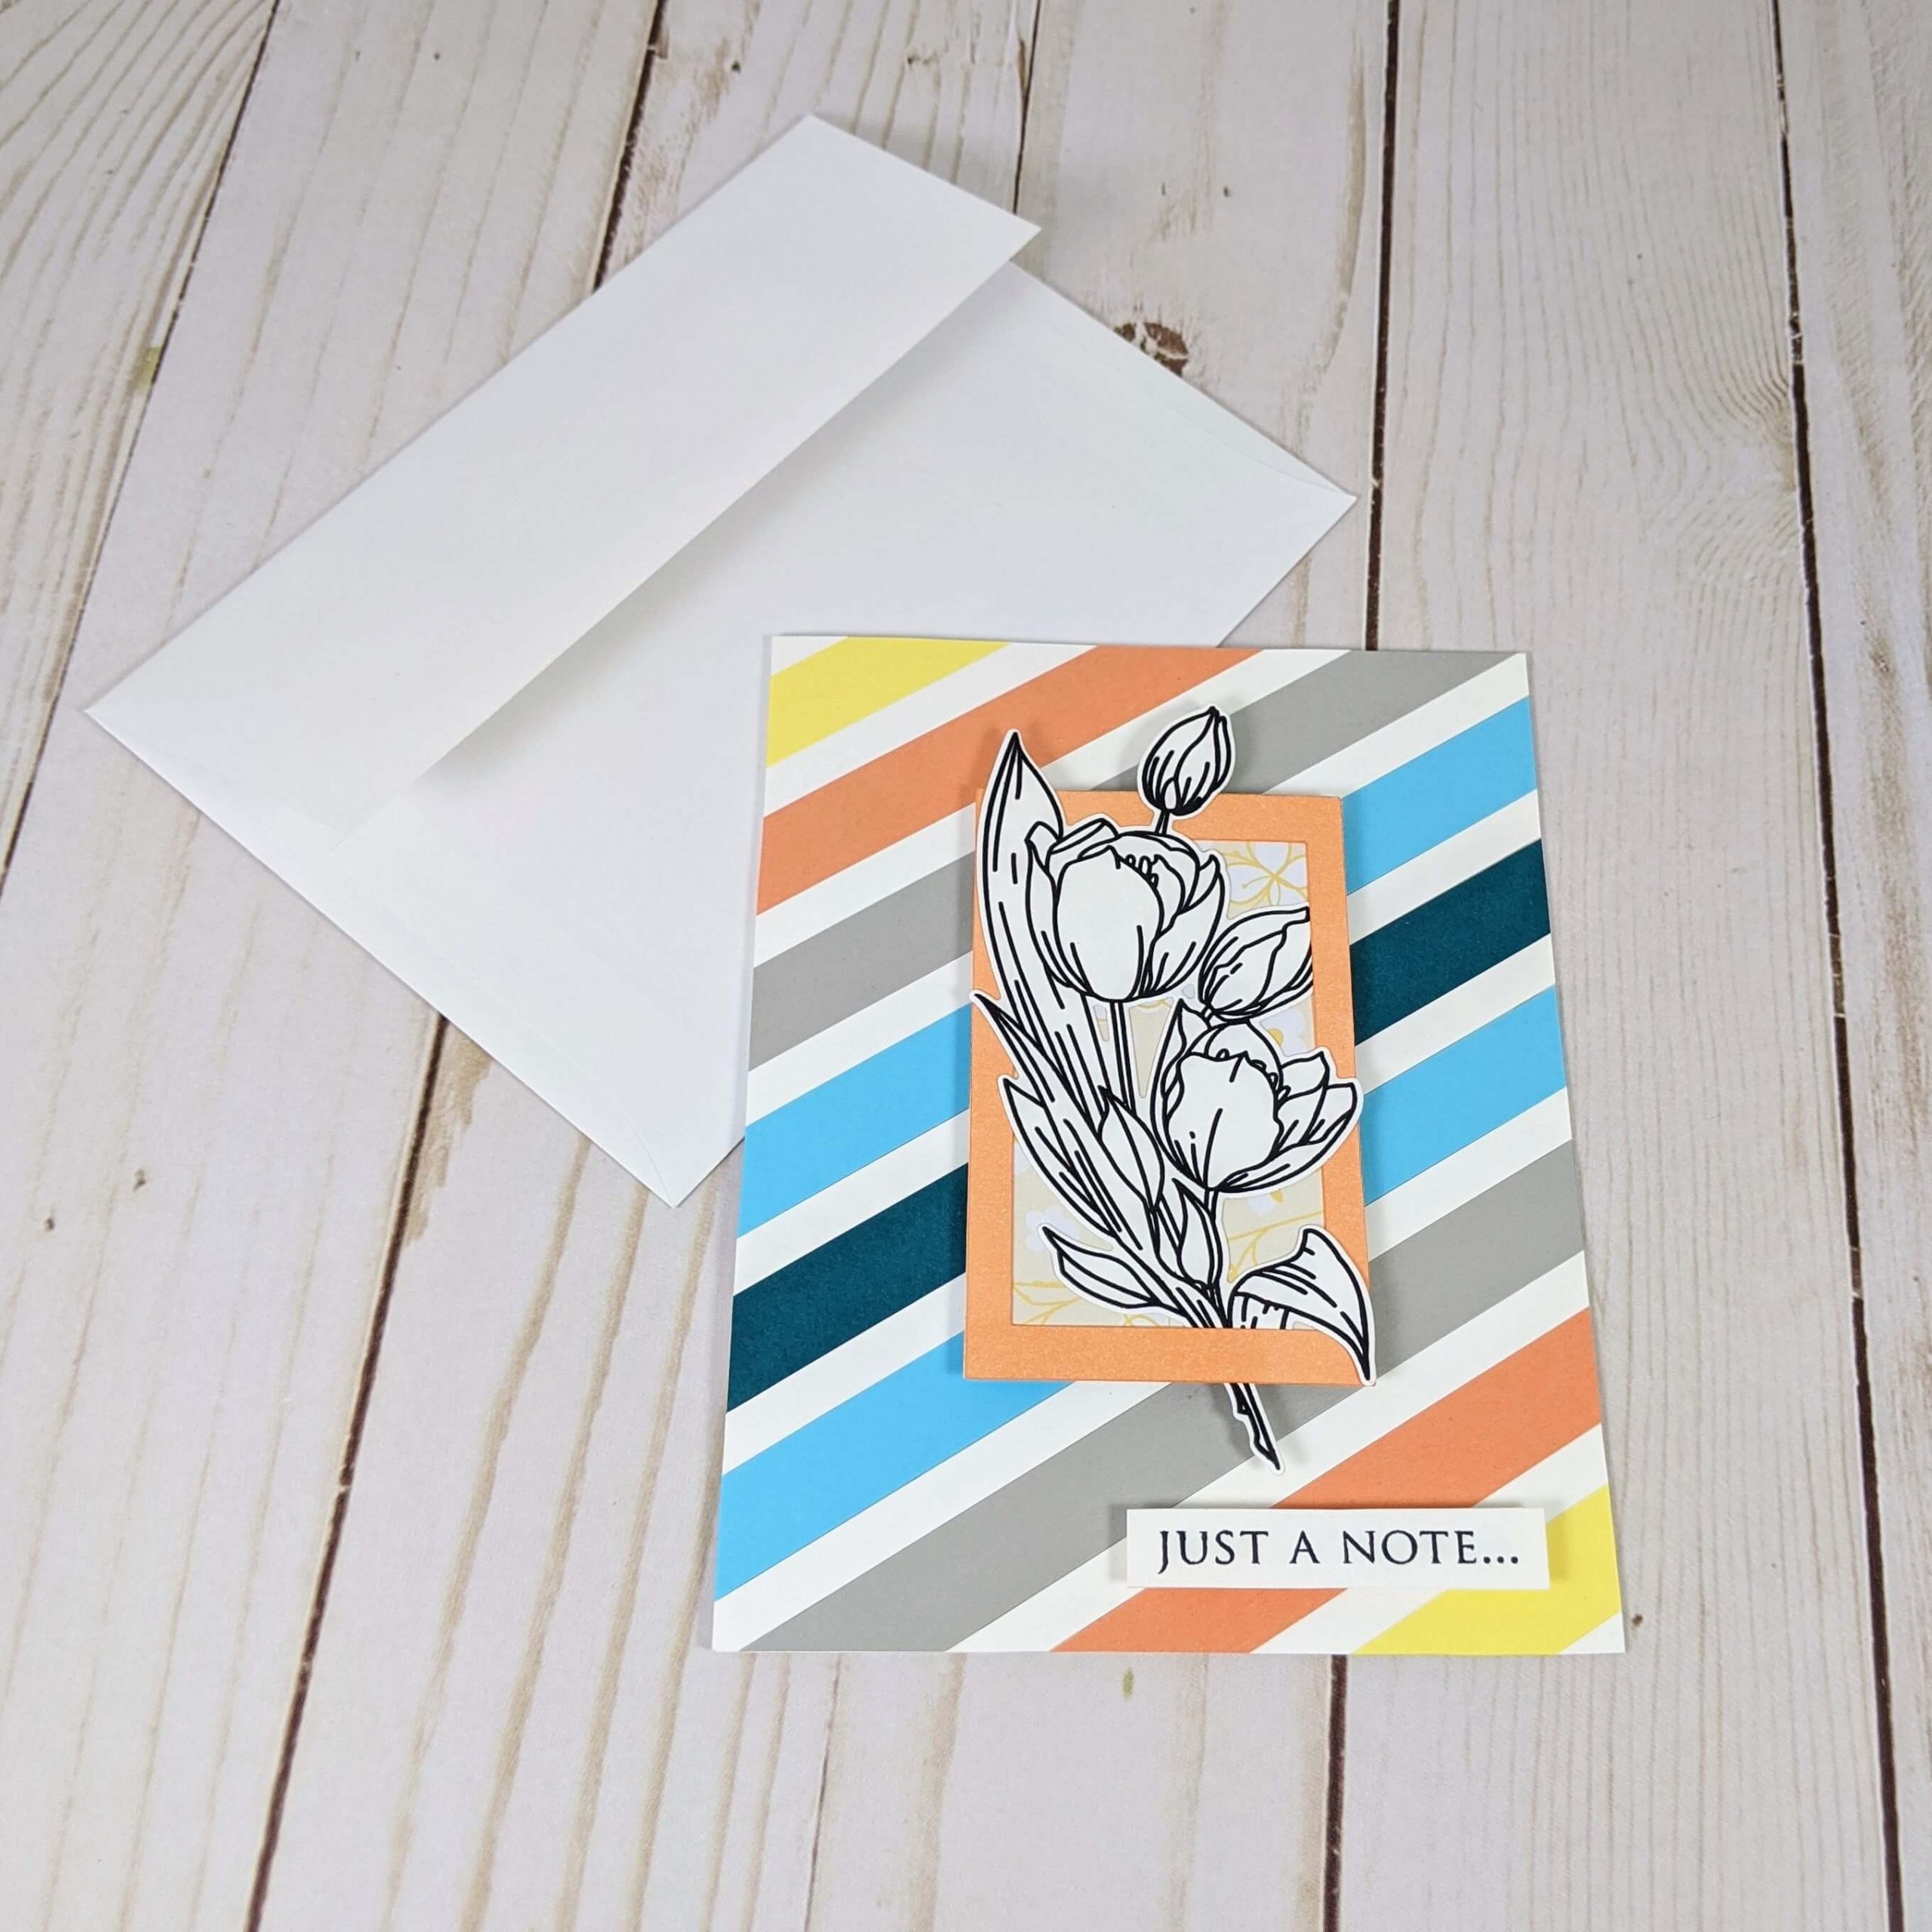
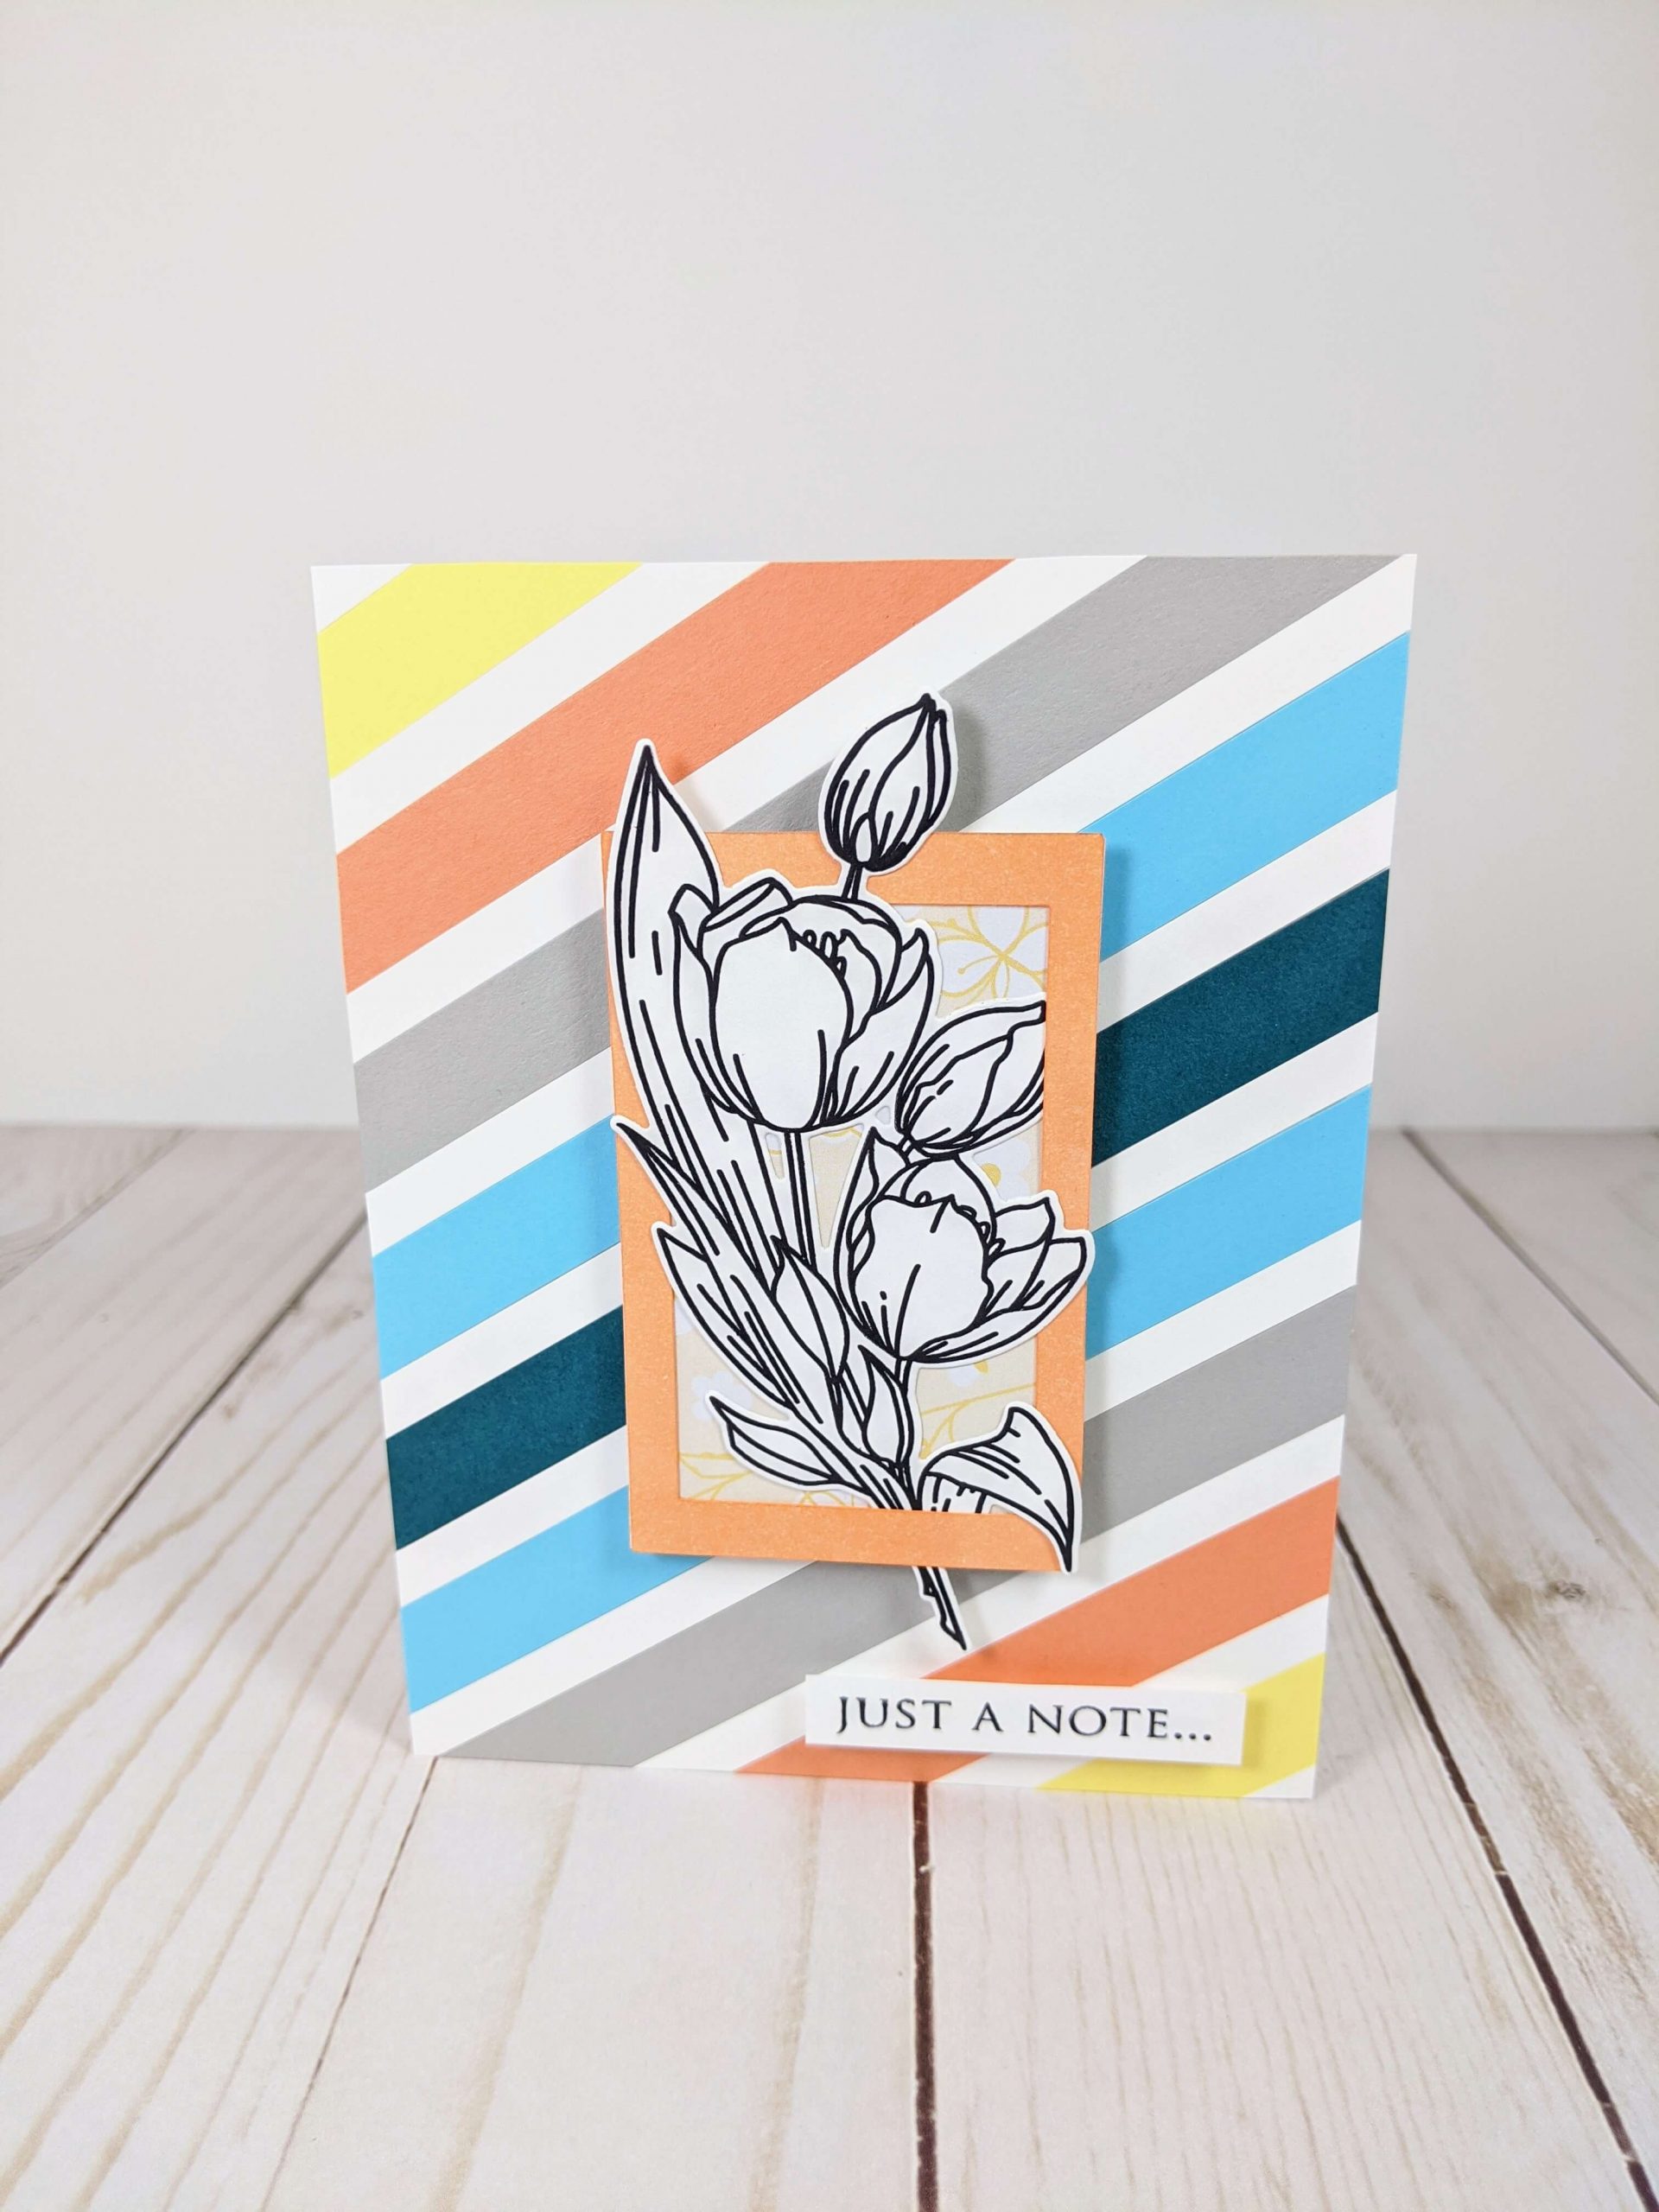
I made this Just a Note with Tulips card because I wanted to create a card that could really be sent to anyone for any reason. I had this beautiful Tulip stamp set from Waffle Flower Crafts, and the sentiment, but I needed to tie them together in a way that wouldn’t be too feminine looking. As I was going through my cardstock I found these really amazing yellow, orange and teal colors. Some of them were in strips, so that gave me the idea to use all of those colors in my background!
Materials Used:
This blog may use affiliate links when they’re available. If you choose to make a purchase through one of these links, I may receive a small commission at no cost to you. I don’t make recommendations lightly, and will only link to products I know and trust.
- Cricut Explore Air 2 Machine [Cricut] [Amazon]
- Adhesive Cricut Cutting Mat, Standard Grip [Scrapbook.com] [Cricut] [Amazon]
- Basic Tool Set – Cricut [Cricut] [Amazon]
- Copic Sketch Marker – YR61 Spring Orange [Scrapbookpal.com] [Amazon]
- Feather No.55 Switch-Blade Shear, 5.5 Inch [Amazon]
- Fiskars Recycled Bypass Trimmer, 12 Inch [Amazon]
- Trim Slant Tip Tweezers [Amazon]
- Misti Stamp Tool Original Size Stamp Positioner [Amazon]
- Lawn Fawn Stamp Shammy [Scrapbook.com] [Amazon]
- Ranger Archival Ink Pad, Jet Black [Scrapbook.com] [Amazon]
- Waffle Flower Crafts – Tulip Stamp Set [Scrapbook.com] [Waffle Flower Crafts]
- Waffle Flower Crafts – Tulip Stamp Set [Waffle Flower Crafts]
- Waffle Flower Crafts – Tulip Stamp and Die Set Combo [Scrapbook.com] [Waffle Flower Crafts]
- Recollections Cardstock Paper, Essentials 20 Colors [Amazon]
- Neenah Solar White Cardstock [Scrapbook.com] [Amazon]
- Forever In Time 3D Pop Dots Square Dual-Adhesive Foam Mount, 1/2-Inch [Scrapbook.com] [Amazon]
- Forever In Time 3D Pop Dots Square Dual-Adhesive Foam Mount, 1/4-Inch [Amazon]
- Scor-Pal Scor-Tape – 1/8″X27 Yards [Amazon]
- Scrapbook Adhesives Initially Repositionable Mounting Squares [Scrapbook.com] [Amazon]
- EK Tools EK Scoring Board 12×12 [Amazon]
- Omnigrid 4-6-12-Inch Marking Ruler Trio [Amazon]
Cricut Images Used:
Tag (Ashlyn’s Alphabet cartridge)
Just a Note with Tulips Card Making Tutorial:
Step 1. Prep the card base and the floral stamp.
I started this Just a Note with Tulips card by trimming a sheet of Neenah solar white cardstock to be 8.5 X 5.5 inches and I scored it in half to make an A2 sized card base.
Next, I grabbed my Misti stamping tool, my Waffle Flower Crafts tulip stamp set, jet black Ranger archival ink, and a small piece of Neenah solar white cardstock. I chose one of the tulip stamps and positioned it onto my Misti so that I could get a beautifully clear stamped image. After I was done stamping the image, I used the matching tulip die set to easily cut the flowers out.
Step 2. Prep the background design.
Before I trimmed any cardstock for the background, I measured everything out. Using a pencil and a ruler, I lightly drew lines about half an inch apart on the card base to get an idea for how wide the strip should be. And since these colors are not all complementary, I needed to find a way to build a buffer between the oranges and the blues to make the design more visually appealing. I chose thin .25 strips of white cardstock to help get the desired look.
Step 3. Lay the background onto the card base.
Once I had everything measured out I started laying down pieces of cardstock. I chose to start in the middle of the card and apply the dark teal cardstock first. Then using Scor-Pal Scor-Tape adhesive, I added the additional colors after the teal strip was in place. I also tried to lay the strips of cardstock very close together so that no seams would be visible between strips. Once all the strips were in place I trimmed off the excess paper that hung off the edge of the card.
Step 4. Create the orange frame.
I wanted to create a small frame to help draw attention to the flowers, so I used my Cricut Explore Air 2 machine and the tag image from the ‘Ashlyn’s Alphabet’ cartridge to create that frame. Once my Cricut machine had cut the tag out, I simply trimmed the top of the tag off so that it would make a rectangle. I then colored the tag using my YR61 spring orange Copic marker.
Step 4. Apply the floral design to card base.
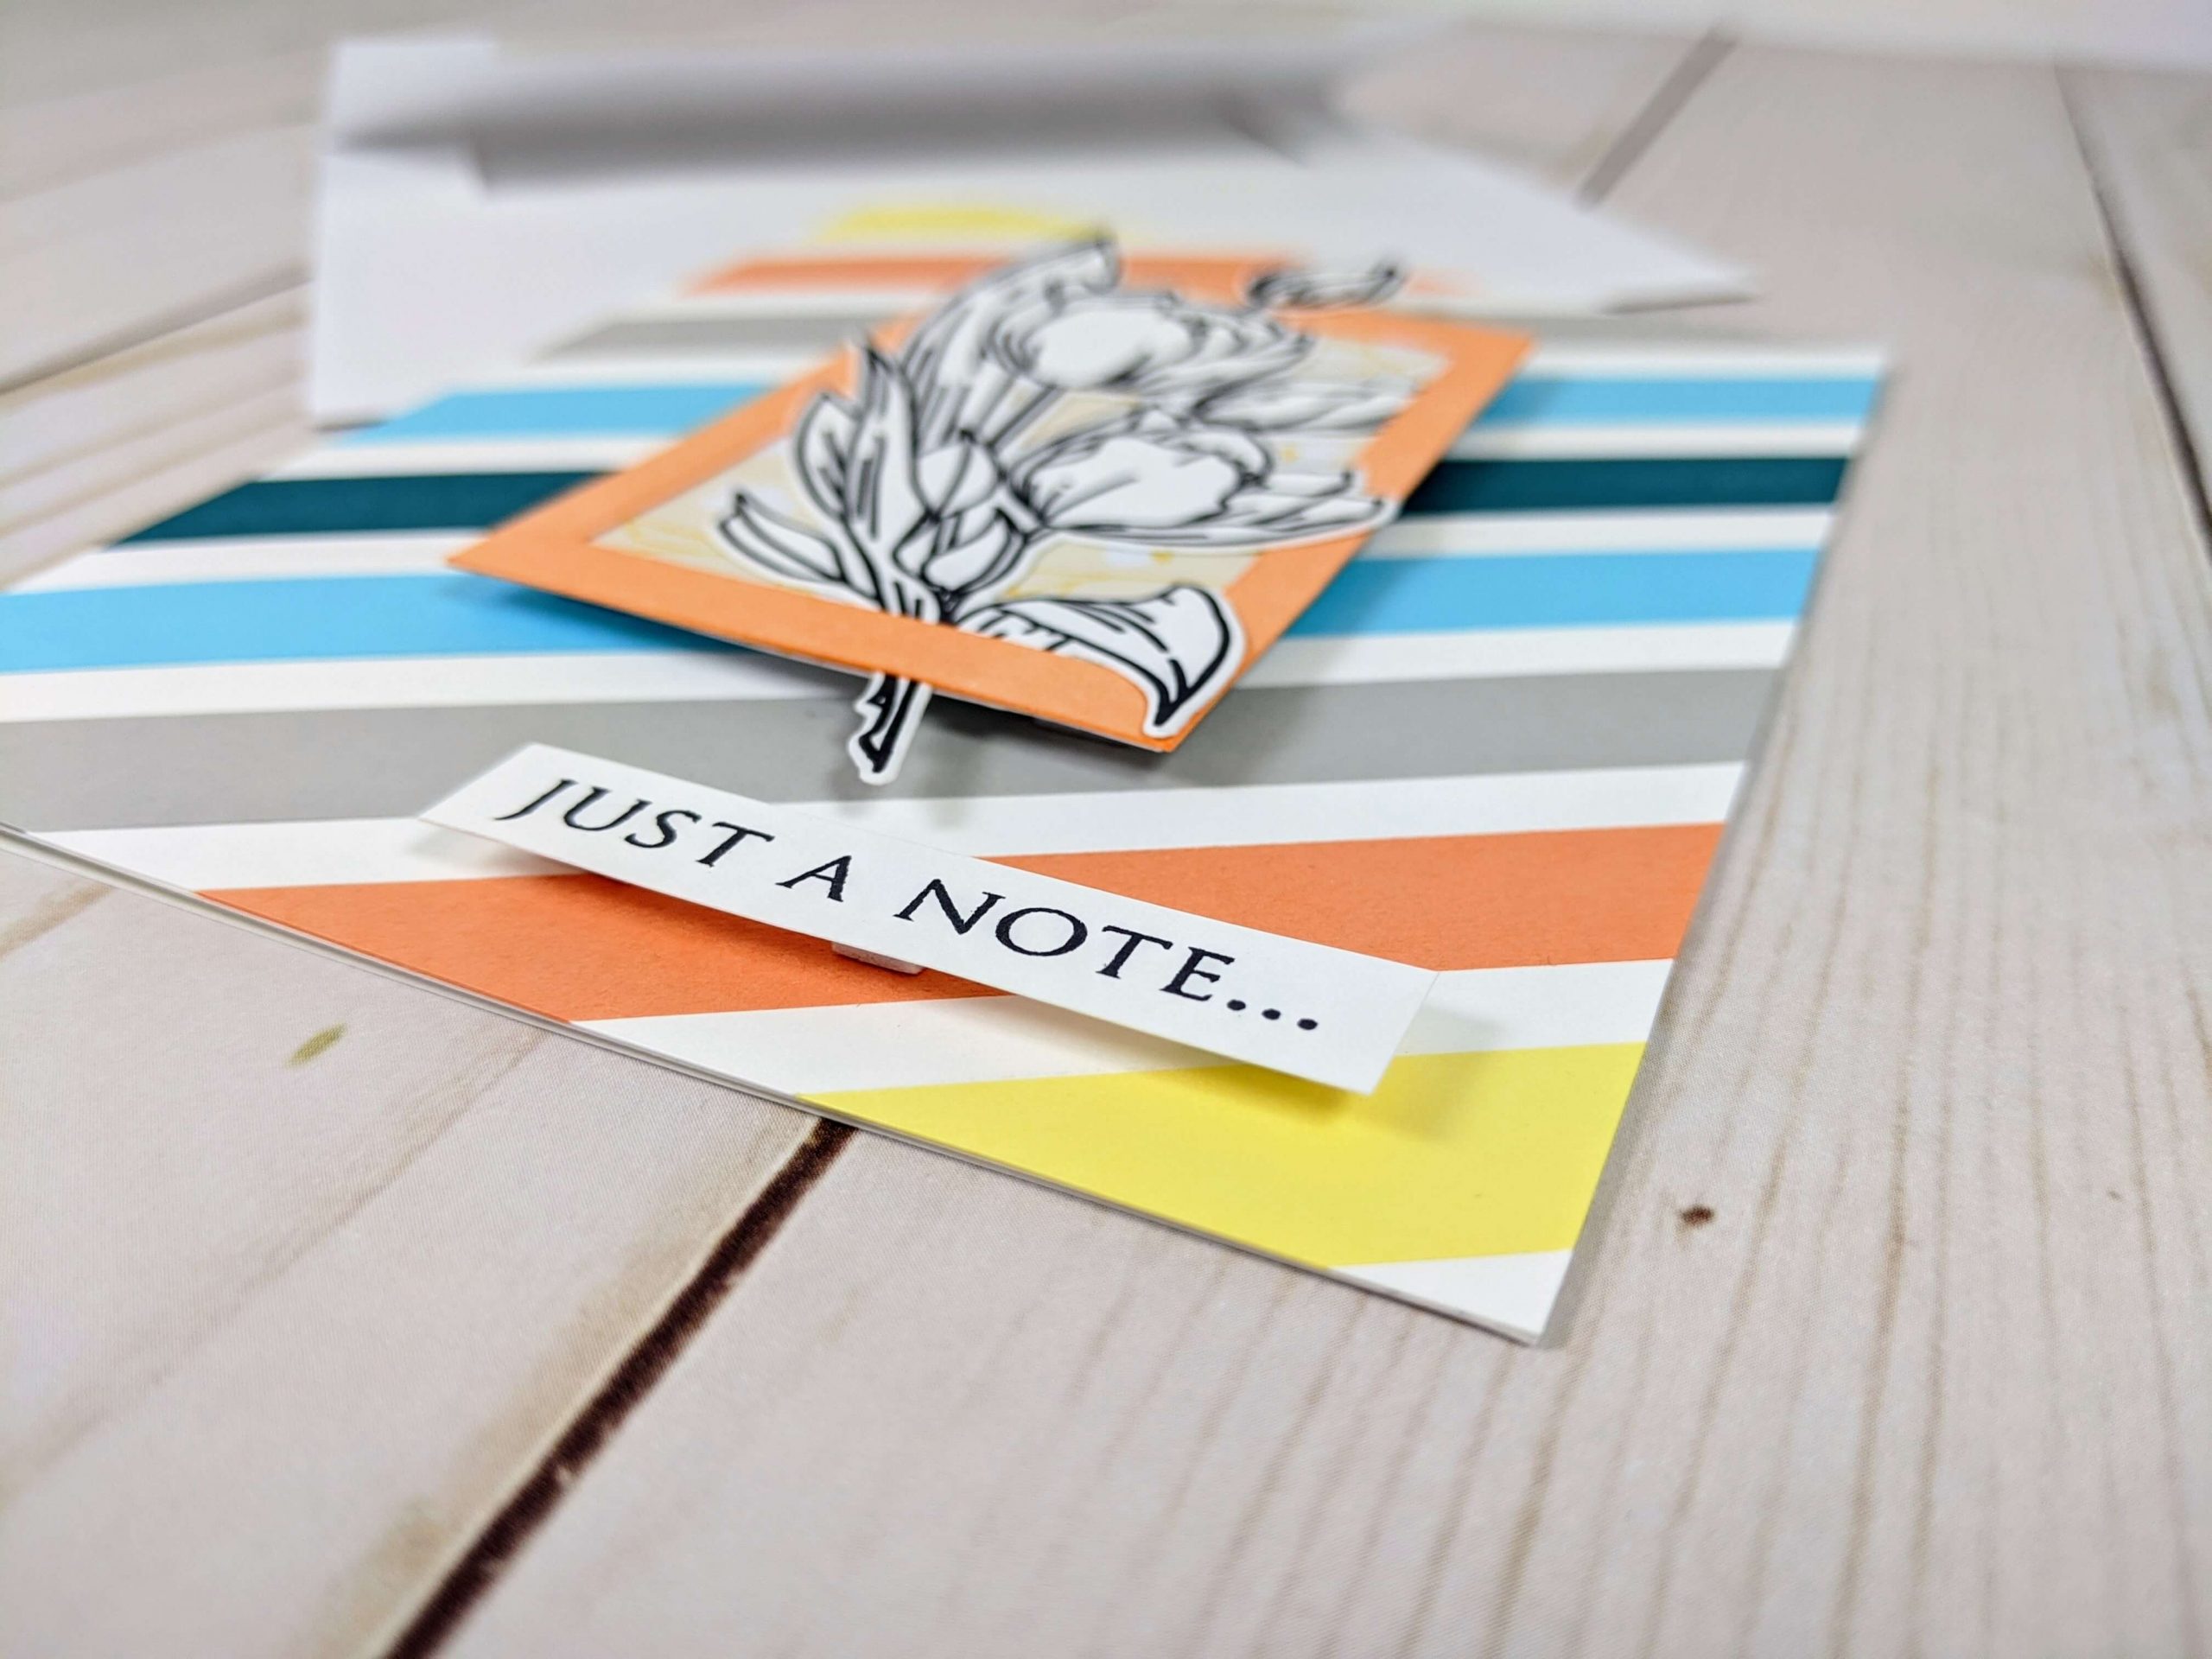
I placed the flower inside the frame and added a piece of yellow patterned cardstock behind it. All these pieces were secured using some Scrapbook Adhesive mounting squares. I then used some Forever In Time 3D foam tape to place the framed flower in the middle of the card.
Lastly, I added the Just a Note sentiment on the lower right-hand side of the card to complete the project.
I hope you enjoyed this tutorial. Check it out, and follow me on Instagram, Facebook, or Pinterest for the latest updates! You can also shop all the handmade cards that I’ve designed here.