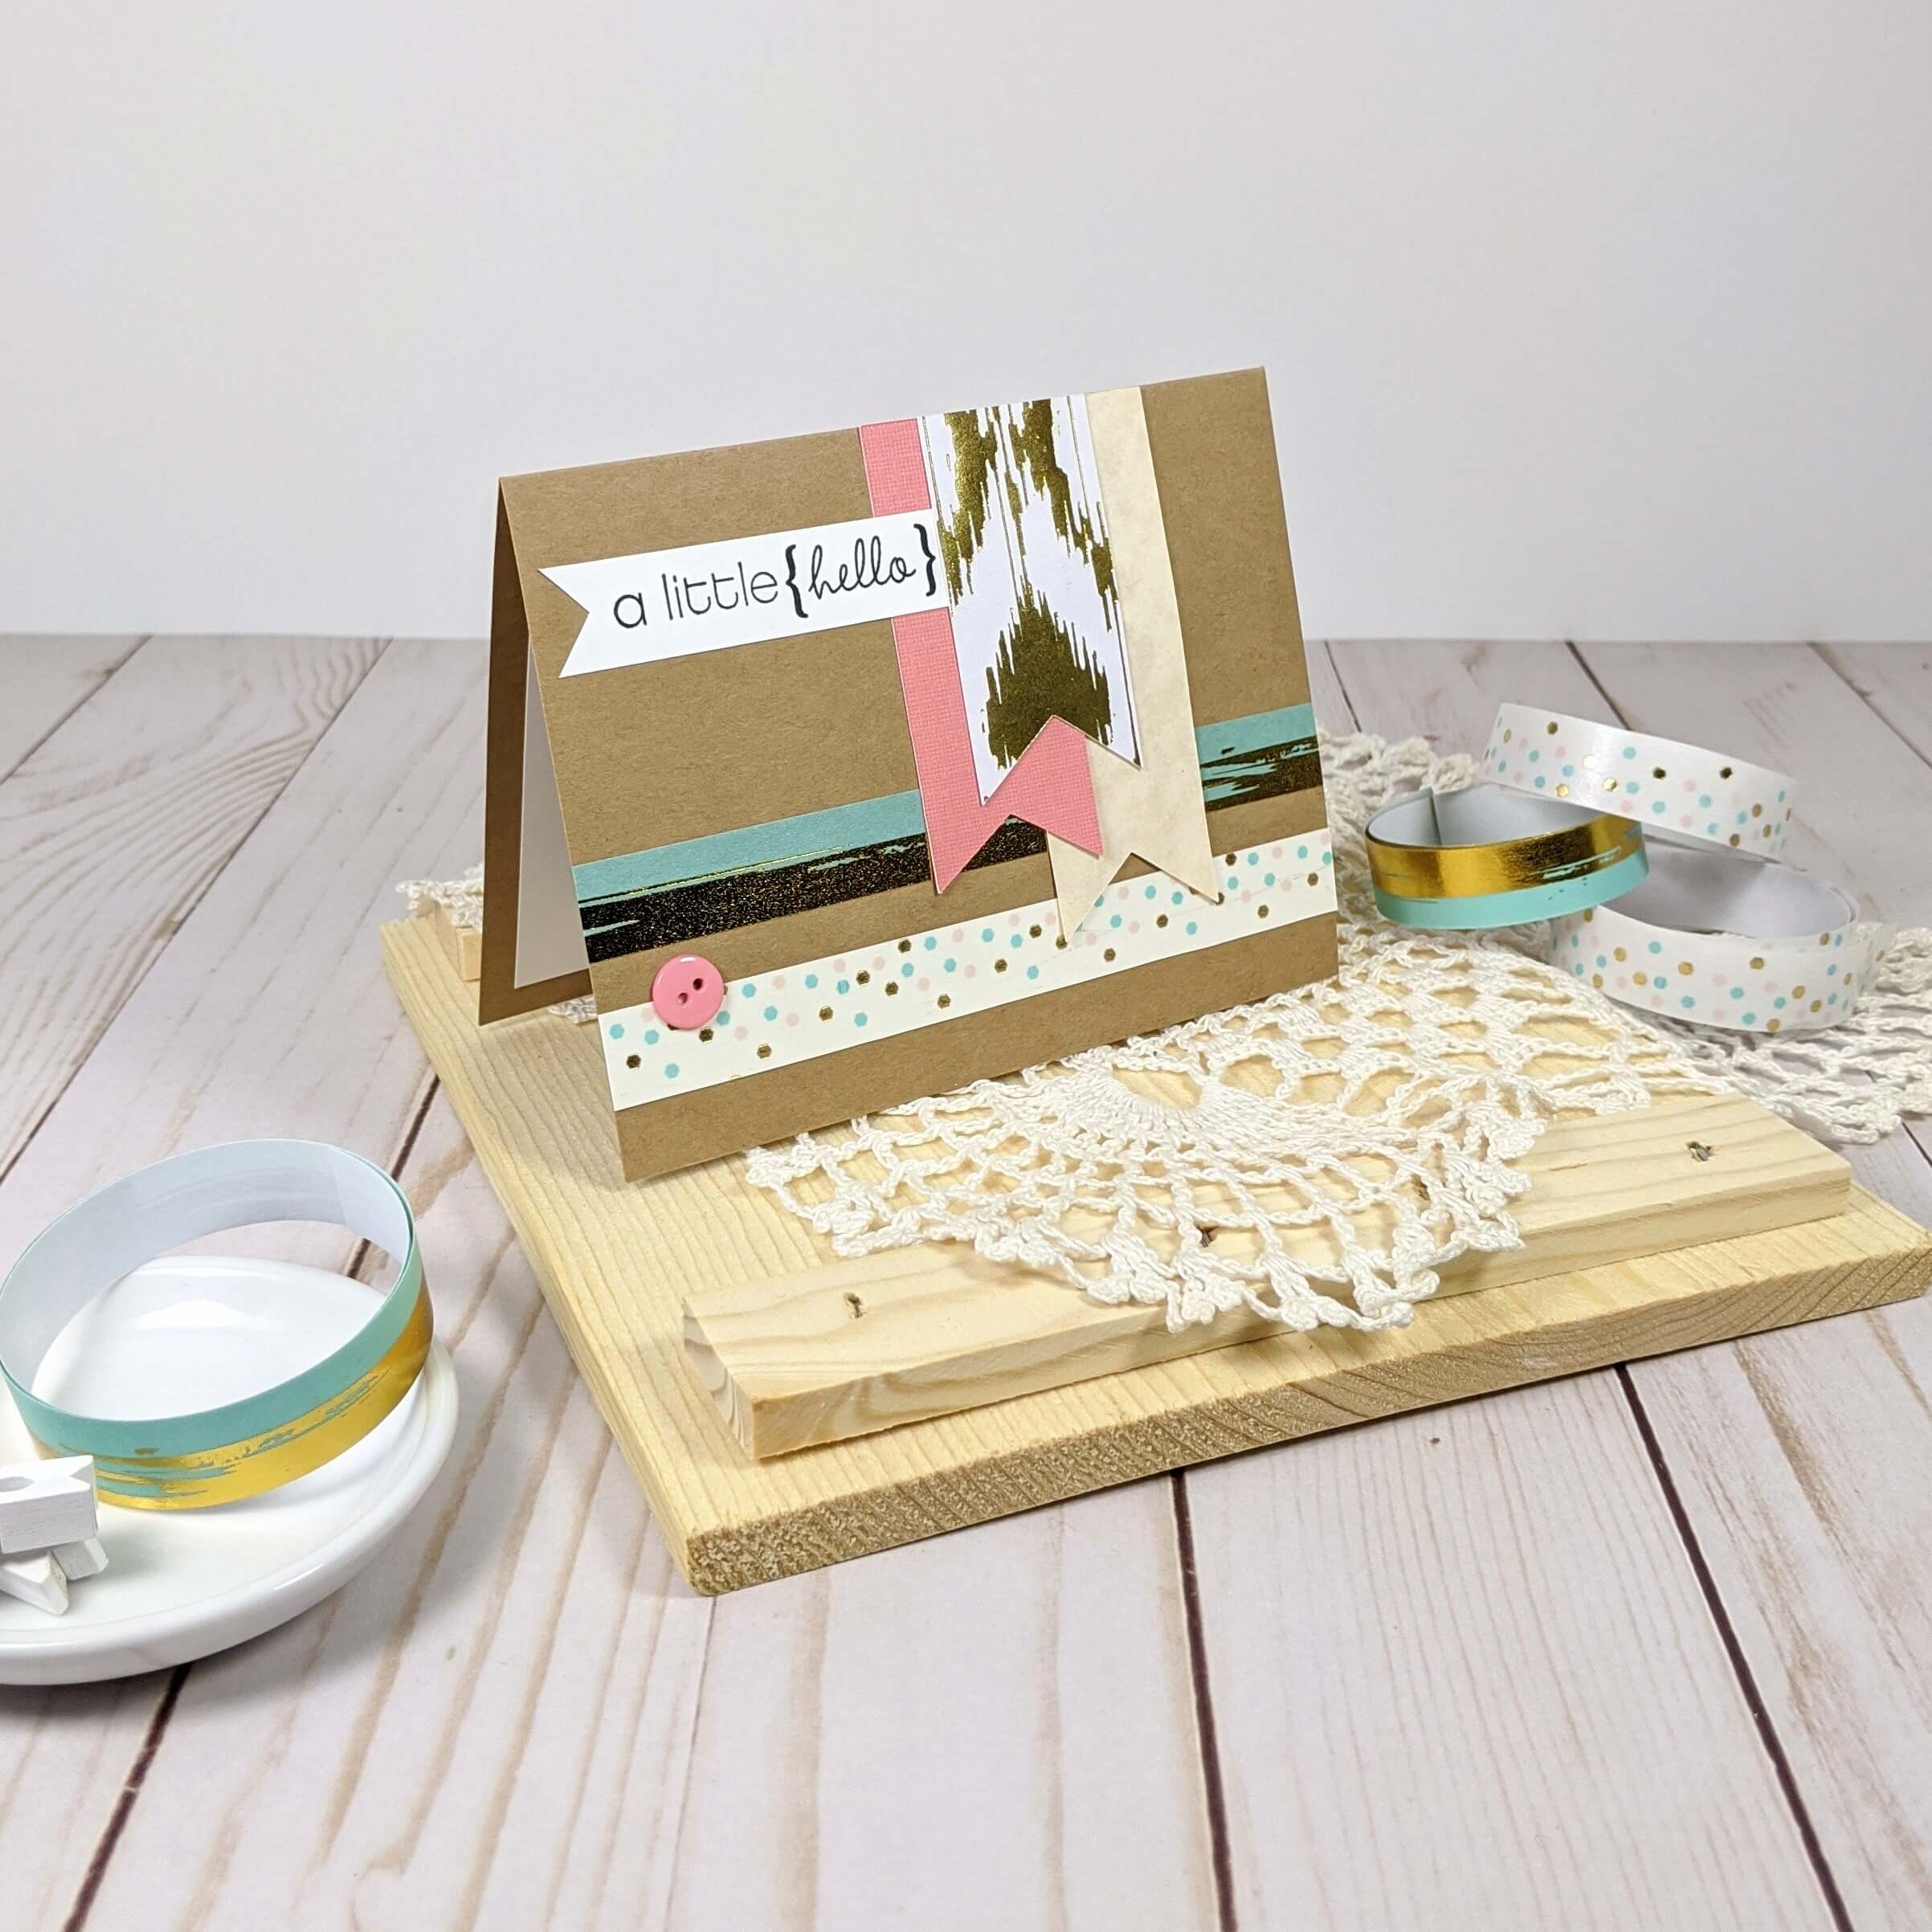
I bought a pack of washi tape from hobby lobby not too long ago, that I just loved. It had these stripes and little flecks of gold throughout the tape and I just knew that I had to use it for a card design. Washi tape can feel limiting sometimes because it’s essentially just a straight line, and it’s not very wide, but there are some really amazing things that you can do with it.
So I wanted to show you how I made this Little Hello card. Let’s dig into this washi tape card tutorial. I’ve listed all the products that I’ve used below as well as how to at the bottom of the article.

Materials Used:
This blog may use affiliate links when they’re available. If you choose to make a purchase through one of these links, I may receive a small commission at no cost to you. I don’t make recommendations lightly, and will only link to products I know and trust.
- Cricut Explore Air 2 Machine [Cricut] [Amazon]
- Adhesive Cricut Cutting Mat, Standard Grip [Scrapbook.com] [Cricut] [Amazon]
- Basic Tool Set – Cricut [Cricut] [Amazon]
- Whaline 4 Pieces Stamp Blocks [Amazon]
- EK Tools EK Scoring Board 12×12 [Amazon]
- Feather No.55 Switch-Blade Shear, 5.5 Inch [Amazon]
- Fiskars Recycled Bypass Trimmer, 12 Inch [Amazon]
- Trim Slant Tip Tweezers [Amazon]
- Lawn Fawn Stamp Shammy [Scrapbook.com] [Amazon]
- Ranger Archival Ink Pad, Jet Black [Scrapbook.com] [Amazon]
- Recollections Cardstock Paper, Essentials 20 Colors [Amazon]
- Neenah Solar White Cardstock [Scrapbook.com] [Amazon]
- Scrapbook Adhesives Initially Repositionable Mounting Squares [Scrapbook.com] [Amazon]
- Mint & Gold Confetti & Striped Washi Tape [Hobby Lobby]
Cricut Images Used:
Banner (Bits and Pieces cartridge)
Looking for more quick card making designs? I label all my designs as easy, moderate, or advanced.
A Little Hello Washi Tape Tutorial:
Step 1. Create a card base.
I started this card by cutting a piece of kraft cardstock to be 8.5 x 5.5 inches then I scored it down the center to make an A2 sized greeting card.
Step 2. Make a few banners with assorted cardstock colors.
I wanted to make a few banners to layer on the right-hand side of the card. I used my Cricut Explore Air 2 machine to make them because the Bits and Pieces Banner image is just so easy to work with, but you could also make them using any standard paper trimmer. The banners themselves were about 1.25 x 3 inches in size. I made three of them using different colors of cardstock and set them aside.
Tip: If you’re looking for more information about Cricut projects, I have several other projects here.

Step 3. Apply the washi tape.
Next, I grabbed that beautiful mint and gold confetti washi tape that I mentioned above. Since the confetti washi tape was a little transparent, I laid it on top of a strip of Neenah solar white cardstock so that the kraft paper wouldn’t diminish the dotted design. I laid this washi tape covered cardstock near the bottom of the card base making sure that it was aligned evenly on both sides. I used my scrapbook adhesive mounting squares to keep the design in place.
Step 4. Apply the assorted banners
After that, I placed my teal and gold washi tape a little above the white tape. Then I went back to my banners. I used scrapbook adhesive mounting squares on the back of each banner and layered them over top of each other on the card base so that they would gently overlap with the washi tape. I really like the white and gold top banner because I feel like it goes with the gold in the washi tape strips beautifully.

Step 5. Create and apply the ‘a little hello’ sentiment.
Now, for the finishing touches, I wanted to have a really simple sentiment and a small embellishment. So, I opted to stamp the sentiment ‘a little hello’ in Ranger jet black archival ink onto a strip of Neenah solar white cardstock. I then trimmed the left side of the strip to look like another banner and slid the right side beneath the white and gold cardstock.
I also added a little pink button over top of the white washi tape to give it a nice little embellishment.
Thanks for stopping by to check out this post! Be sure to follow me on Instagram, Facebook, or Pinterest for the latest updates! You can also shop all the handmade cards that I’ve designed here.