
Card making is such a fantastic art form because there are so many incredible creative minds who think outside of the box every day. It’s about using the tools and supplies that you have access to and having fun with them. So, today I wanted to show you how you can make a fun card with paint samples that you would get from a local hardware store.
Maybe you’re in a pinch, and you don’t have a color that you need. Or perhaps you just want to challenge yourself to make something unique. Regardless of the reason, I’m going to show you how you can make a colorful card with paint samples. So stick around! A full tutorial and the list of supplies I used are below!
Watch the Happy Thoughts Youtube tutorial below or click here.
Materials Used:
This blog may use affiliate links when they’re available. If you choose to purchase through one of these links, I may receive a small commission at no cost to you. I don’t make recommendations lightly and will only link to products I know and trust.
- Whaline 4 Pieces Stamp Blocks [Amazon]
- Sizzix BIGkick Machine [Amazon] [Scrapbook.com]
- EK Tools EK Scoring Board 12×12 [Amazon]
- Feather No.55 Switch-Blade Shear, 5.5 Inch [Amazon]
- Fiskars Recycled Bypass Trimmer, 12 Inch [Amazon]
- Trim Slant Tip Tweezers [Amazon]
- Misti Stamp Tool Original Size Stamp Positioner [Amazon]
- Tsukineko StazOn Solvent Ink Pad – Jet Black [Amazon] [Scrapbookpal.com]
- Premium Embossing Ink Pad – Clear [Scrapbook.com]
- EK Tools Powder Tool [Amazon] [Scrapbook.com]
- Recollections Cardstock Paper, Essentials 20 Colors [Amazon]
- WPlus9 Design Studio – Summer Citrus Stamp Set [WPlus9 Design Studio]
- WPlus9 Design Studio – Summer Citrus Die Set [WPlus9 Design Studio]
- Spellbinders – Happy Sentiments Stamp Set [Amazon] [Spellbinders]
- Lawn Fawn Clear Vellum [Amazon] [Scrapbook.com]
- Wow! Embossing Powder – Super Fine Back and White Set [Amazon]
- Uchida Embossing Heat Tool with Stand [Amazon] [Scrapbook.com]
- Tombow MONO Aqua Liquid Glue [Amazon] [Scrapbookpal.com]
- Scrapbook Adhesives Initially Repositionable Mounting Squares [Amazon] [Scrapbook.com]
Card Making with Paint Samples Tutorial:
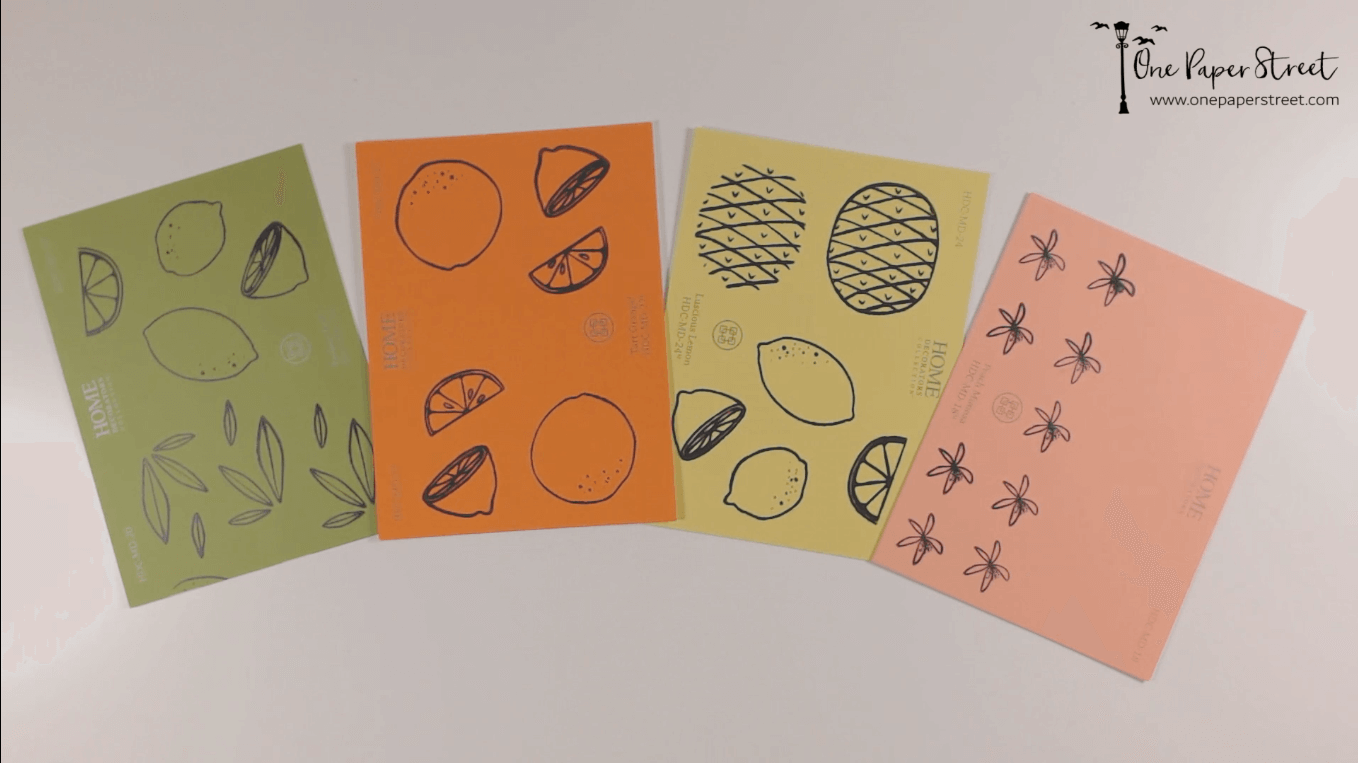
Step 1. Choose each paint sample color.
I started this card by first going to the hardware store to pick out my paint samples. I tried to find a nice mix of complementary and contrasting colors. You never know what you’ll need when you get home! I ended up using a lovely luscious lemon, tart orange, banana leaf, and a peach mimosa color.
I had these super fun Summer Citrus stamp and matching die sets from WPlus9 Design Studio Stamps, so I decided that I would make a fruit-themed card.
Step 2. Add the stamped design using StazOn solvent ink.
I went with my luscious lemon paint sample first and placed it on my Misti stamping tool. Next, I put any fruit stamps that I wanted to be yellow, over top of the swatch After picking those stamps up with my Misti stamping tool and pressed StazOn solvent ink onto them. StazOn works well with non-porous surfaces. Most other inks would not dry properly on a slick surface. Then, I stamped the images down, making sure that they were clean and crisp. After that, and moved to the next sample. I repeated these steps until each paint sample had been stamped on.
Step 3. Cut and position the design on your card base.
Next, I grabbed my Sizzix Big Shot and placed each paint swatch on the machine. I put the corresponding dies over top of each stamped fruit image and taped them down with washi tape so they wouldn’t move as I ran them through the cutting process.
After they were all cut out, I started arranging the die cuts. I wanted them to look a little larger on the left, and then sort of taper off and get smaller to the right. So, I used more sizable pieces of fruit on the left side and made them smaller as I moved right. Once I had a rough idea of my design, I laid washi tape on the front of the stamped images so that I could flip them over and add tape to the back of the die cluster. I used 3L double-sided mounting squares on the back of the fruit.
Step 4. Trim the background cardstock.
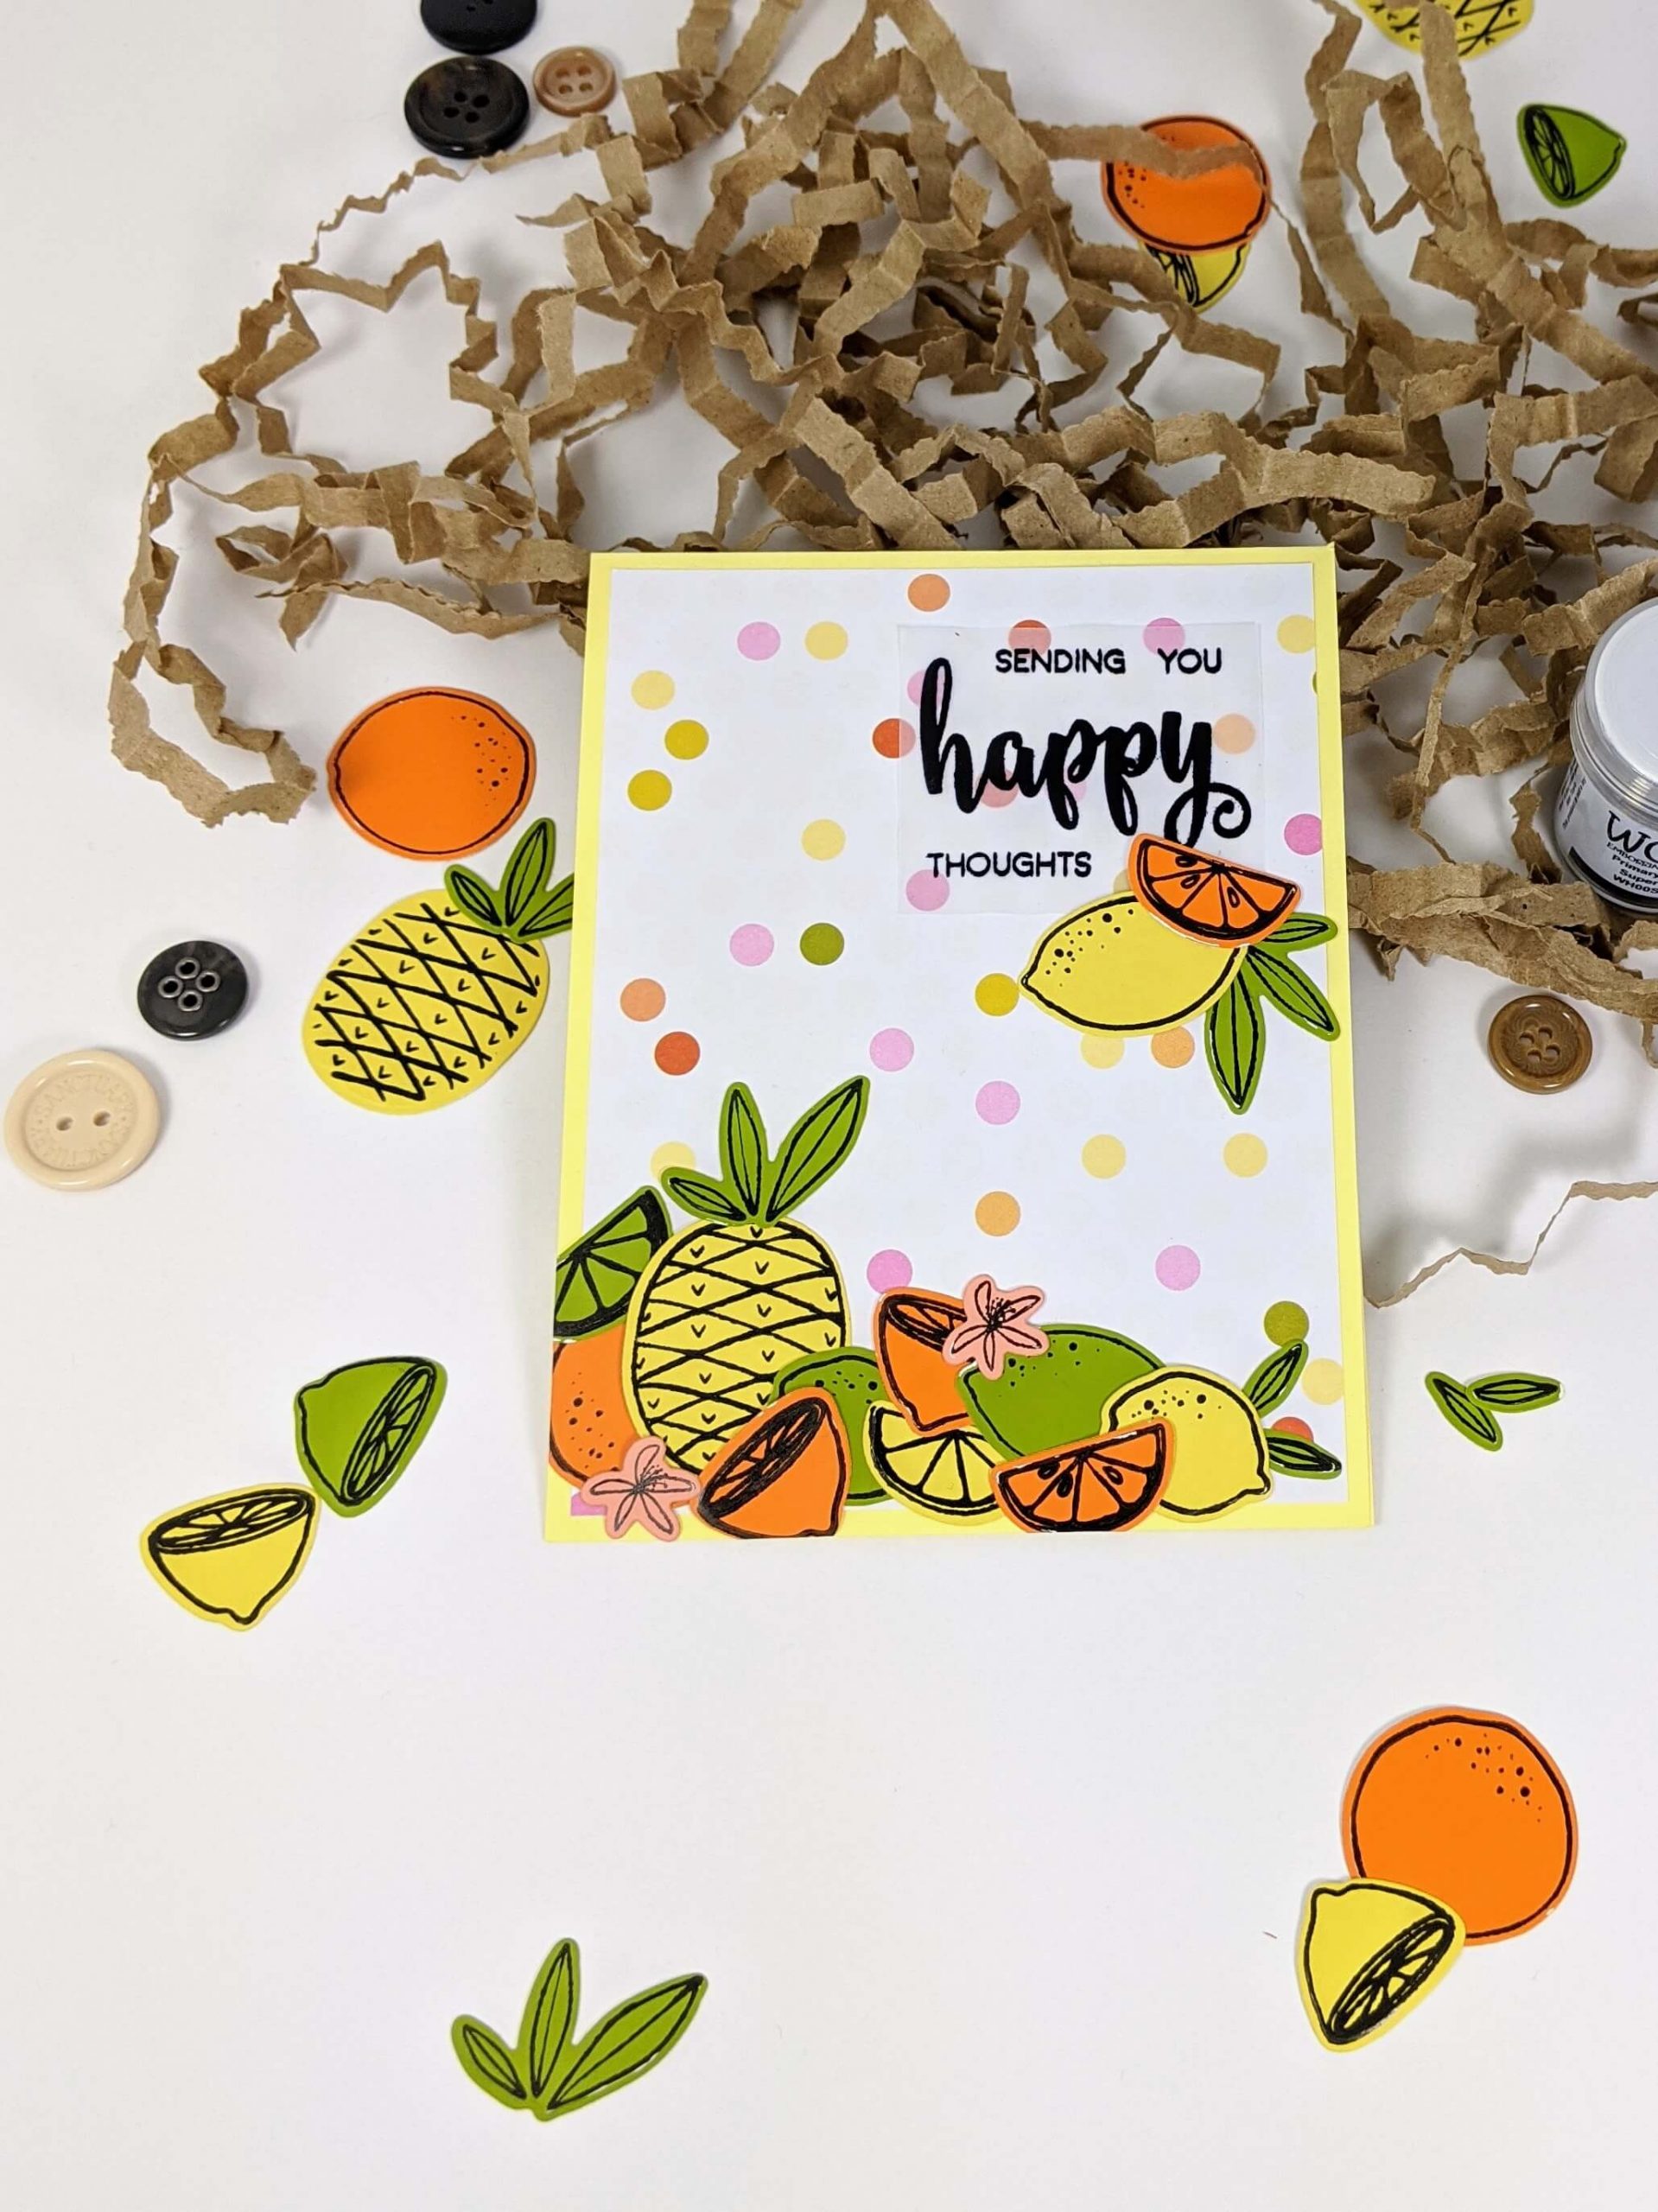
I trimmed a sheet of polka dot cardstock to be 4′ x 5.25′ inches in size and placed the fruit cluster at the lower left-hand side of the cardstock. Now that everything was in place, I could add even more to the design to make it a lovely pile of fruity goodness!
Step 5. Create the Sending Happy Thoughts sentiment.
Next, I created the sentiment. I chose the words “sending you happy thoughts” from the Happy Sentiments stamp set. The polka-dot background is kinda busy, so I didn’t want to stamp the sentiment directly onto the cardstock. Instead, I used Premium clear embossing ink from Scrapbook.com to stamp the sentiment on to a small sheet of transparent Lawn Fawn vellum. When you do this at home, I recommend using some sort of powder tool before you stamp your embossing ink to remove any static.
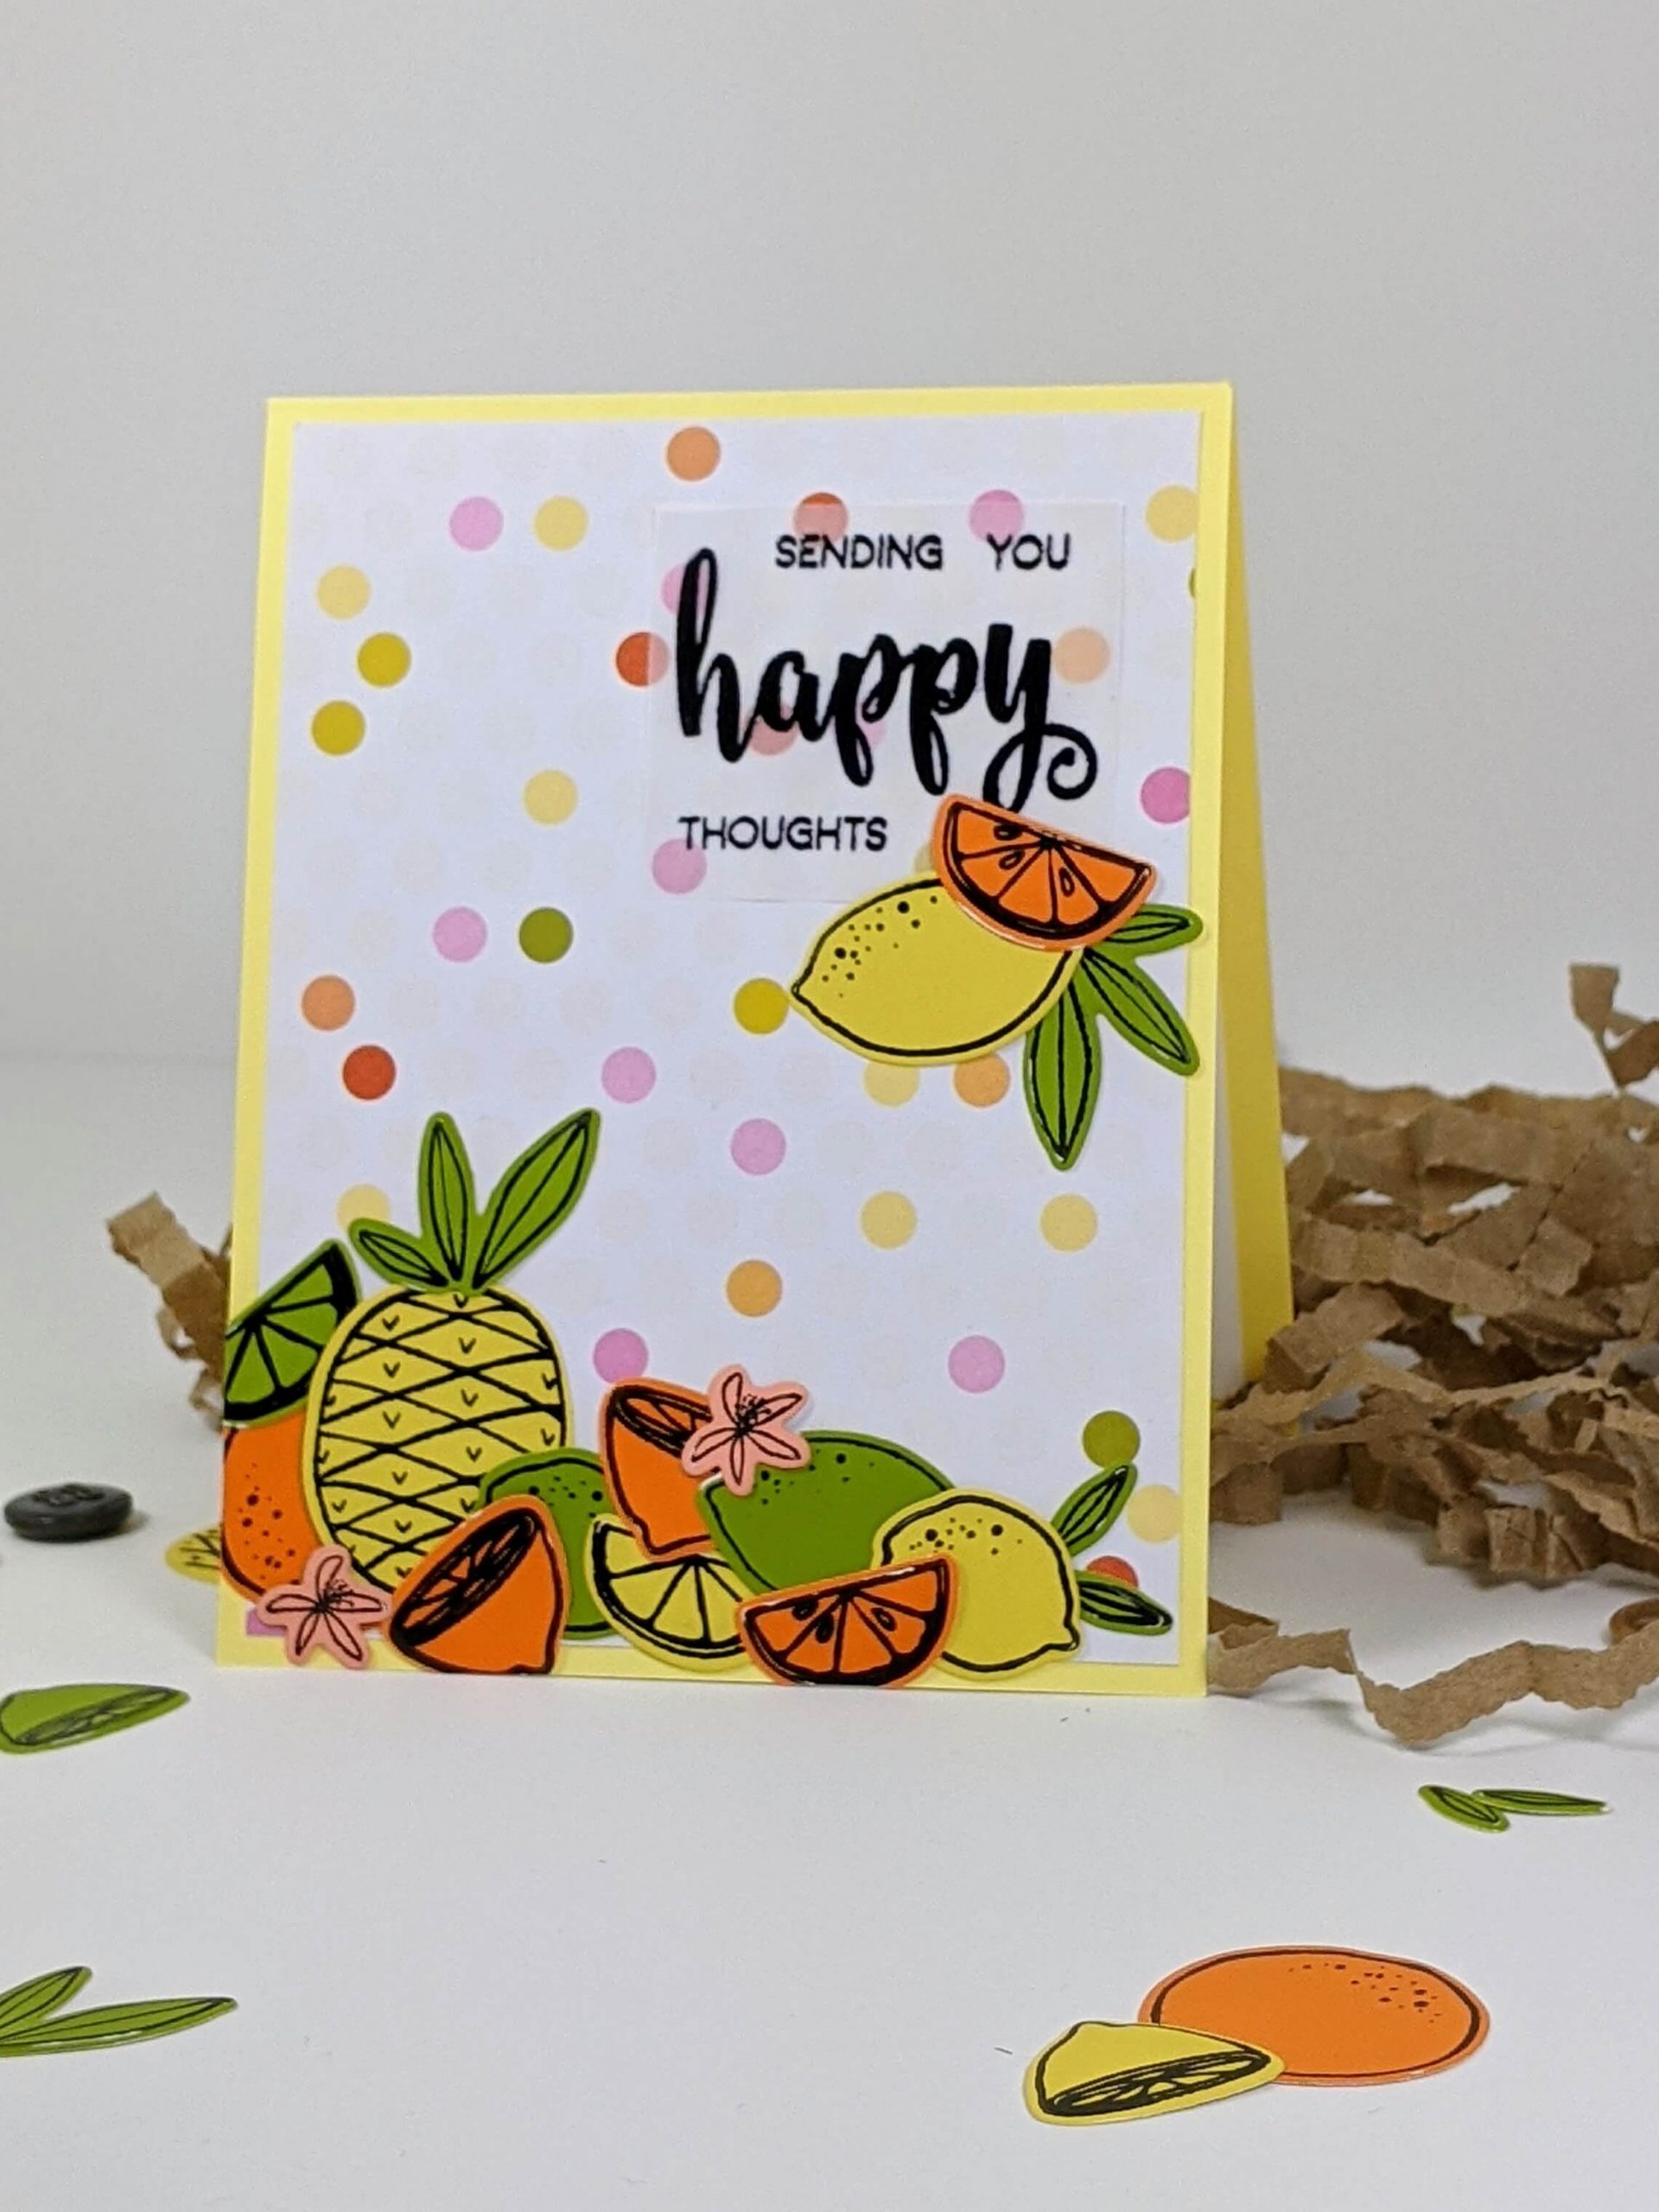
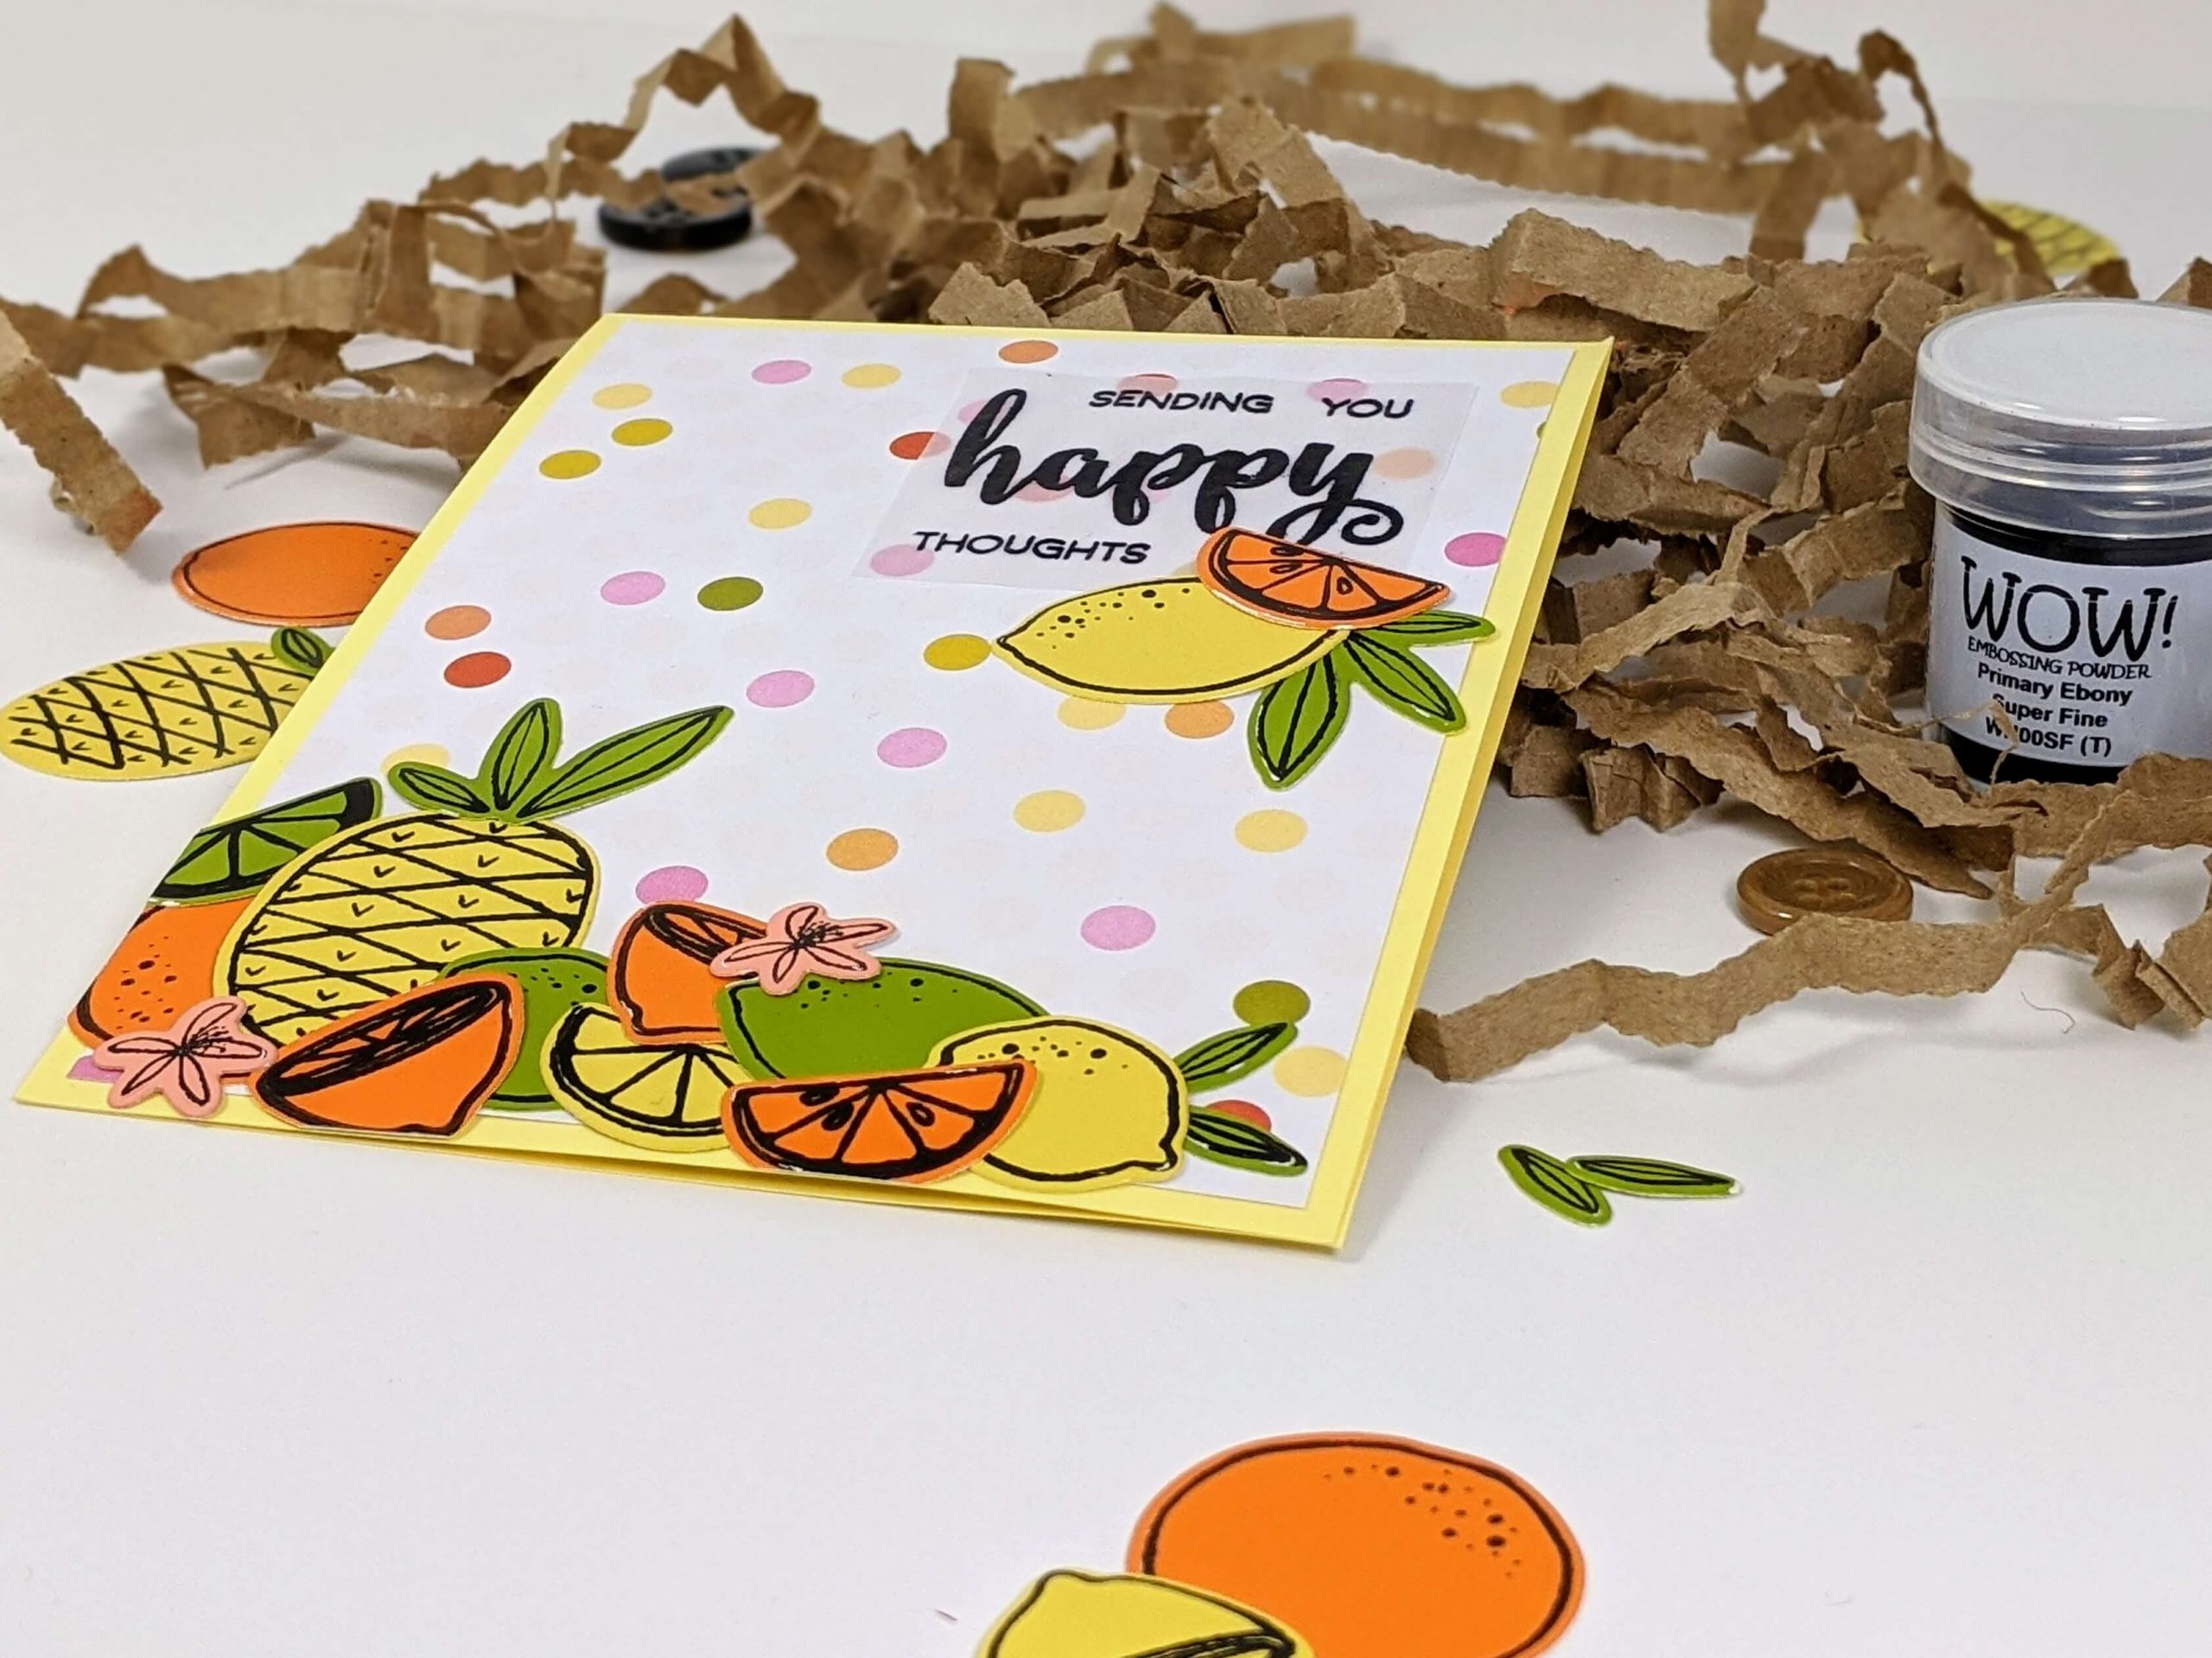
Once the embossing ink was in place on the vellum, I sprinkled WOW! primary ebony embossing powder onto the ink and melted it with my Uchida embossing heat tool. It really made the sentiment pop, and I love the way it turned out. After that, I trimmed a sheet of light yellow cardstock to be 8.5′ x 5.5′ inches, then scored it and folded it in half to make an A2 sized greeting card base. I stuck my background with the fruit on it to the yellow card base.
Step 6. Put everything together!
Lastly, I took a few leftover pieces of fruit and arranged them to fit on the lower right-hand side of the sentiment. I put a 3L mounting square and a little Tombow MONO Aqua liquid glue on the vellum behind the words and stuck the friendly greeting to the card base. Then I placed a Whaline stamping block over the sentiment to hold it firmly in place as the glue dried.
I hope you found this tutorial helpful. Crafting hacks are always a good way to save money and stay crafty. Find more hacks like this one here or check out more tutorials and follow me on Instagram, Facebook, or Pinterest for the latest updates!