
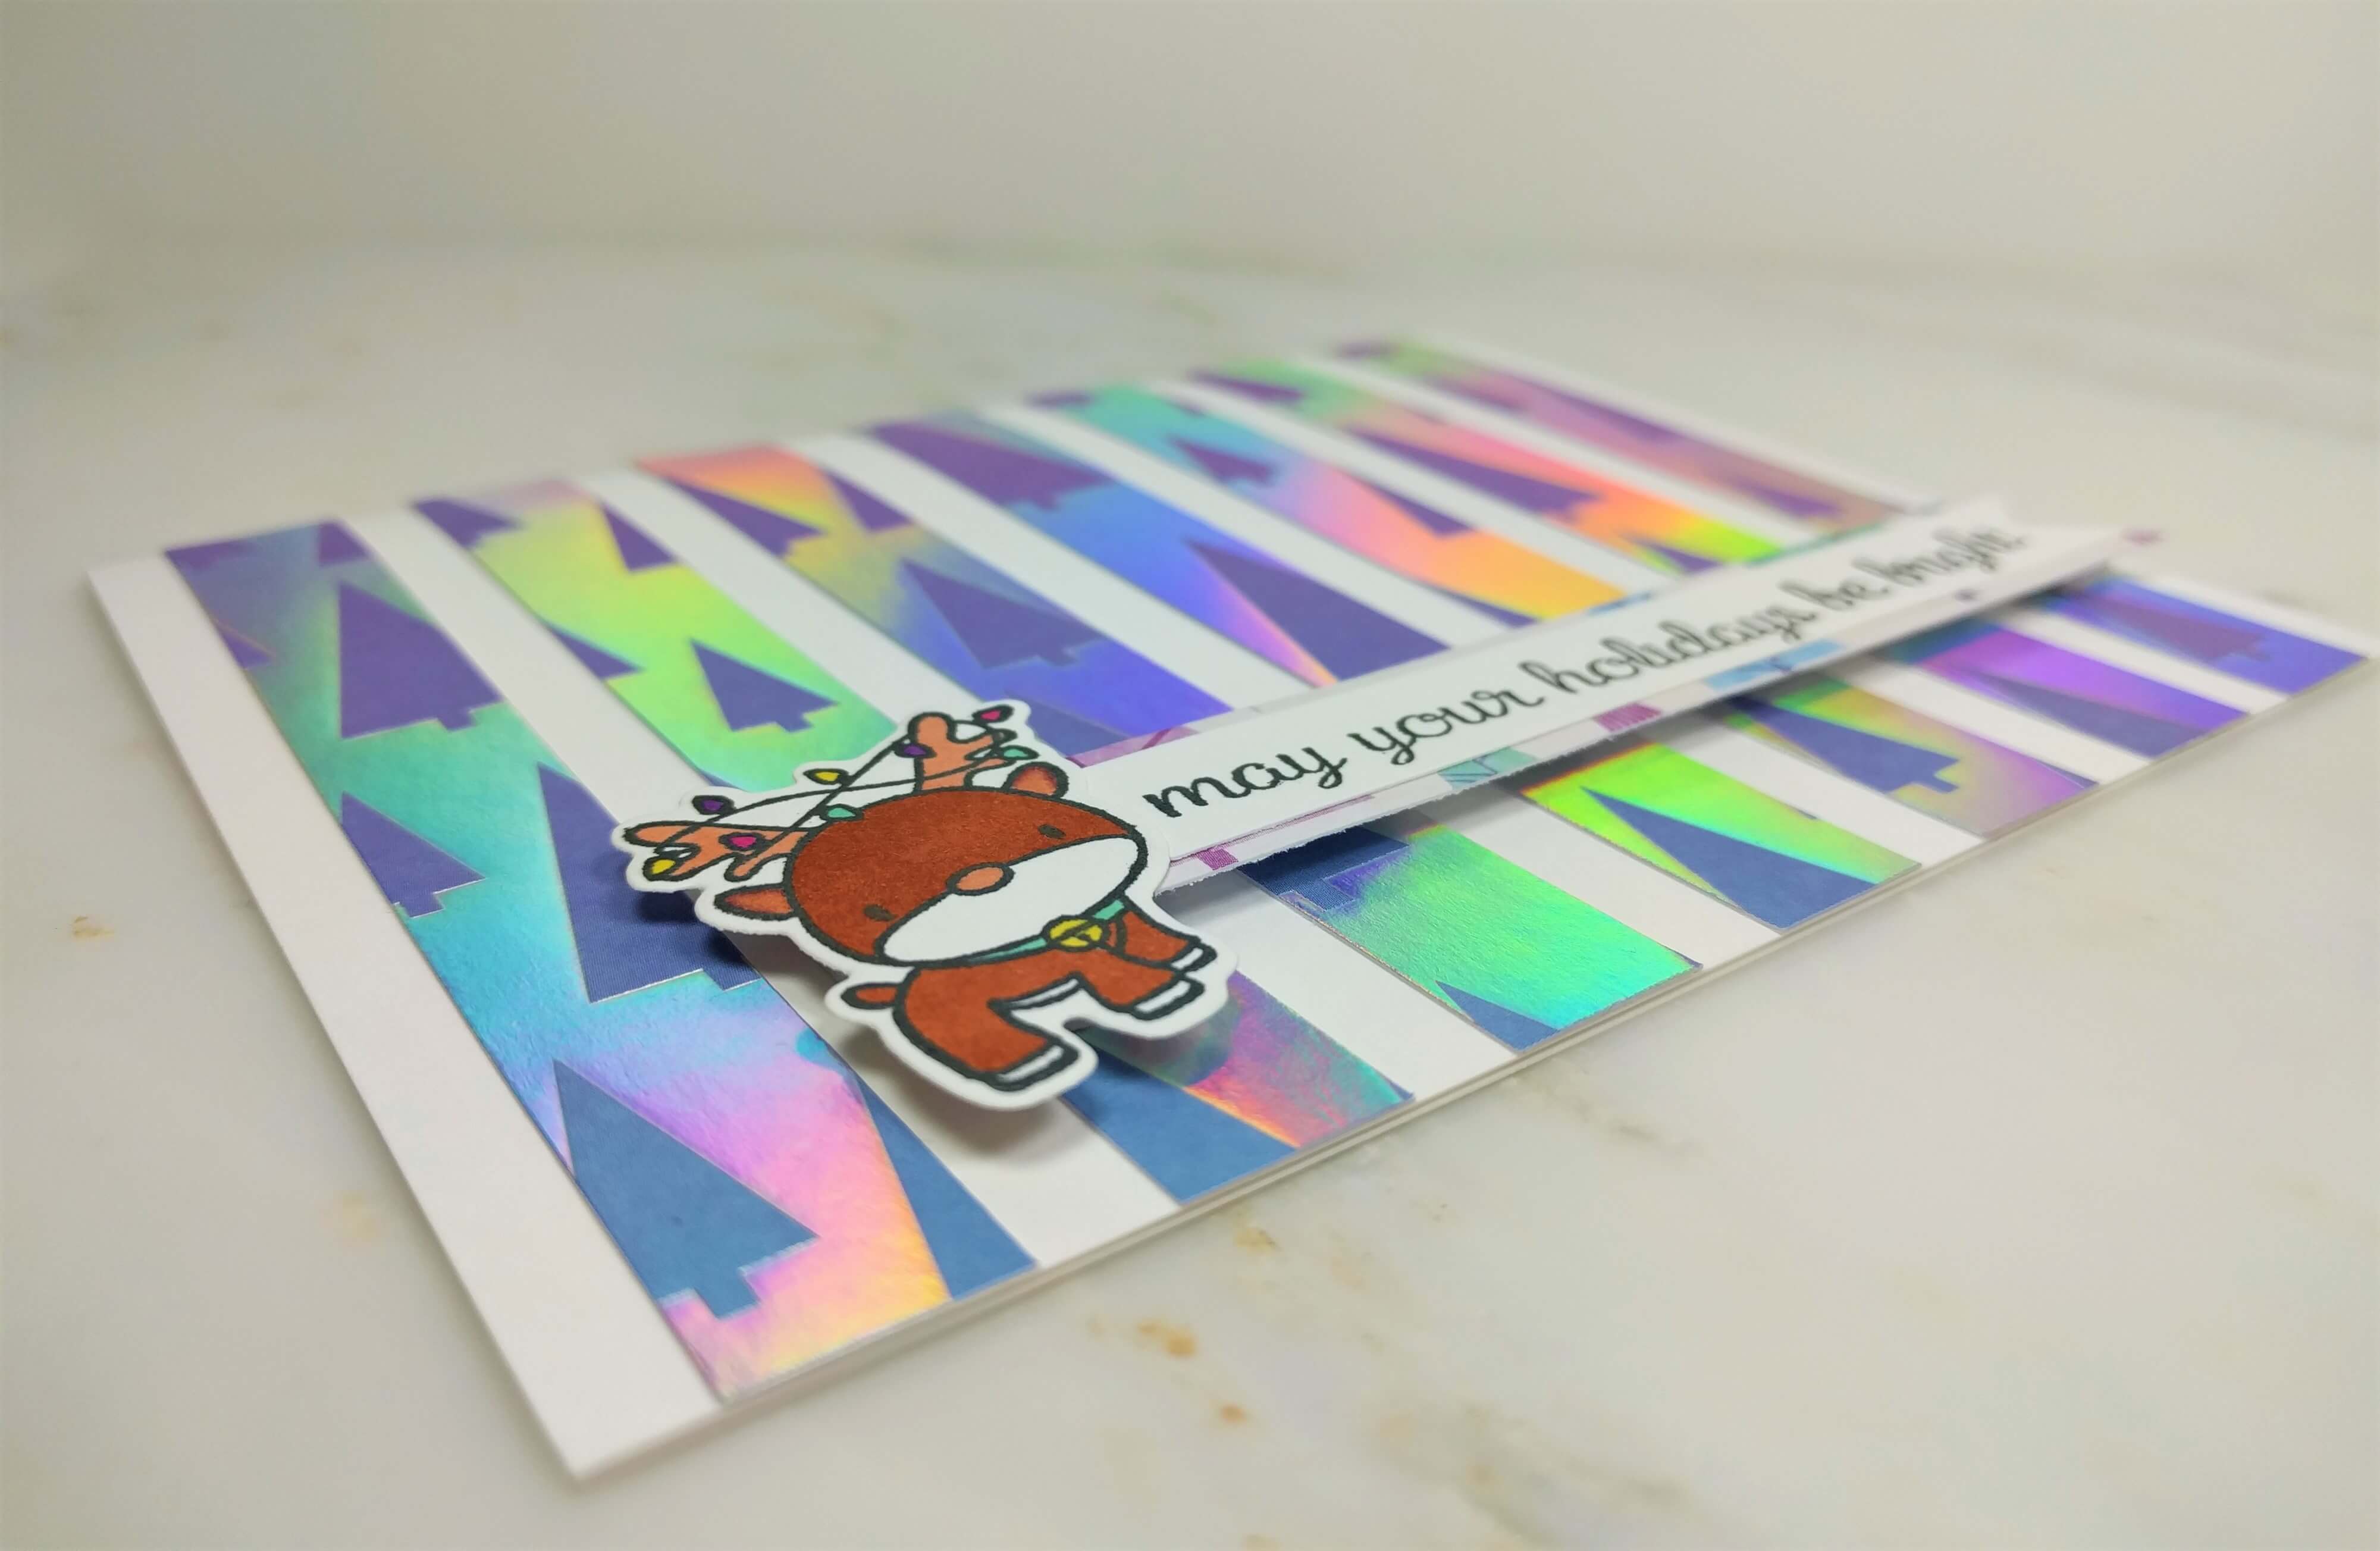
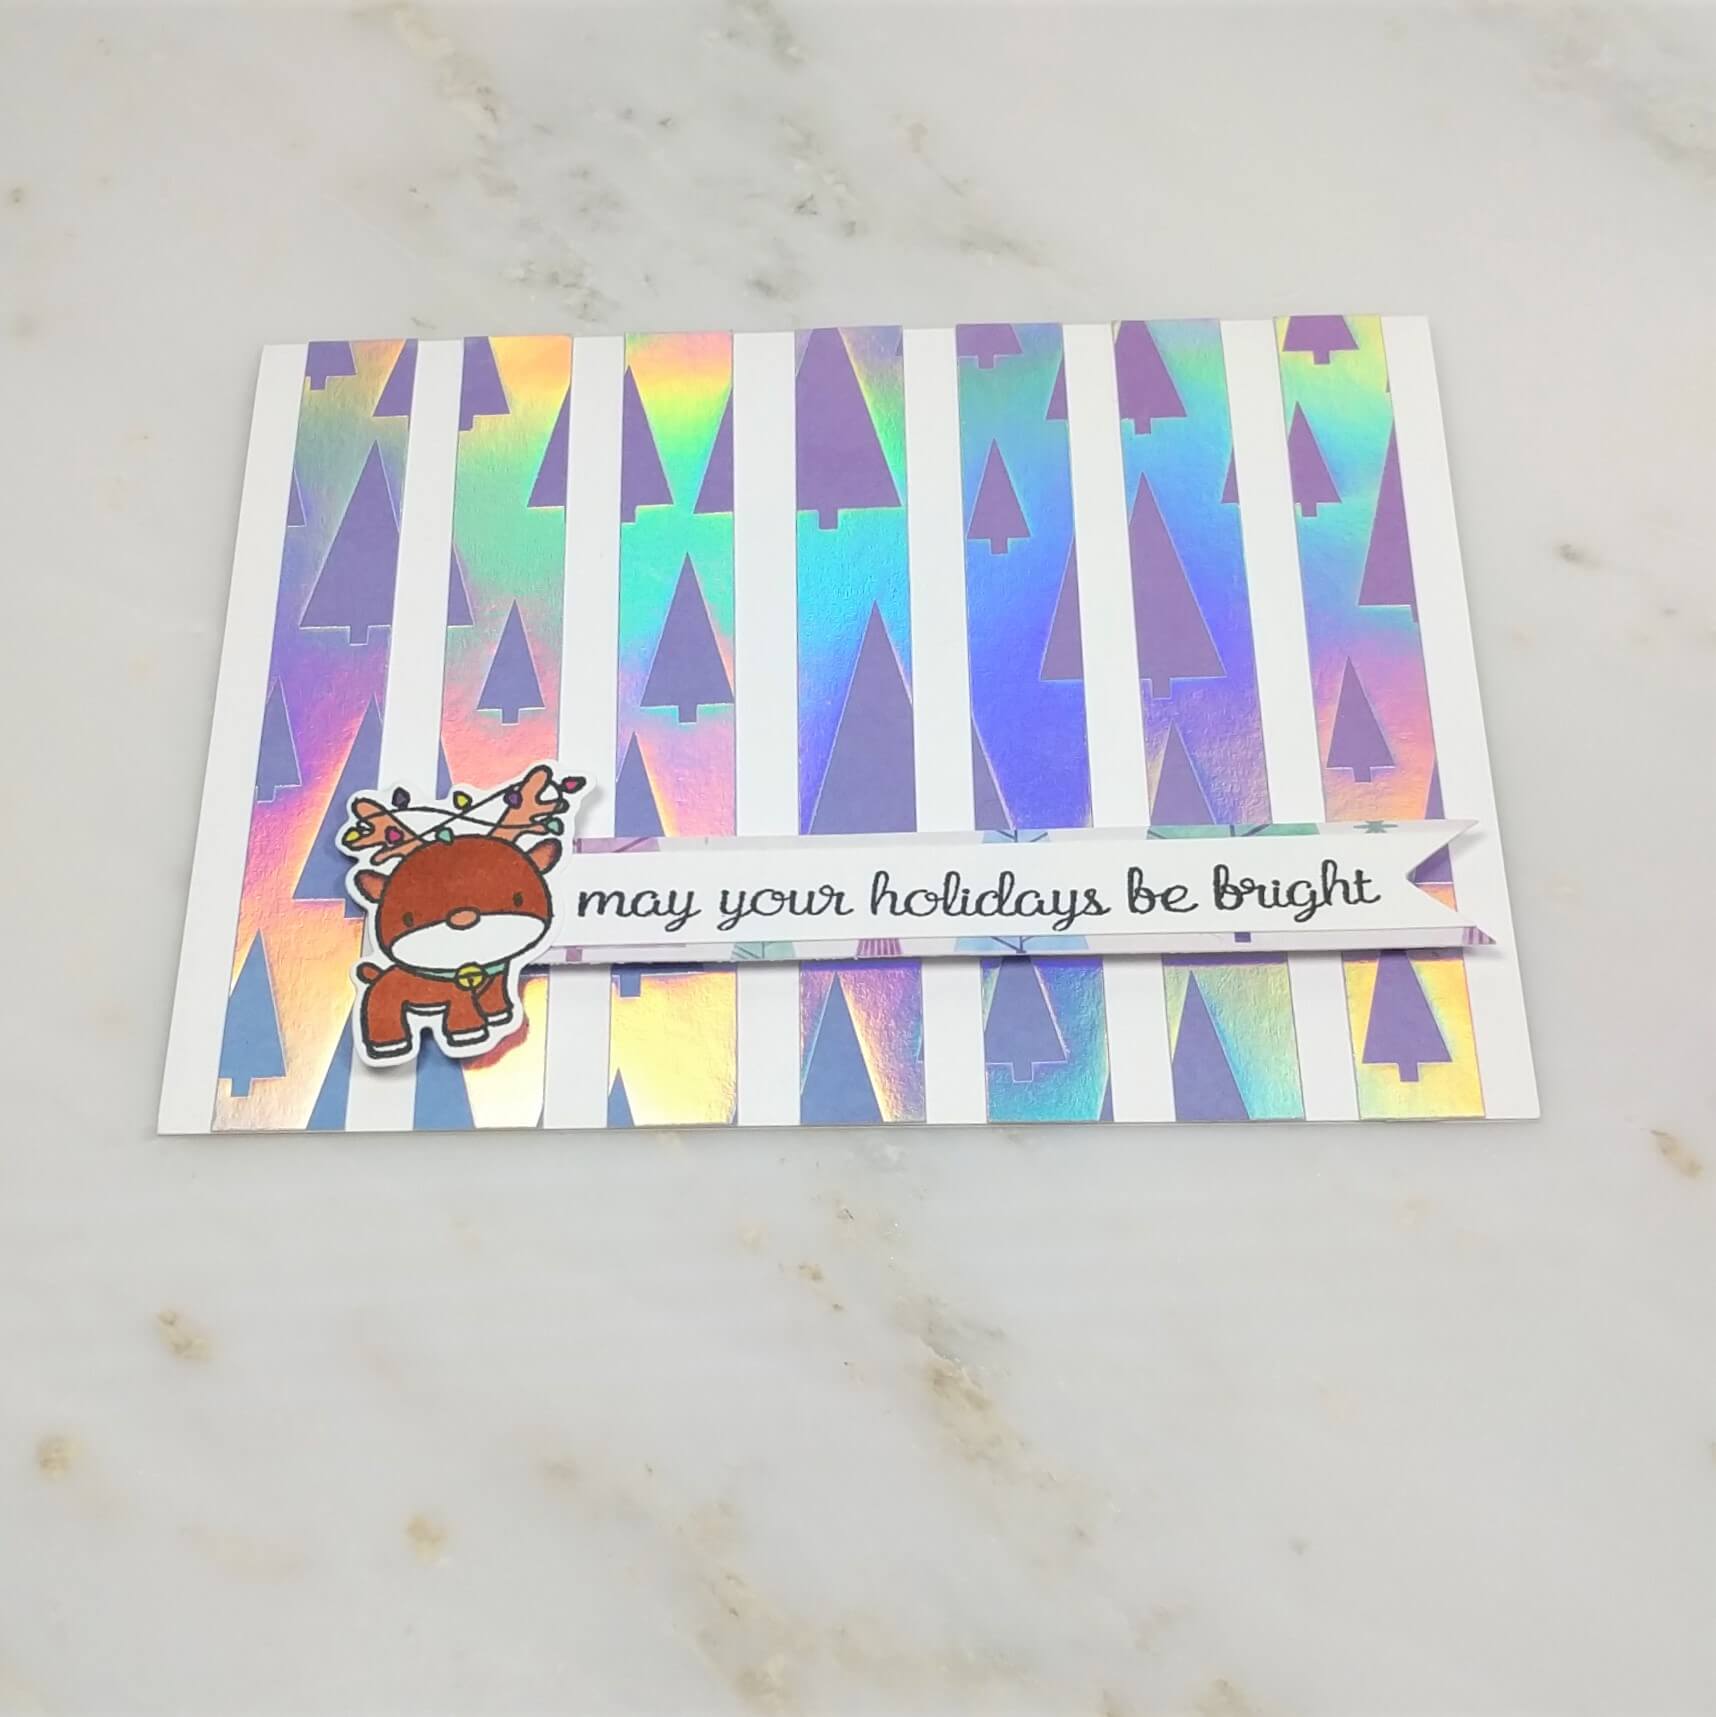
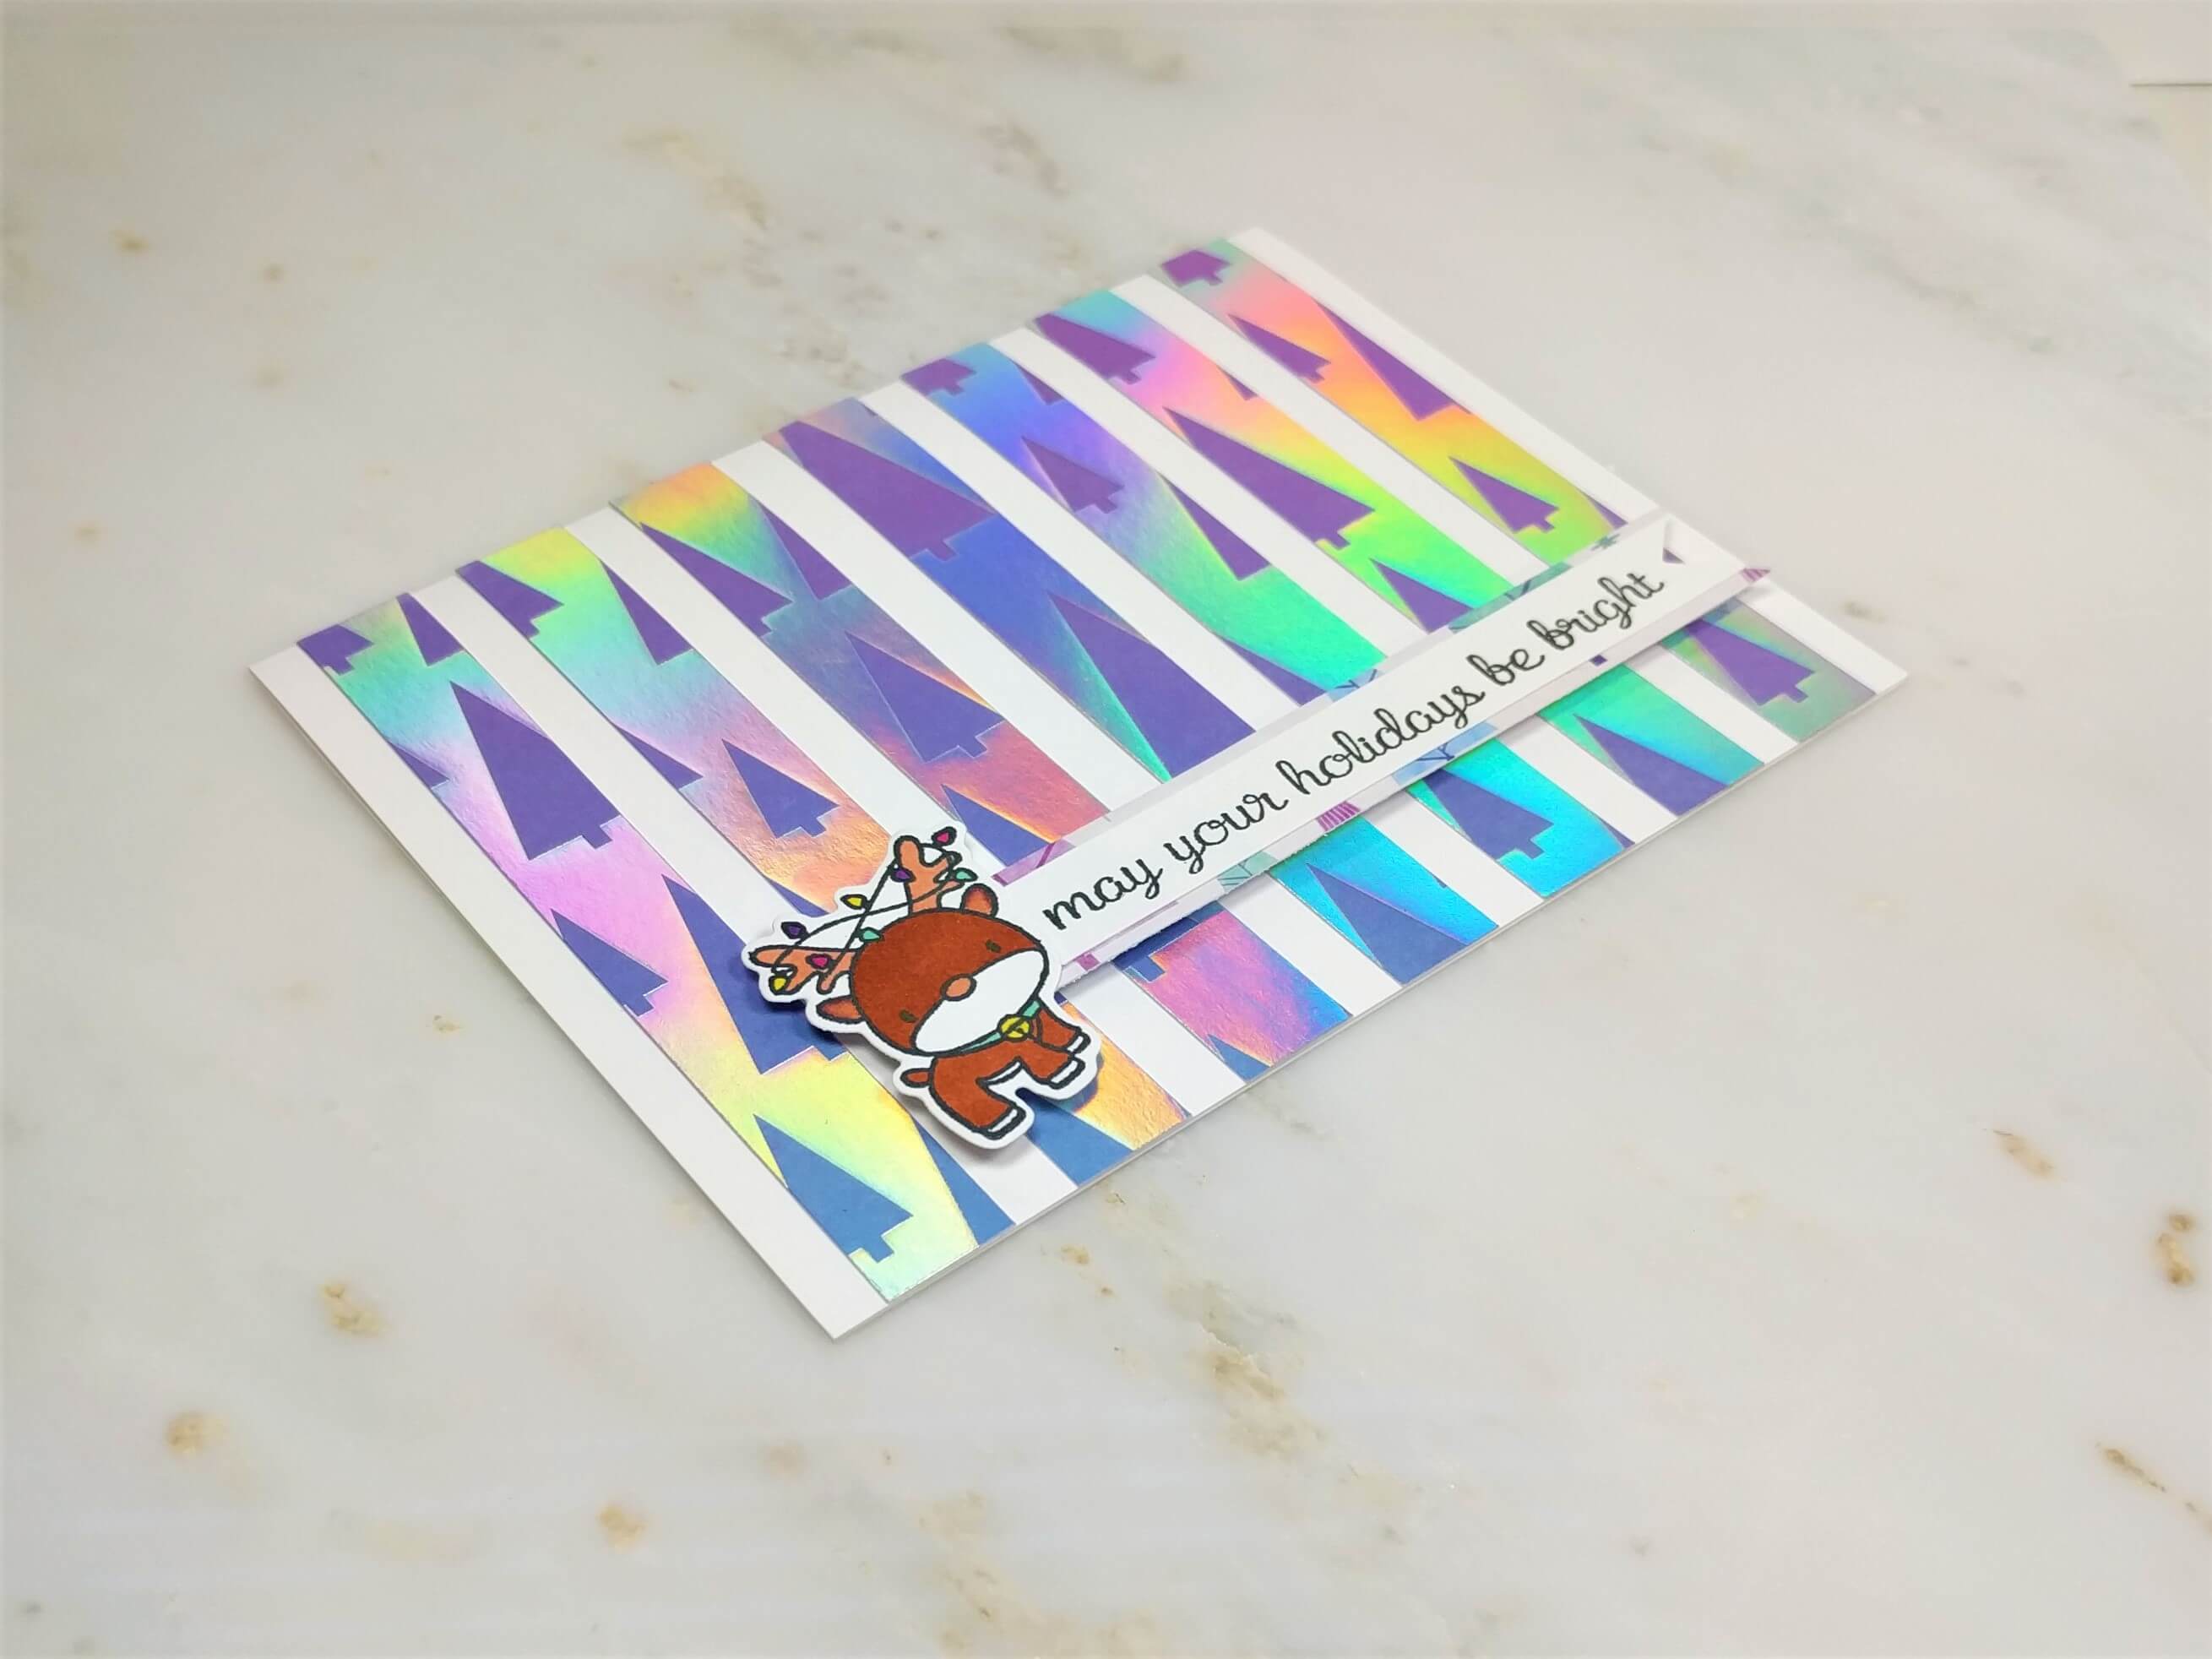
I hope everyone is having an amazing holiday season. Today’s merry and bright holiday reindeer card was inspired by a sheet of holographic cardstock. Yep! The same cardstock that you see as the backdrop on the card base. This cardstock was originally cut to be 5 x 3.75 inches and was leftover from another project. I loved the colors and the tree pattern on the back, but I wanted to do more than just slap onto a card base. I love how the card turned out, and I hope you will too! Keep reading to learn more about how I made this holographic holiday card!
Materials Used:
Scrapbook Adhesives Initially Repositionable Mounting Squares [Amazon]
Forever In Time 3D Pop Dots Square Dual-Adhesive Foam Mount, 1/4-Inch [Amazon]
Trim Slant Tip Tweezers [Amazon]
Feather No.55 Switch-Blade Shear, 5.5 Inch [Amazon]
Fiskars Recycled Bypass Trimmer, 12 Inch [Amazon]
Omnigrid 4-6-12-Inch Marking Ruler Trio [Amazon]
Neenah Solar White Cardstock [Amazon] [Scrapbook.com]
EK Tools EK Scoring Board 12×12 [Amazon]
Whaline 4 Pieces Stamp Blocks [Amazon]
Sizzix BIGkick Machine [Amazon] [Scrapbook.com]
Holographic Christmas Cardstock (from Michael’s)
Pastel Patterned Christmas Cardstock (from Michael’s)
Reindeer Stamp, Sentiment Stamp & Die Set (from Michael’s)
A Holographic Holiday Card Tutorial:
Step 1. Trim card base and background cardstock.
When making this holographic holiday card, I first used Neenah Solar White cardstock for the card base. I trimmed it to be 5.5 x 8.5 inches. Then I scored the center of the paper to create the fold.
Step 2. Slice background cardstock into strips and keep them in order.
Next, I sliced the holographic cardstock, using the same paper trimmer, into 0.5-inch strips that would be 5 inches in height. I cut seven strips and made sure to keep the strips in the order they were cut to maintain the pattern. I then turned the strips over and placed Scrapbook Adhesives mounting squares on the back of each strip.
Tip: If you’re looking for more cards that use leftover scraps from other projects, I recommend checking out Making Christmas Cards with Leftover Ribbon and How to Make Christmas Cards with Paper Scraps.
Step 3. Align and adhere strips to the holographic holiday card base.
When all the adhesive was on the strips, I gently laid them on the card base evenly spread apart. It was important to me to keep the pattern intact, so I kept them in the same order during the entire process. Once all the strips were on the card base exactly where I wanted it, I pressed down firmly to finally adhere them to the card base. I also trimmed off the excess strips of cardstock from the top of the card.
Step 4. Create the merry and bright holiday reindeer sentiment.
Next, I stamped this adorable little reindeer and the sentiment onto some Neenah Solar White cardstock. Then, I colored the reindeer in using alcohol markers then cut it out using the matching die that came in my stamp set. The sentiment did not come with a matching die, but I turned it into a banner using a paper trimmer for the straight edges and scissors to cut the end of the banner.
Step 5. Apply the sentiment to the card.
Lastly, I laid my banner on top of some pastel patterned Christmas cardstock, also from Michael’s, and trimmed that paper to border the sentiment banner. I placed the banner and reindeer on some Forever In Time foam mounting squares and placed them at the bottom of the card for the finishing touches.