
I often receive questions like, “What’s your favorite ink brand?” or “What cardstock do you recommend?” Today, I’m addressing these questions and more, by sharing the card making supplies that I use and rely on daily. These items are my absolute staples, and I hope this article helps you find your essential supplies as well. So, let’s dive in!
Note: This blog may use affiliate links when available. If you choose to make a purchase through one of these links, I may receive a small commission at no cost to you. I don’t make recommendations lightly and only link to products I trust.
Supplies List
I’ve made a list of my favorite card making supplies below, complete with links to where you can find them. Continue reading to discover why I highly recommend each of these items.
- Neenah Classic Crest Solar White 80 lb Cardstock [Scrapbook.com] [Amazon]
- Ranger Archival Ink Pad, Jet Black [Scrapbook.com] [Amazon]
- Premium Embossing Ink Pad – Clear [Scrapbook.com]
- Misti Stamp Tool Original Size Stamp Positioner [Amazon]
- Lawn Fawn Stamp Shammy [Scrapbook.com] [Amazon]
- Fiskars Recycled Bypass Trimmer, 12 Inch [Amazon]
- Feather No.55 Switch-Blade Shear, 5.5 Inch [Amazon]
- Scrapbook Adhesives Initially Repositionable Mounting Squares [Scrapbook.com] [Amazon]
- Craft Specialties Double Sided White Foam Tape – 1/2″ X 36 Yards – 1/16″ Thick [Amazon]
Favorite Card Making Paper
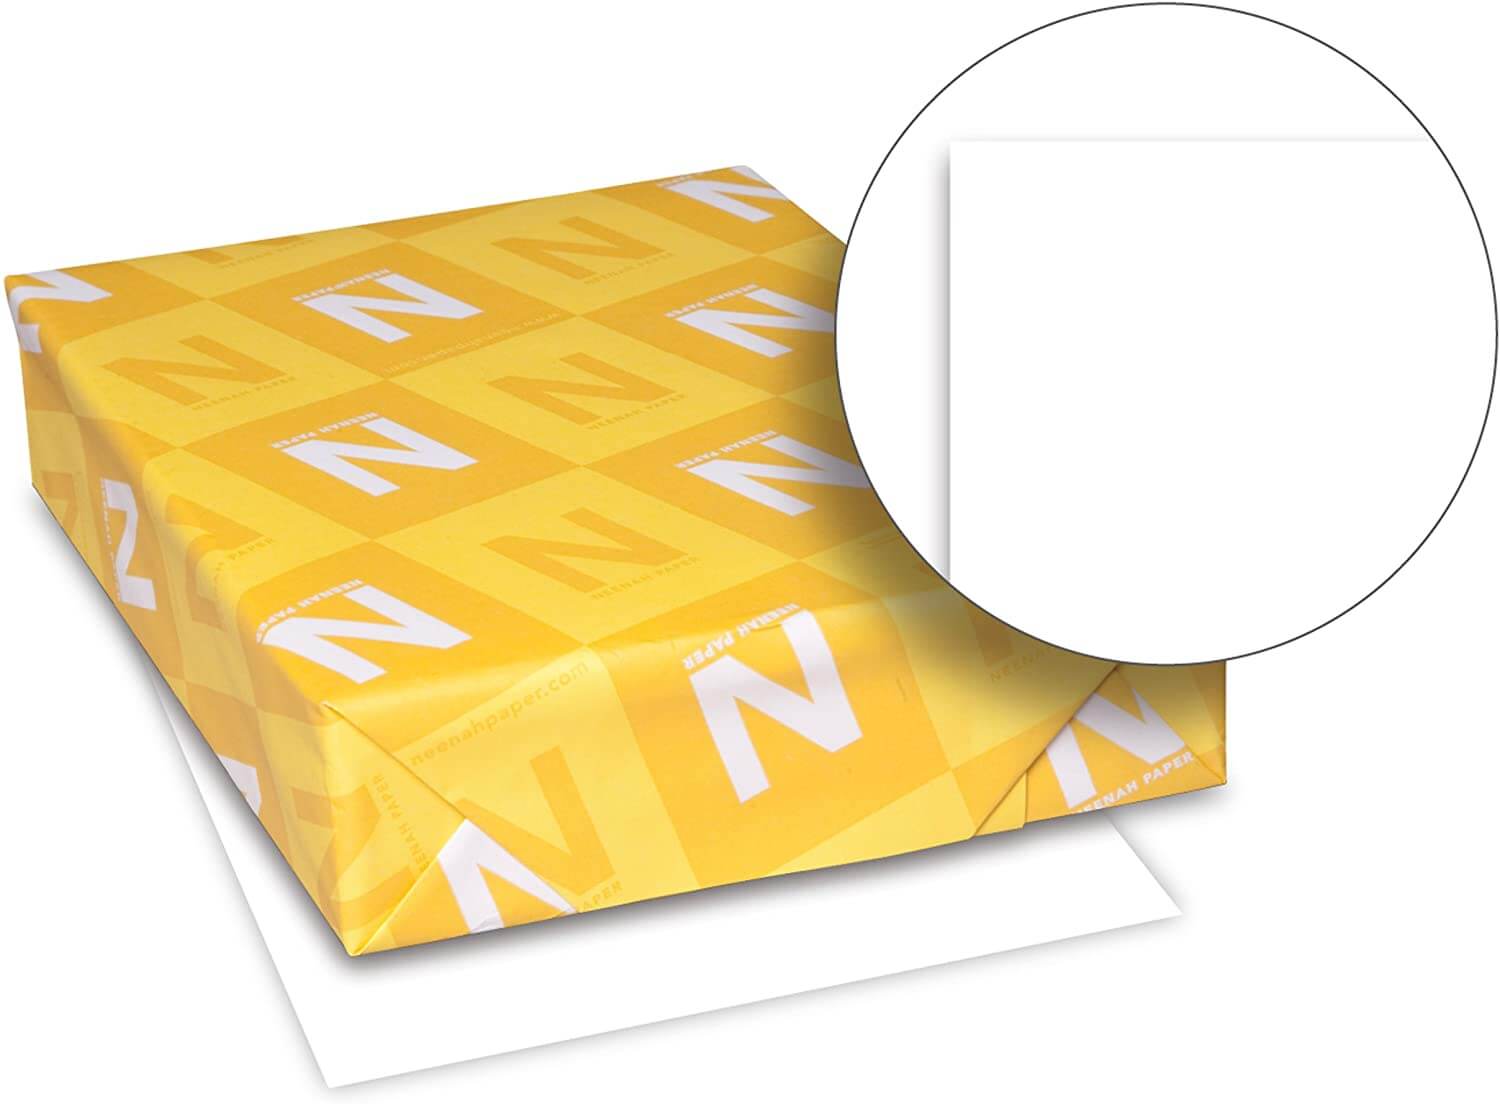
Neenah Solar White 80 lb Cardstock
The most frequently used item in my crafting arsenal is white cardstock, particularly my Neenah Solar White 80lb cardstock. If you’re acquainted with the card making world, you’ve likely heard of it. While I own both the 80lb and 110lb versions, I favor the 80lb due to its versatility. It’s got a smooth finish, ideal for all sorts of projects including, distress oxide blending, Copic coloring, stamping, foiling, and using molding paste.
Here are some examples of projects I’ve made using Neenah Solar white 80lb cardstock. I can blend distress inks on it beautifully (as seen here), or use it for Copic coloring projects (like this one). I can typically stamp directly on the cardstock without the ink bleeding through to the other side (as shown here). The white color of the paper also photographs well. Some other papers can appear to have yellow undertones in photographs. I’ve not had that issue with this cardstock.
Overall, my experiences with this paper have been positive and it’s an all-around great cardstock to invest in. Now, I say “invest” because it is a little on the pricier side. But for me, it’s been worth it.
Recollections 65lb White Cardstock – Best for Beginners
If you’re just starting out and seeking cost-effective paper options, consider Recollections 65lb white cardstock, available at Michael’s. It’s not very expensive, and it’s good quality for the price. You can also usually find a coupon to save a little more money. Just look closely at the edges to make sure they’re not bent. I’ve noticed the paper at Michael’s is sometimes damaged.
I do not recommend Hobby Lobby’s white cardstock (The Paper Studio brand). Its weight is typically not specified on the packaging and is often too thin for various card making techniques.
Favorite Stamping Ink
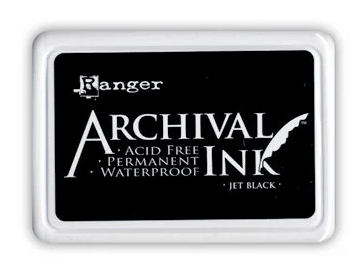
Ranger Jet Black Archival Ink:
When it comes to inks, black ink is typically my go-to. Currently, I’m using Ranger Jet Black Archival Ink, which delivers an impressively clear, evenly distributed images, perfect for coloring with Faber-Castell Polychormos colored pencils (as used on this project) or Copic markers. While it may smudge slightly with lighter Copics, heat setting the ink before using them usually resolves this issue. Here’s an example.
If you do a lot of Copic coloring, you may want to consider buying the Black Soot Distress Oxide ink pad. This ink was made to work with alcohol inks and is perfect for Copic markers.
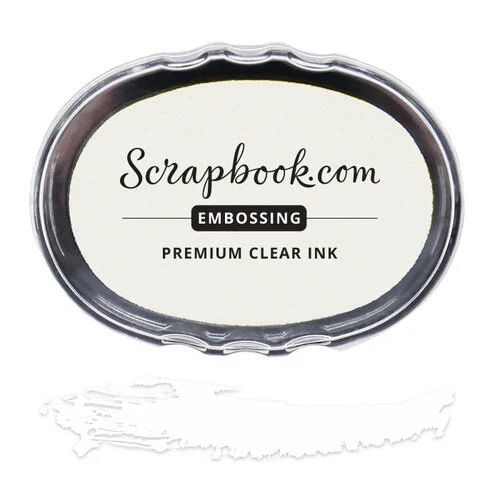
Scrapbook.com Premium Clear Embossing Inkpad:
When I’m embossing, I tend to gravitate towards my Scrapbook.com Clear Embossing inkpad. The reason I prefer clear embossing ink is pretty simple. There are so many types of embossing powders out there and they are usually cheaper than the ink pads themselves (sample project here). So I’ll get a bunch of different embossing powder colors and use the same ink pad with all of them.
Now for those of you who have a lot of distress oxide ink pads, don’t forget you can emboss with those too. So if you’re looking for a color that you don’t have a powder for, you can still use your distress oxide inks with clear powder (like this project). But work quickly, because distress inks dry a little faster than embossing ink.
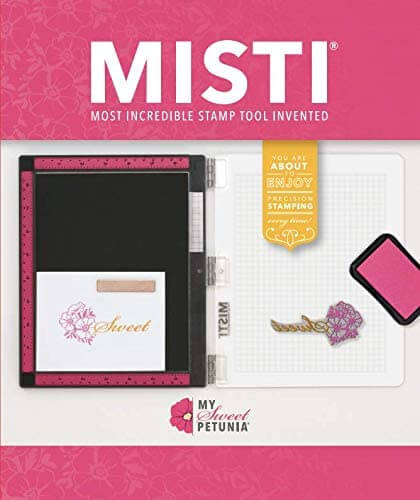
Original Misti Stamping Tool:
For the longest time, I avoided buying a Misti stamping tool because I didn’t want to spend the money. However, now that I own it, it’s nearly the only stamp positioner that I use. I can simply lay the paper down, stamp multiple images at the same time (shown here), make patterns, or multiple cards simultaneously. I’ve gotten so much use out of this purchase. I wish I would have bought it sooner.
There are three sizes. The Mini, which is 6 x 4.75 inches, the Original which is 10 x 8 inches in size, then there’s the larger 12.5 x 12.5 inch size meant for scrapbooking. The Original works perfectly for me because I commonly stamp on a larger paper that I trim down later. So the Mini would have been too small for me.
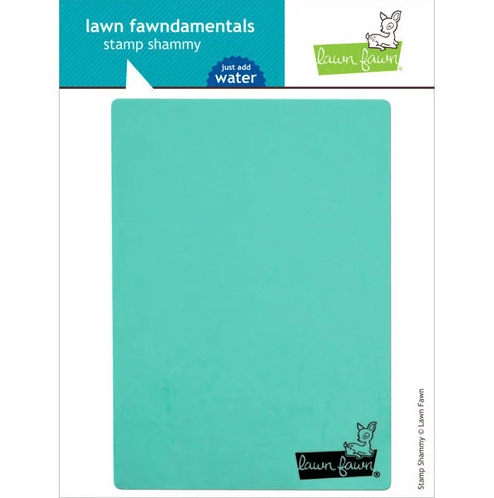
Lawn Fawn Stamp Shammy:
In an effort to reduce paper towel and stamp cleaner usage, I’ve been using this Lawn Fawn stamp shammy for cleaning my stamps. This shammy feels like memory foam, efficiently absorbing water and adjusting shape without tearing or leaving lint. It’s most effective with embossing inks, distress oxides, and pigment inks. Simply wet the shammy and wipe off the color with water.
When cleaning archival or solvent inks, I recommend still using an all-purpose stamp cleaning solution with a paper towel then using the shammy to remove any remaining lint, dust, or cleaning solution.
Favorite Paper Trimming Tools
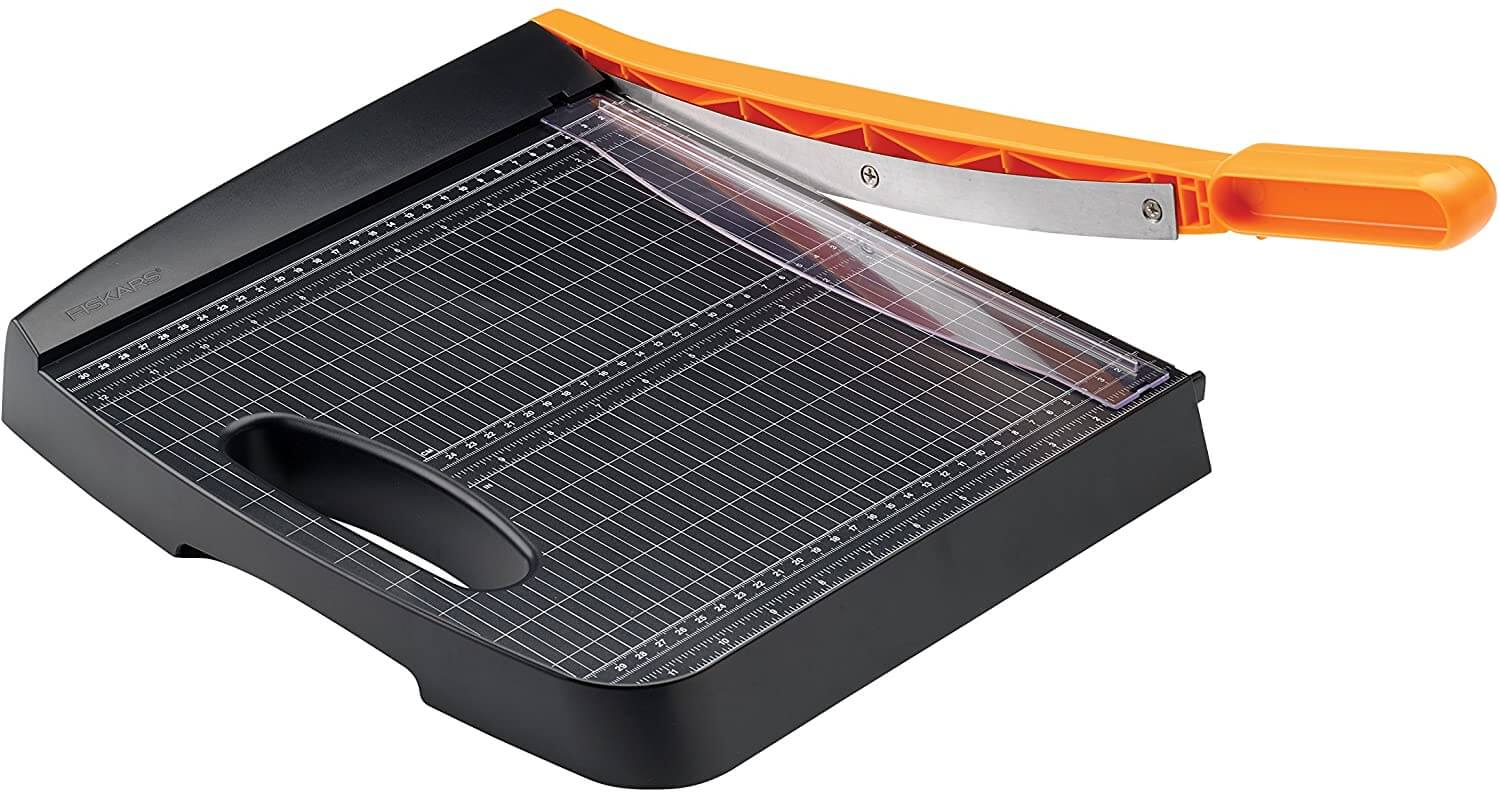
Fiskars Recycled Bypass Trimmer:
A dependable paper trimmer is an absolute must. I’ve had three or four over the course of my career but my absolute favorite one so far is the Fiskars recycled bypass paper trimmer. Where other paper trimmers tear at the cut line (looking at you rotary trimmers), this guillotine trimmer has a very clean cut. It’s stayed sharp over time. It’s also not very expensive, and the base is made from recycled material!
I’ve had it for two years now. During that time, I’ve used it to trim paper, magnetic strips, and thin plastic sheets without any issues. It can trim multiple sheets of paper at the same time but the cut line typically isn’t as straight so I only cut one sheet at a time.

Feather No.55 Switch-Blade Shears:
Every crafty gal needs a good pair of scissors. I’ll admit my scissors are a little unconventional and I’m probably the only crafter who uses Feather No.55 Switch-Blade shears, but hear me out… Back in the day (2005ish) I was a hair stylist for a living and these scissors were my most valued tool. I no longer cut hair, but this same exact pair of scissors stays with me. Why? Because they are amazingly sharp, precise, and easy to handle.
Most importantly, you actually can take the sharp ends of the scissors off and dispose of (or recycle) them and replace the blades when needed. I’ve tried crafting scissors in the past but they can get expensive. Then, when they got dull I felt like I had to keep using them because I didn’t want to buy another pair or pay to get them sharpened. With these scissors that’s not an issue for me.
Favorite Adhesives
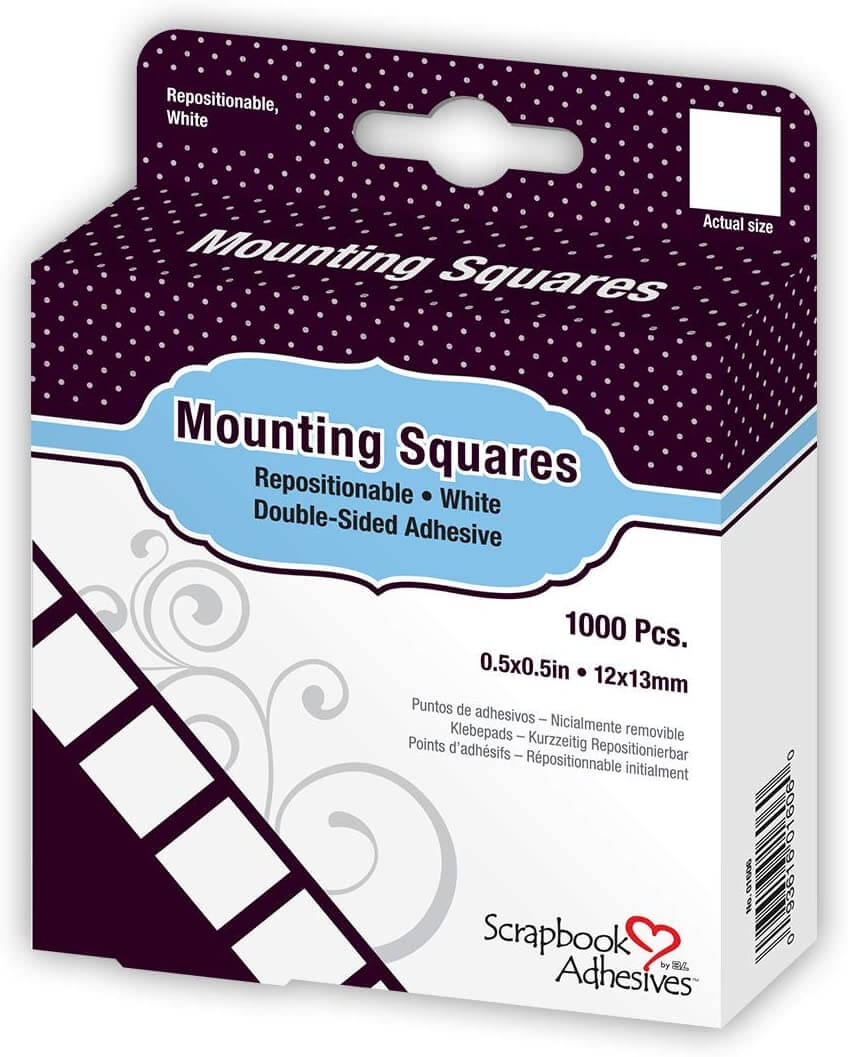
Scrapbook Adhesives Initially Repositionable Mounting Squares:
I have all different types of adhesive in my crafty toolbox. But the adhesive that I use the most is my scrapbook adhesive mounting squares. They’re my favorite because they’re easy to use and they’re initially repositionable. So, if you’re new to card making and you’re not entirely sure where you want your design to go, this adhesive will show you some grace. Is also pretty affordable and relatively easy to find in the USA.
For more tips on the best card making adhesives, see this post that walks you through my top 5 favorite types of adhesive.
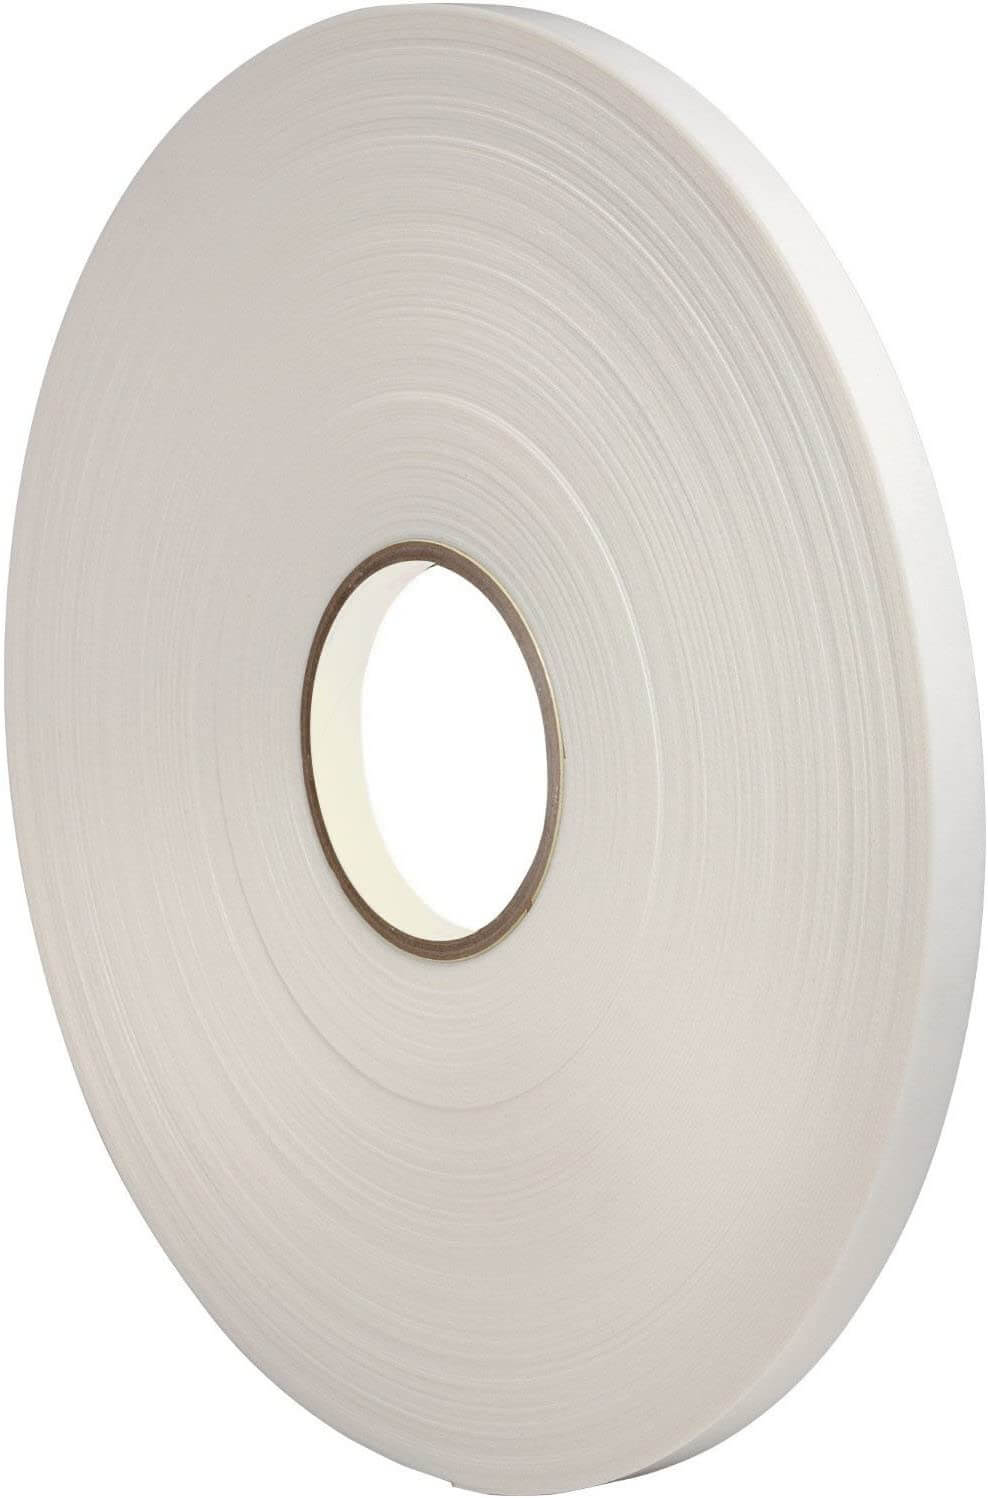
Craft Specialties Double Sided White Foam Tape:
Lastly, you want to have a good 3D foam tape in your inventory any time your making cards. When I need foam tape I will typically use Craft Specialties double sided white foam tape. This is a less expensive option compared to the 3L mounting foam roll that is very popular with crafters. This tape is pretty versatile, and I can always layer it if I want something to be raised higher off the page. It’s permanent adhesive, so you only get one shot at laying it down. However, it’s a great option for those on a budget.
I hope you found this article helpful. Let me know if you have any questions about any additional products and don’t forget to follow me on Instagram, Facebook, or Pinterest for the latest updates! You can also shop all the handmade cards that I’ve designed here.