")
Alright… So I have to make a confession. I’ve owned other alcohol markers in the past, but this is the first card I’ve made using Copic markers! Can you believe it? I’ve been designing cards for years but never owned Copics. The main reason has been because they are not cheap but this year I decided to invest, and I’m glad I did. Today I’m going to walk you through how I made this adorable Stuck on You card. Coloring with Copic markers was my favorite part of the process, so I recorded it, and posted the video below. I’ve also created links to all the materials I used below, so keep reading!
Watch the Stuck on You YouTube video here.
Materials Used:
This blog may use affiliate links when they’re available. If you choose to make a purchase through one of these links, I may receive a small commission at no cost to you. I don’t make recommendations lightly, and will only link to products I know and trust.
- YG41 Pale Cobalt Green Copic Sketch Marker [Amazon] [Scrapbookpal.com]
- G02 Spectrum Green Copic Sketch Marker [Scrapbookpal.com]
- G05 Emerald Green Copic Sketch Marker [Scrapbookpal.com]
- G09 Veronese Green Copic Sketch Marker [Scrapbookpal.com]
- V04 Lilac Copic Sketch Marker [Amazon] [Scrapbookpal.com]
- V09 Violet Copic Sketch Marker [Scrapbookpal.com]
- YR61 Spring Orange Copic Sketch Marker [Scrapbookpal.com]
- YR68 Orange Copic Sketch Marker [Amazon] [Scrapbookpal.com]
- Sizzix BIGkick Machine [Amazon] [Scrapbook.com]
- EK Tools EK Scoring Board 12×12 [Amazon]
- Fiskars Recycled Bypass Trimmer, 12 Inch [Amazon]
- Misti Stamp Tool Original Size Stamp Positioner [Amazon]
- Crafting Ink Blending Brush Set [Amazon]
- Hickory Smoke Ranger Ink Distress Oxides Ink Pad – [Amazon] [Scrapbook.com]
- Tattered Rose Ranger Ink Distress Oxides Ink Pad [Amazon] [Scrapbook.com]
- Jet Black Ranger Archival Ink Pad [Amazon] [Scrapbook.com]
- Neenah Solar White Cardstock [Amazon] [Scrapbook.com]
- Recollections Cardstock Paper, Essentials 20 Colors [Amazon]
- Scrapbook Adhesives Initially Repositionable Mounting Squares [Amazon]
- Forever In Time 3D Pop Dots Square Dual-Adhesive Foam Mount, 1/4-Inch [Amazon]
- Avery Elle – Stuck On You Stamp Set [Scrapbook.com]
- Crafting Ink Blending Brush Set [Amazon]
- Post-it Notes – 4 in x 6 inches lined (for masking) [Amazon]
- Sakura Pigma 30064 Micron Blister Card Ink Pen Set [Amazon]
- Tombow MONO Aqua Liquid Glue [Amazon]

Stuck on You Card Making Tutorial:
Step 1. Prep the paper and stamps
When getting started with this Stuck on You card, I grabbed my Avery Elle Stuck On You Stamp Set and stamped these cute cacti designs onto some 80lb Neenah Solar White cardstock.
Step 2. Coloring with Copic markers
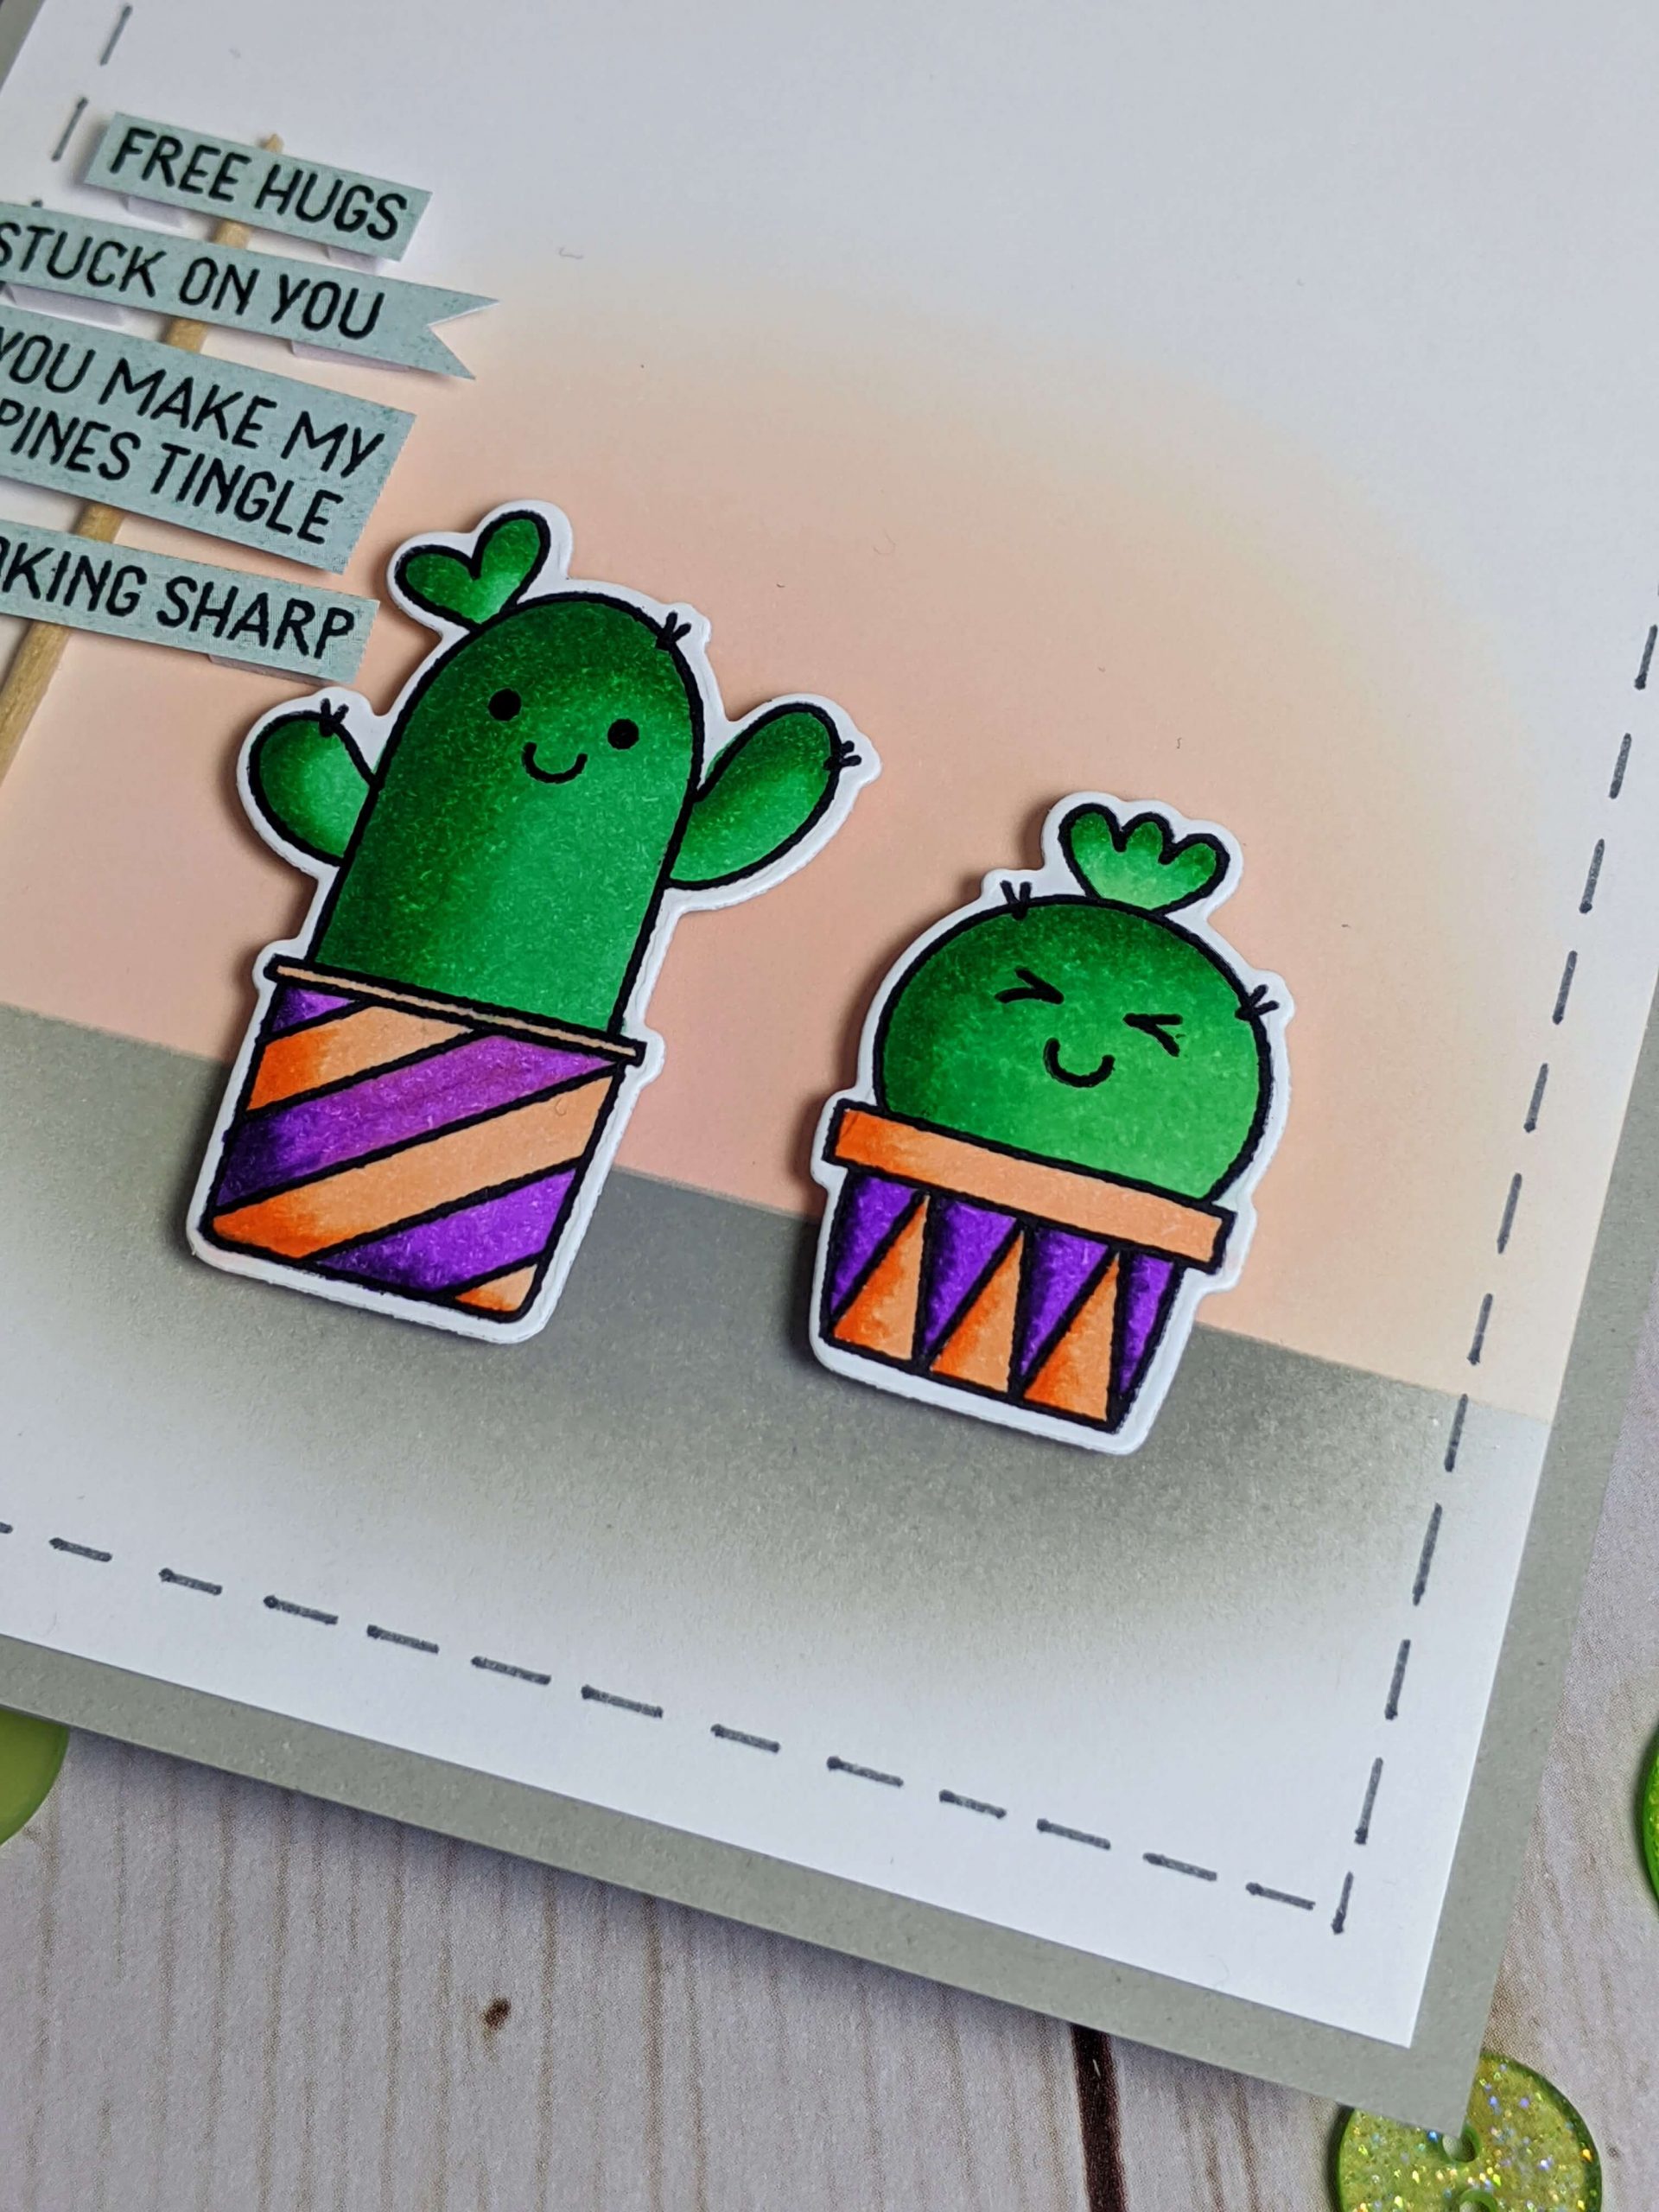
Next, I colored the cacti using my Copic Markers. I had bought the Copic Sketch Markers Secondary Tones Set a few weeks prior to this, so I used all the markers in that set (G02, G09, V04, V09, YR61, YR68) on this design. I also used YG41 and G05 which I had bought separately.
While coloring with my Copics, I intentionally wanted one cactus to look lighter than the other so I used G09, G05, and G02 for the larger cactus and then G05 G02 and YG41 for the smaller cactus. I used V09 and V04 to color the purple sections of the pots. For the orange sections, I used YR68 and YR61. I did notice that the oranges colors blended a little bit easier than the purples. Perhaps it was because violet (V09) was such a dark color.
Step 3. Cut out the cactus design
After I had finished coloring with my Copic markers, I used the Stuck on You die, placed it over top my cactus, and ran it through the Sizzix BIGkick machine to cut out the cacti.
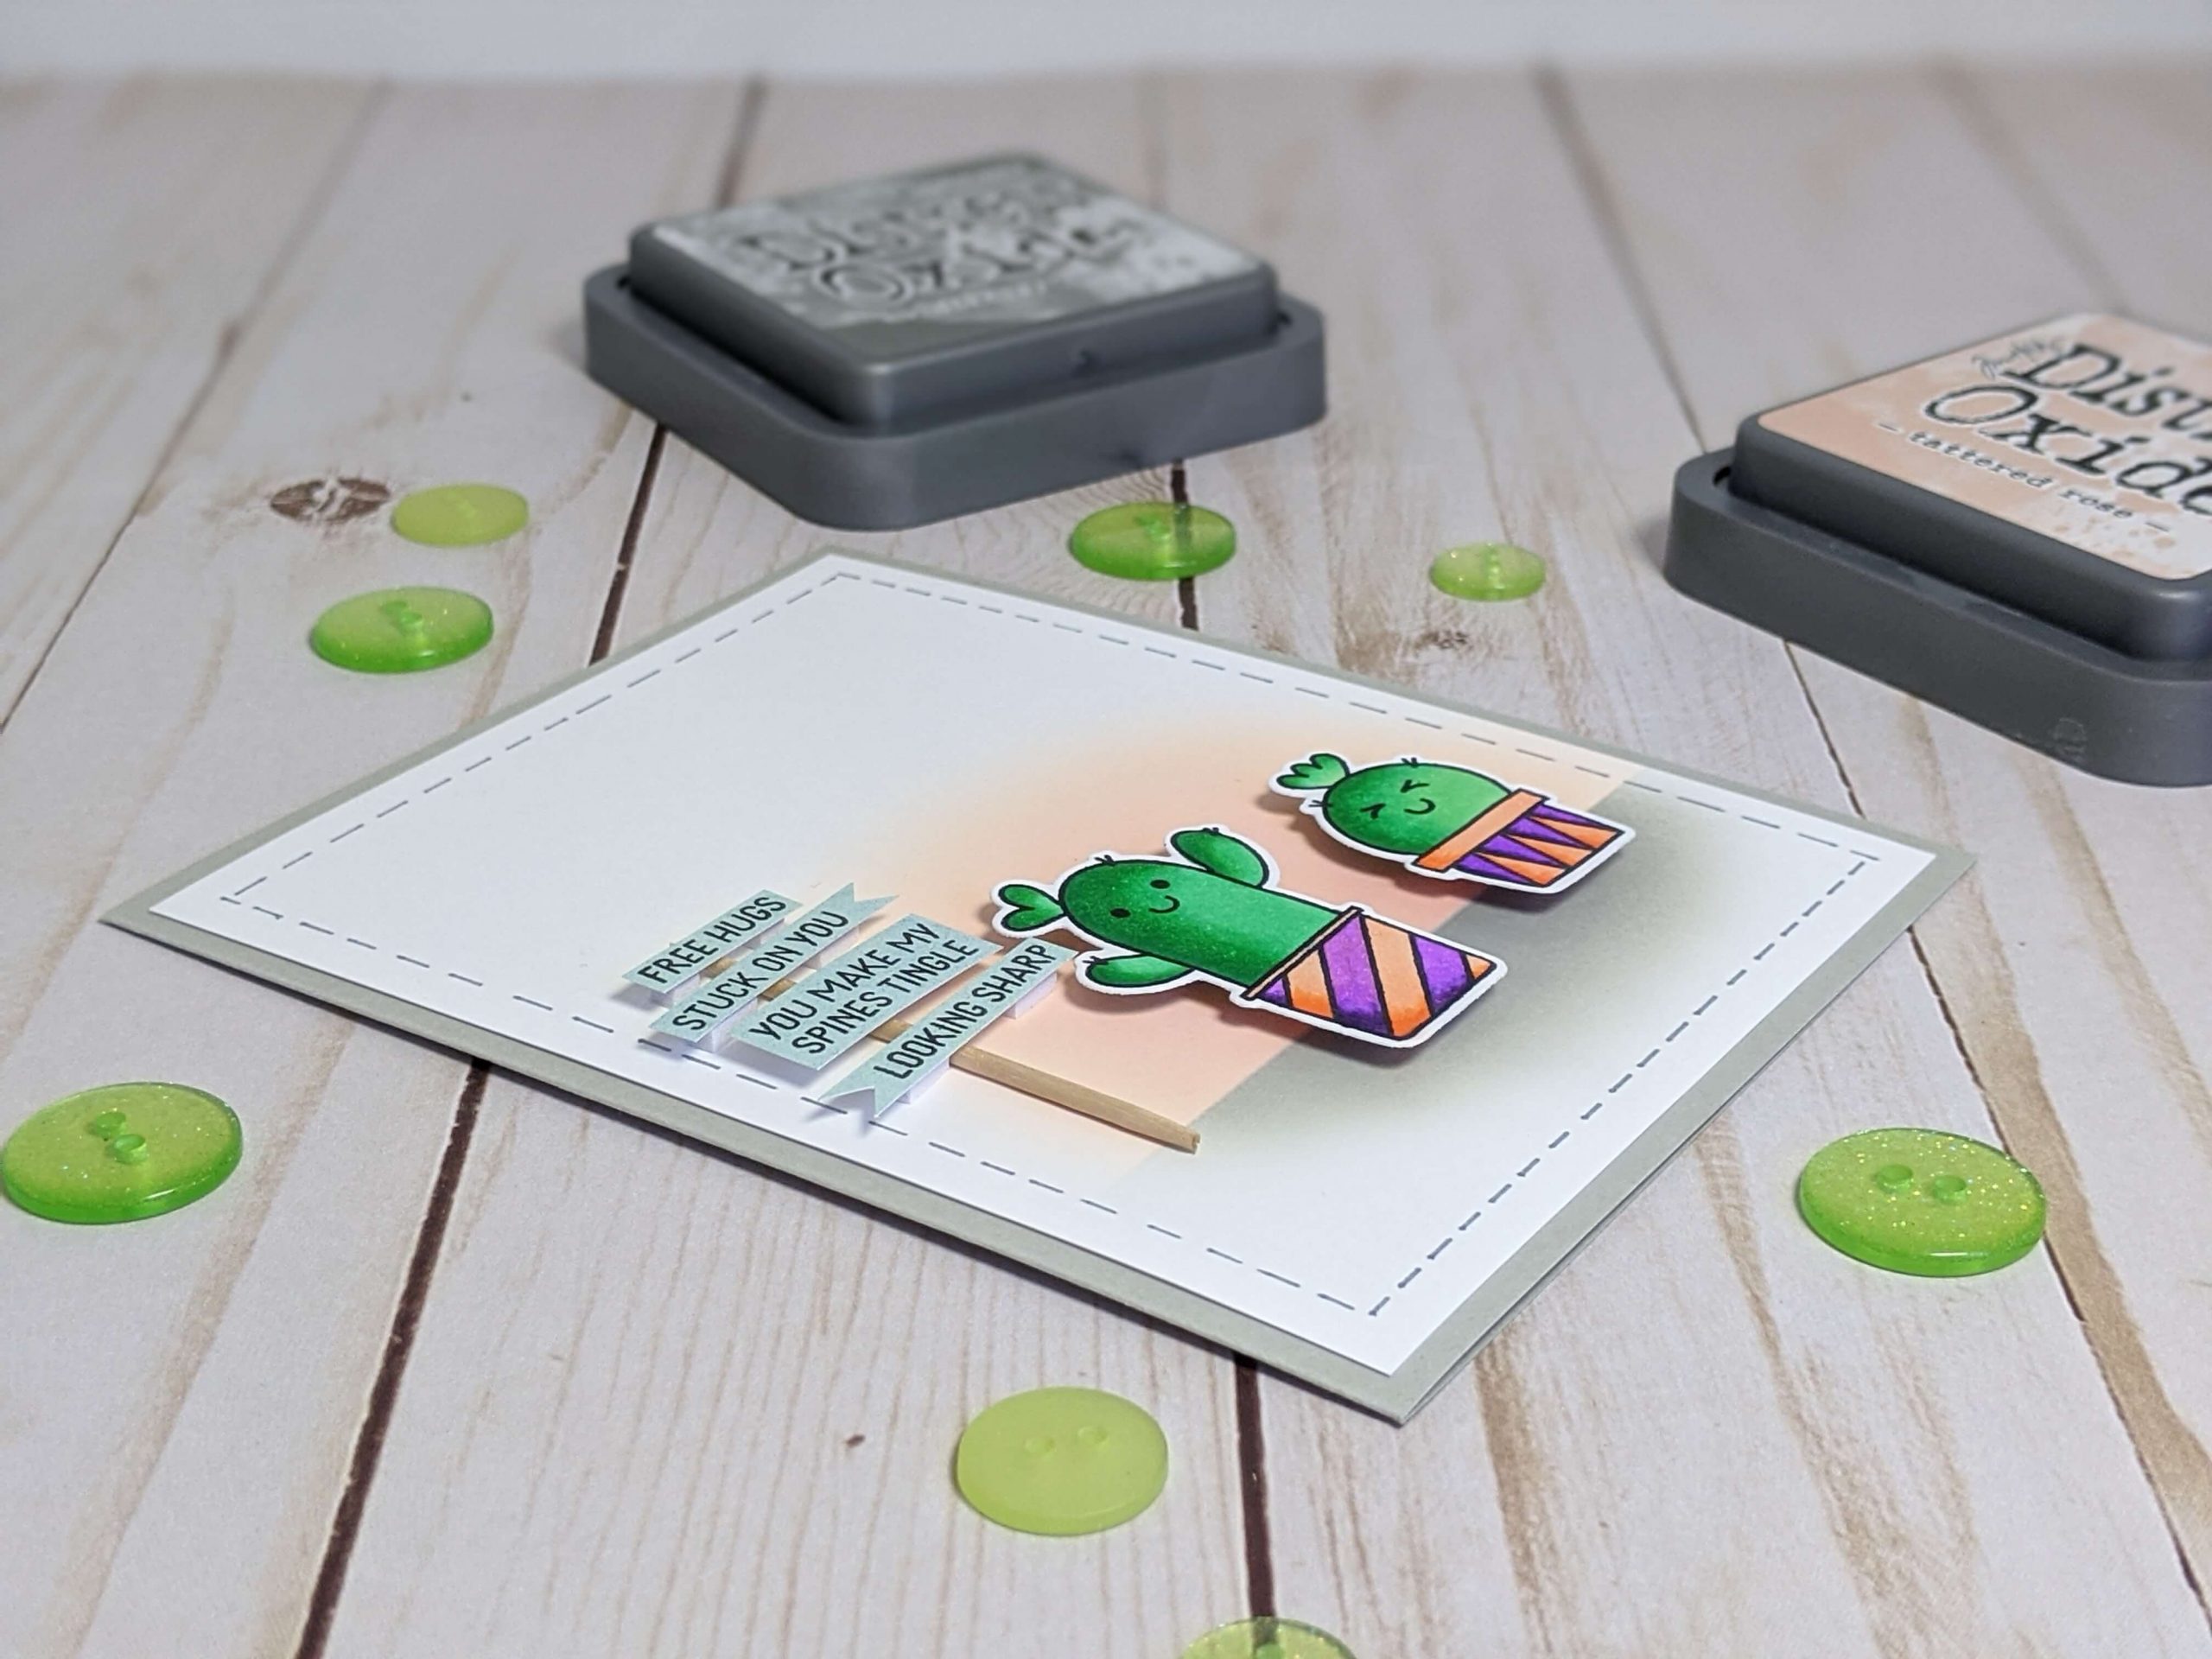
Step 4. Create the background
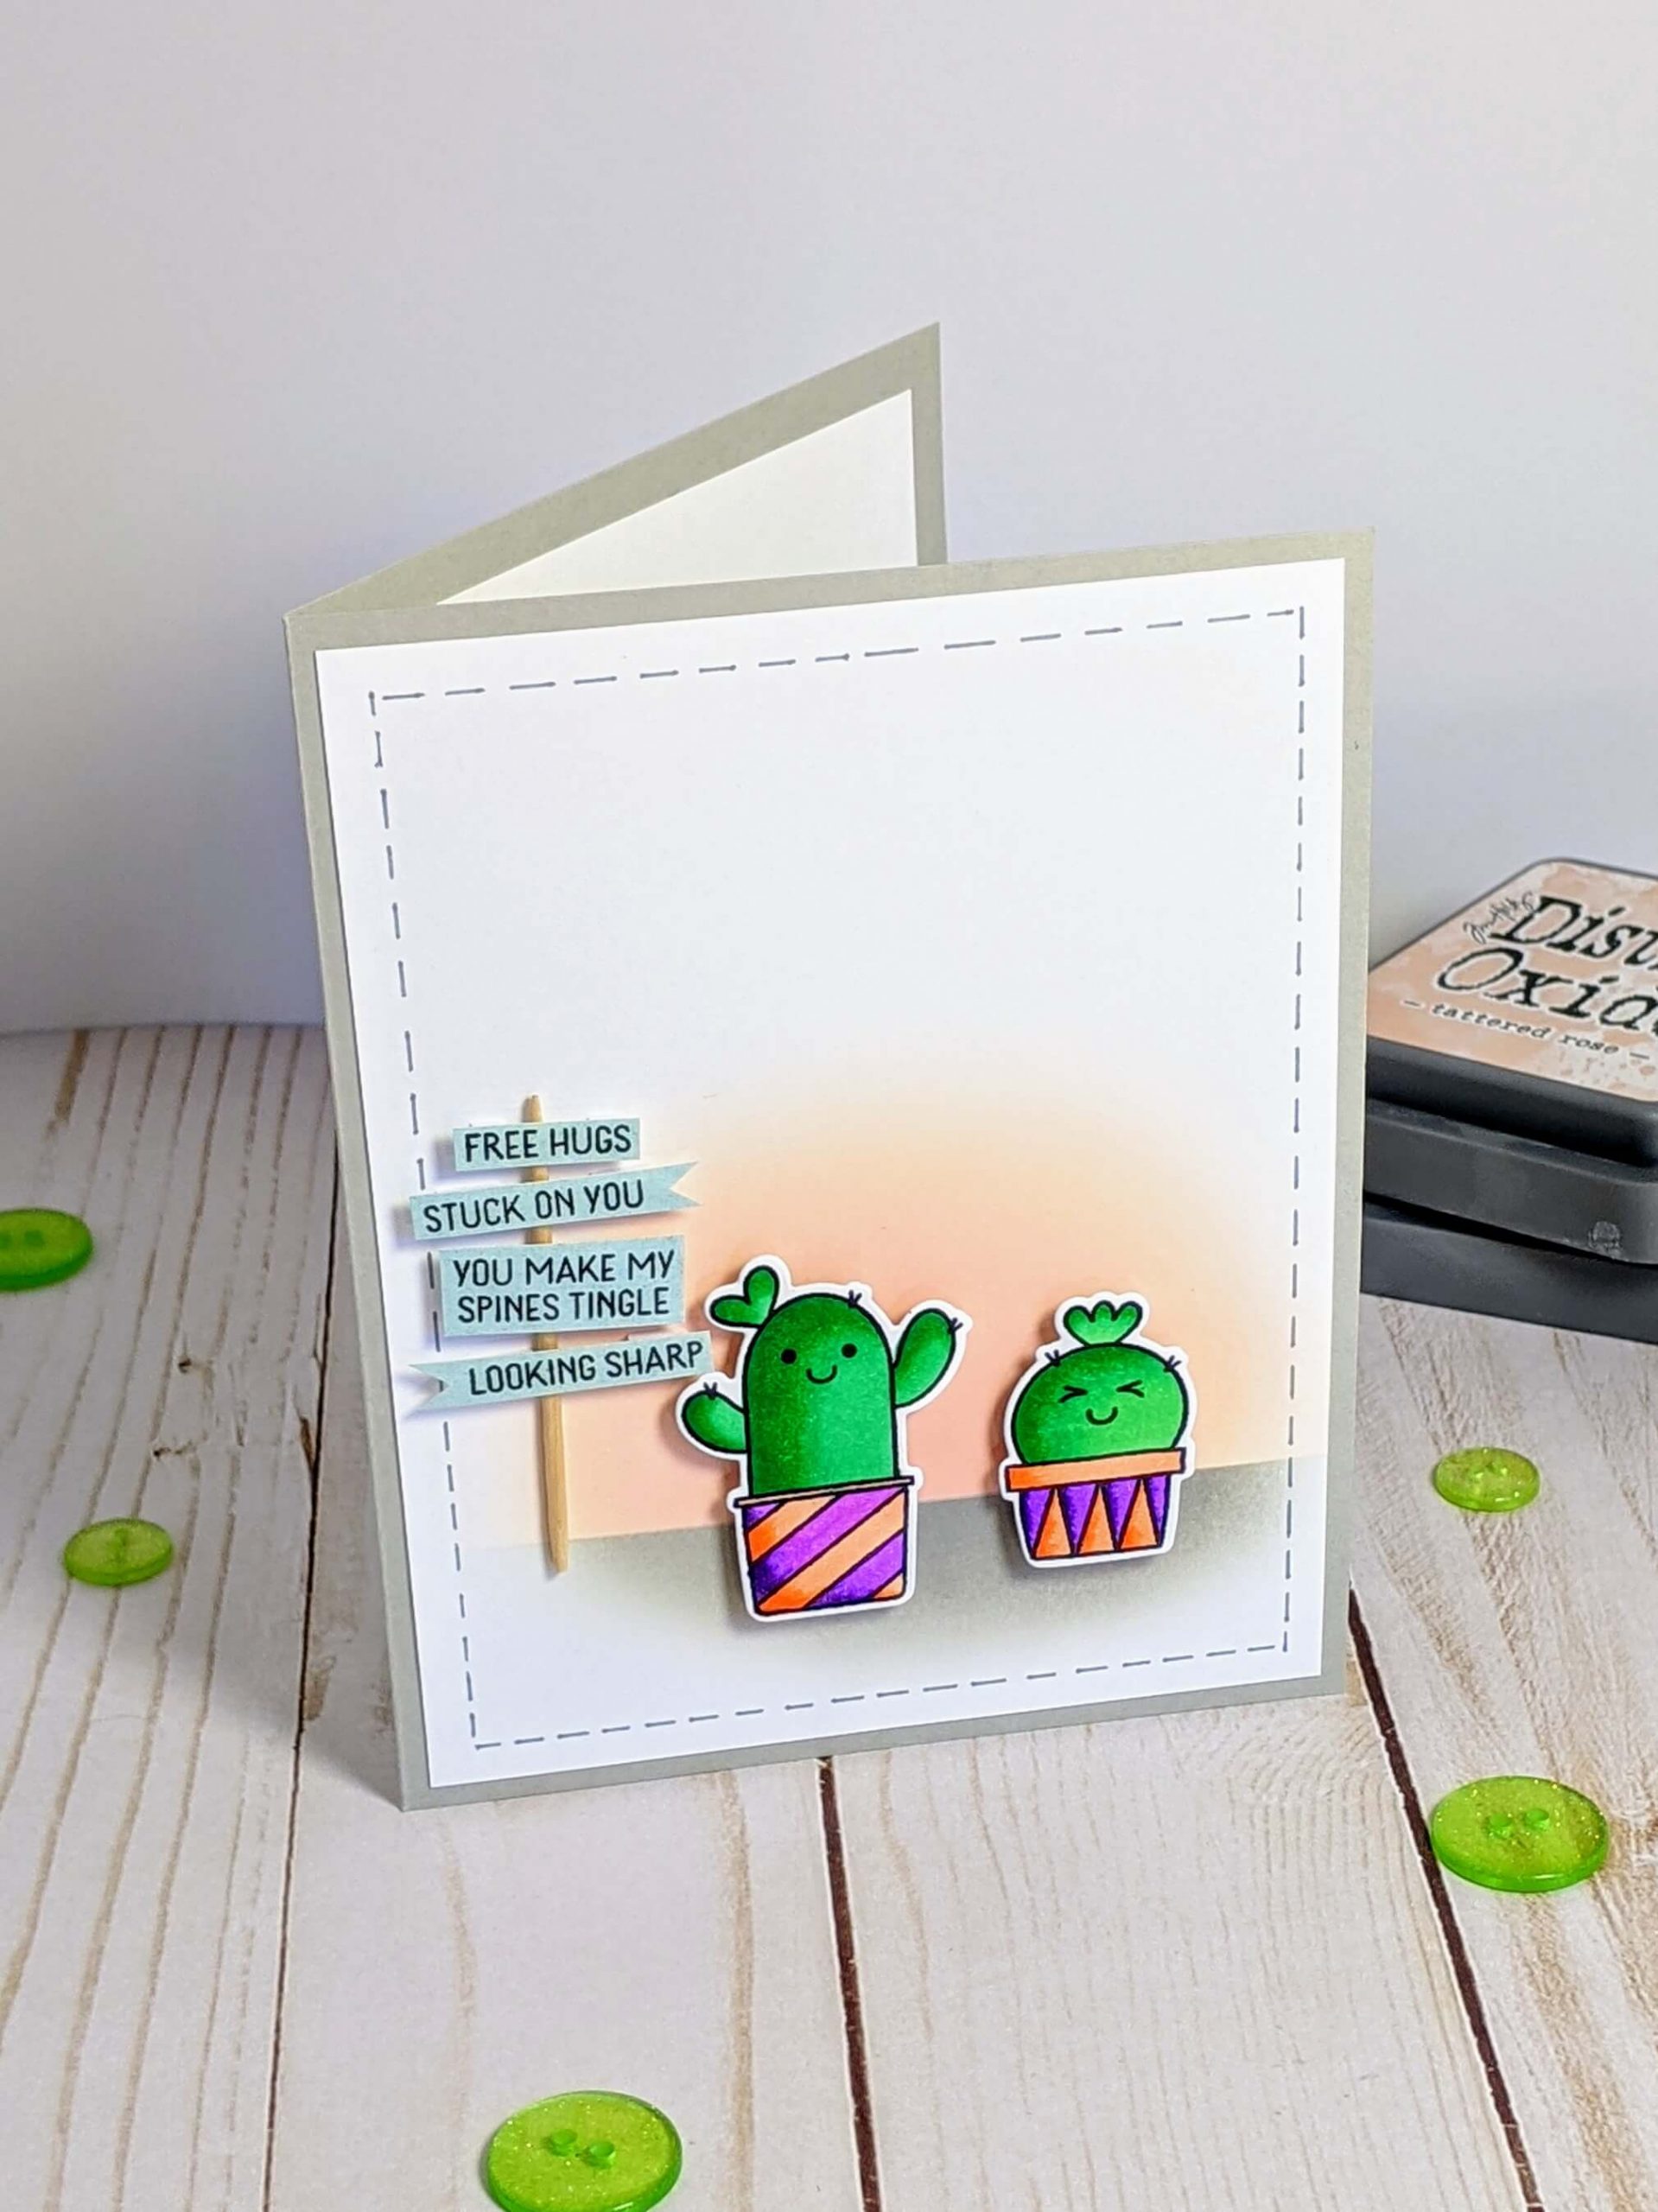
Before I added my cut out cacti to the greeting card, I wanted to create a background that made it look like my cactus was sitting on the ground with a little bit of pink sky behind it. To achieve this look, I placed a large Post-it Note where I wanted the ground to meet my sky. I then used a medium-sized blending brush with Hickory Smoke Distress Oxides to create the floor that my cacti would sit on. Next, I flipped my post-it note around so that it would cover the floor and used Tattered Rose Distress Oxide Inks to make the sky.
Tip: If you’d like to learn more about creative ways to use distress oxide inks, check out these ink blending tutorials.
Step 5. Create the sentiment sign
Lastly, I had all these cute little sentiments from the Avery Elle Stuck On You Stamp Set. I decided to stamp all of the sentiments onto a piece of vintage-looking bluish-green cardstock. Then I took a toothpick and cut off the edges so that it wouldn’t be very sharp. I then trimmed these sentiments down to look like little signs and laid them over top of the toothpick to make it look like a sign was sticking out of the ground. I stuck my little toothpick sign to the card using Tombow MONO Aqua Liquid Glue. Lastly, I used Forever In Time 3D Foam Tape to stick the little cacti to the card and voila! I had a finished card that was beautiful.
I hope that you found this tutorial helpful. Check out some of my other ideas for Valentine’s Day Cards or Love and Friendship cards here. Check it out, and follow me on Instagram, Facebook or Pinterest for the latest updates! Don’t forget that I also sell a lot of the cards that I make. You can check them out here in my shop!