Today’s post is filled with glittery goodness. I made this easy glitter stripes thinking of you card with some glitter that I’ve had in my stash for quite some time. I knew that I wanted to use glitter for something, I just didn’t know how I wanted to use it. I sketched several ideas, but they all seemed too complicated. I am a ‘less is more’ kinda gal, so I started thinking about what might be the easiest way to use it and Voila! This card came into being! Keep reading to find out exactly what I did to make it!
Looking to make a sympathy card? Find other loss and sympathy tutorials here.
Materials Used:
This blog may use affiliate links when they’re available. If you choose to make a purchase through one of these links, I may receive a small commission at no cost to you. I don’t make recommendations lightly, and will only link to products I know and trust.
Sizzix BIGkick Machine [Scrapbook.com] [Amazon]
EK Tools EK Scoring Board 12×12 [Amazon]
Fiskars Recycled Bypass Trimmer, 12 Inch [Amazon]
Trim Slant Tip Tweezers [Amazon]
Misti Stamp Tool Original Size Stamp Positioner [Amazon]
Lawn Fawn Stamp Shammy [Scrapbook.com] [Amazon]
Ranger Archival Ink Pad, Jet Black [Scrapbook.com] [Amazon]
Lawn Fawn – Outside In Stitched Rectangle Stackables Die Set [Scrapbook.com] [Amazon]
Waffle Flower Crafts – Tulip Stamp Set [Scrapbook.com] [Waffle Flower Crafts]
Waffle Flower Crafts – Tulip Die Set [Waffle Flower Crafts]
Waffle Flower Crafts – Tulip Stamp and Die Set Combo [Scrapbook.com] [Waffle Flower Crafts]
Neenah Classic Crest Solar White 80 lb Cardstock [Scrapbook.com] [Amazon]
Craft Specialties Double Sided White Foam Tape – 1/2″ X 36 Yards – 1/16″ Thick [Amazon]
Scrapbook.com Double Sided Adhesive Roll – 1/4 Inch X 81 Ft [Scrapbook.com]

Easy Glitter Stripes Tutorial:
Step 1. Prep the cardstock and card base.
To start this easy glitter stripes card, I trimmed two sheets of Neenah Solar White cardstock. The first sheet would be 4.25 x 5.5 inches and the second sheet was 8.5 x5.5 inches. I folded the 8.5 x 5.5-inch sheet in half to make an A2 card base, then I set that base aside.
Step 2. Create a striped pattern.
Next, I grabbed my 1/4 wide roll of Scrapbook.com permanent adhesive tape and that 4.25×5.5 sheet of cardstock that I’d cut earlier. I then laid strips of tape side by side on the sheet so their edges would be touching. I continued to do this until the entire piece of cardstock was covered with tape strips. I kept the protective backing on the tape. This is super important and will allow you to make the striped design.
Tip: I laid the strips horizontally, but you can lay them in any pattern you’d like.
Step 3. Apply the glitter to the paper.
Next, I picked out the glitter colors I wanted to use. I actually don’t own much glitter but I got these 4 colors in a set together a while back, so I wanted to use them together. I peeled the adhesive backing off every 4th piece of tape to expose the sticky backing. Then I poured my first glitter color over the entire sheet of cardstock and shook off the excess.
I continued to repeat this process with the second color, then the third color, and finally the 4th, until my whole sheet of cardstock was covered in beautiful glittery stripes.
Tip: If you have any setting spray (or hairspray) that can help ensure that the glitter doesn’t come off when you’re mailing your card, feel free to use it. Do not use hairspray if you’re using this technique to scrapbook.
Step 4. Cut the patterned glitter cardstock to create a frame and apply embellishments.
Once the glitter stripes were set I used the Lawn Fawn Outside In Stitched Rectangle Stackables die set to make the frame for this card. Then, I ran it through my Sizzix Big Kick machine. I’ve also saved the inside square for a future project.
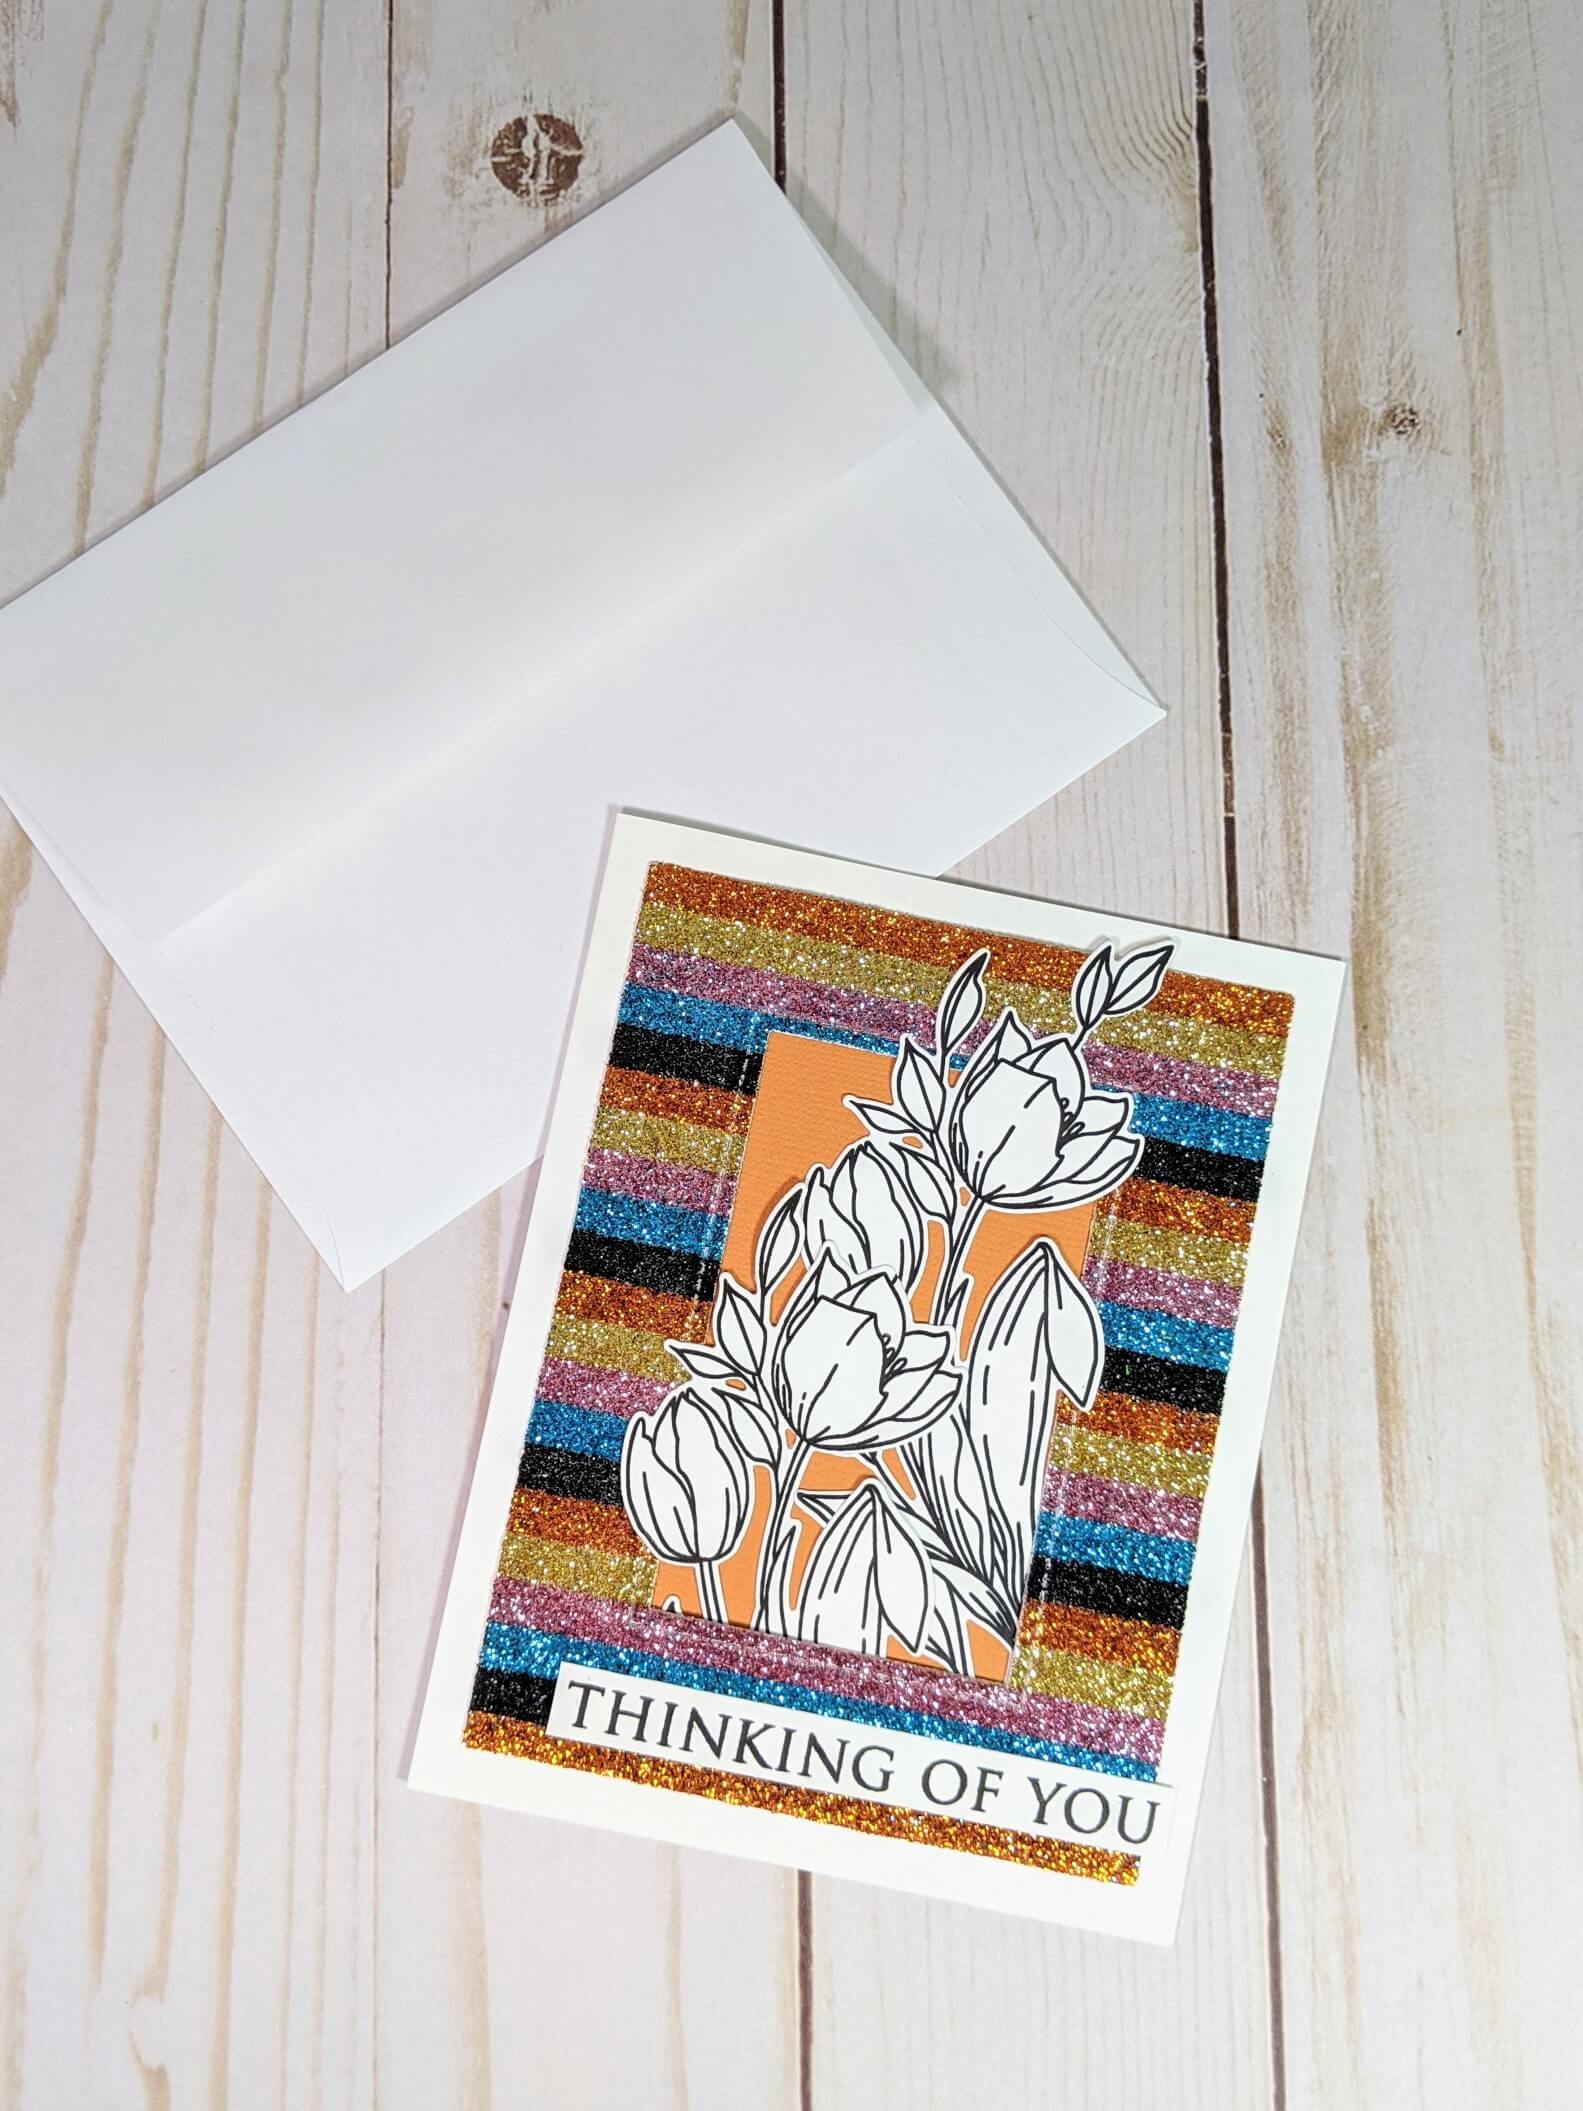
I chose to place a leftover piece of orange cardstock behind my rectangular glittery striped frame. The card also needed a focal point, so I stamped and die cut the tulips flowers from my Waffle Flower Crafts stamp set and added them to the middle of the frame.
Lastly, it felt incomplete without a sentiment. So, I chose a simple ‘Thinking Of You’ message in a bold font using Ranger archival ink.
I hope you found this tutorial helpful! If you’re looking for other floral card making tutorials, you can find them here! Also, follow me on Instagram, Facebook, or Pinterest for the latest tutorials and updates! You can also shop all the handmade cards that I’ve designed here.