
This is one of my favorite designs. This card making tutorial is simple but still fun, colorful and adventurous. I also really enjoy the color combination. It was inspired by the MoJo Monday card sketch challenge. I’ve included a video tutorial and the list of the materials used below. Check it out, and let me know what you think!
Watch the “Life’s a Journey” YouTube card making tutorial here:
Materials Used:
Cricut Explore Air 2 Machine
Cricut Mat (Regular)
Cricut Tools (to peel images from mat)
Midnight Cricut Marker
Double Sided Sticky Tape
Tweezers (if needed)
Dimensional Tape
Scissors (if needed)
Wicked Black Archival Dye Ink Pad
Bicycle Stamp
2 Banner Die Cuts
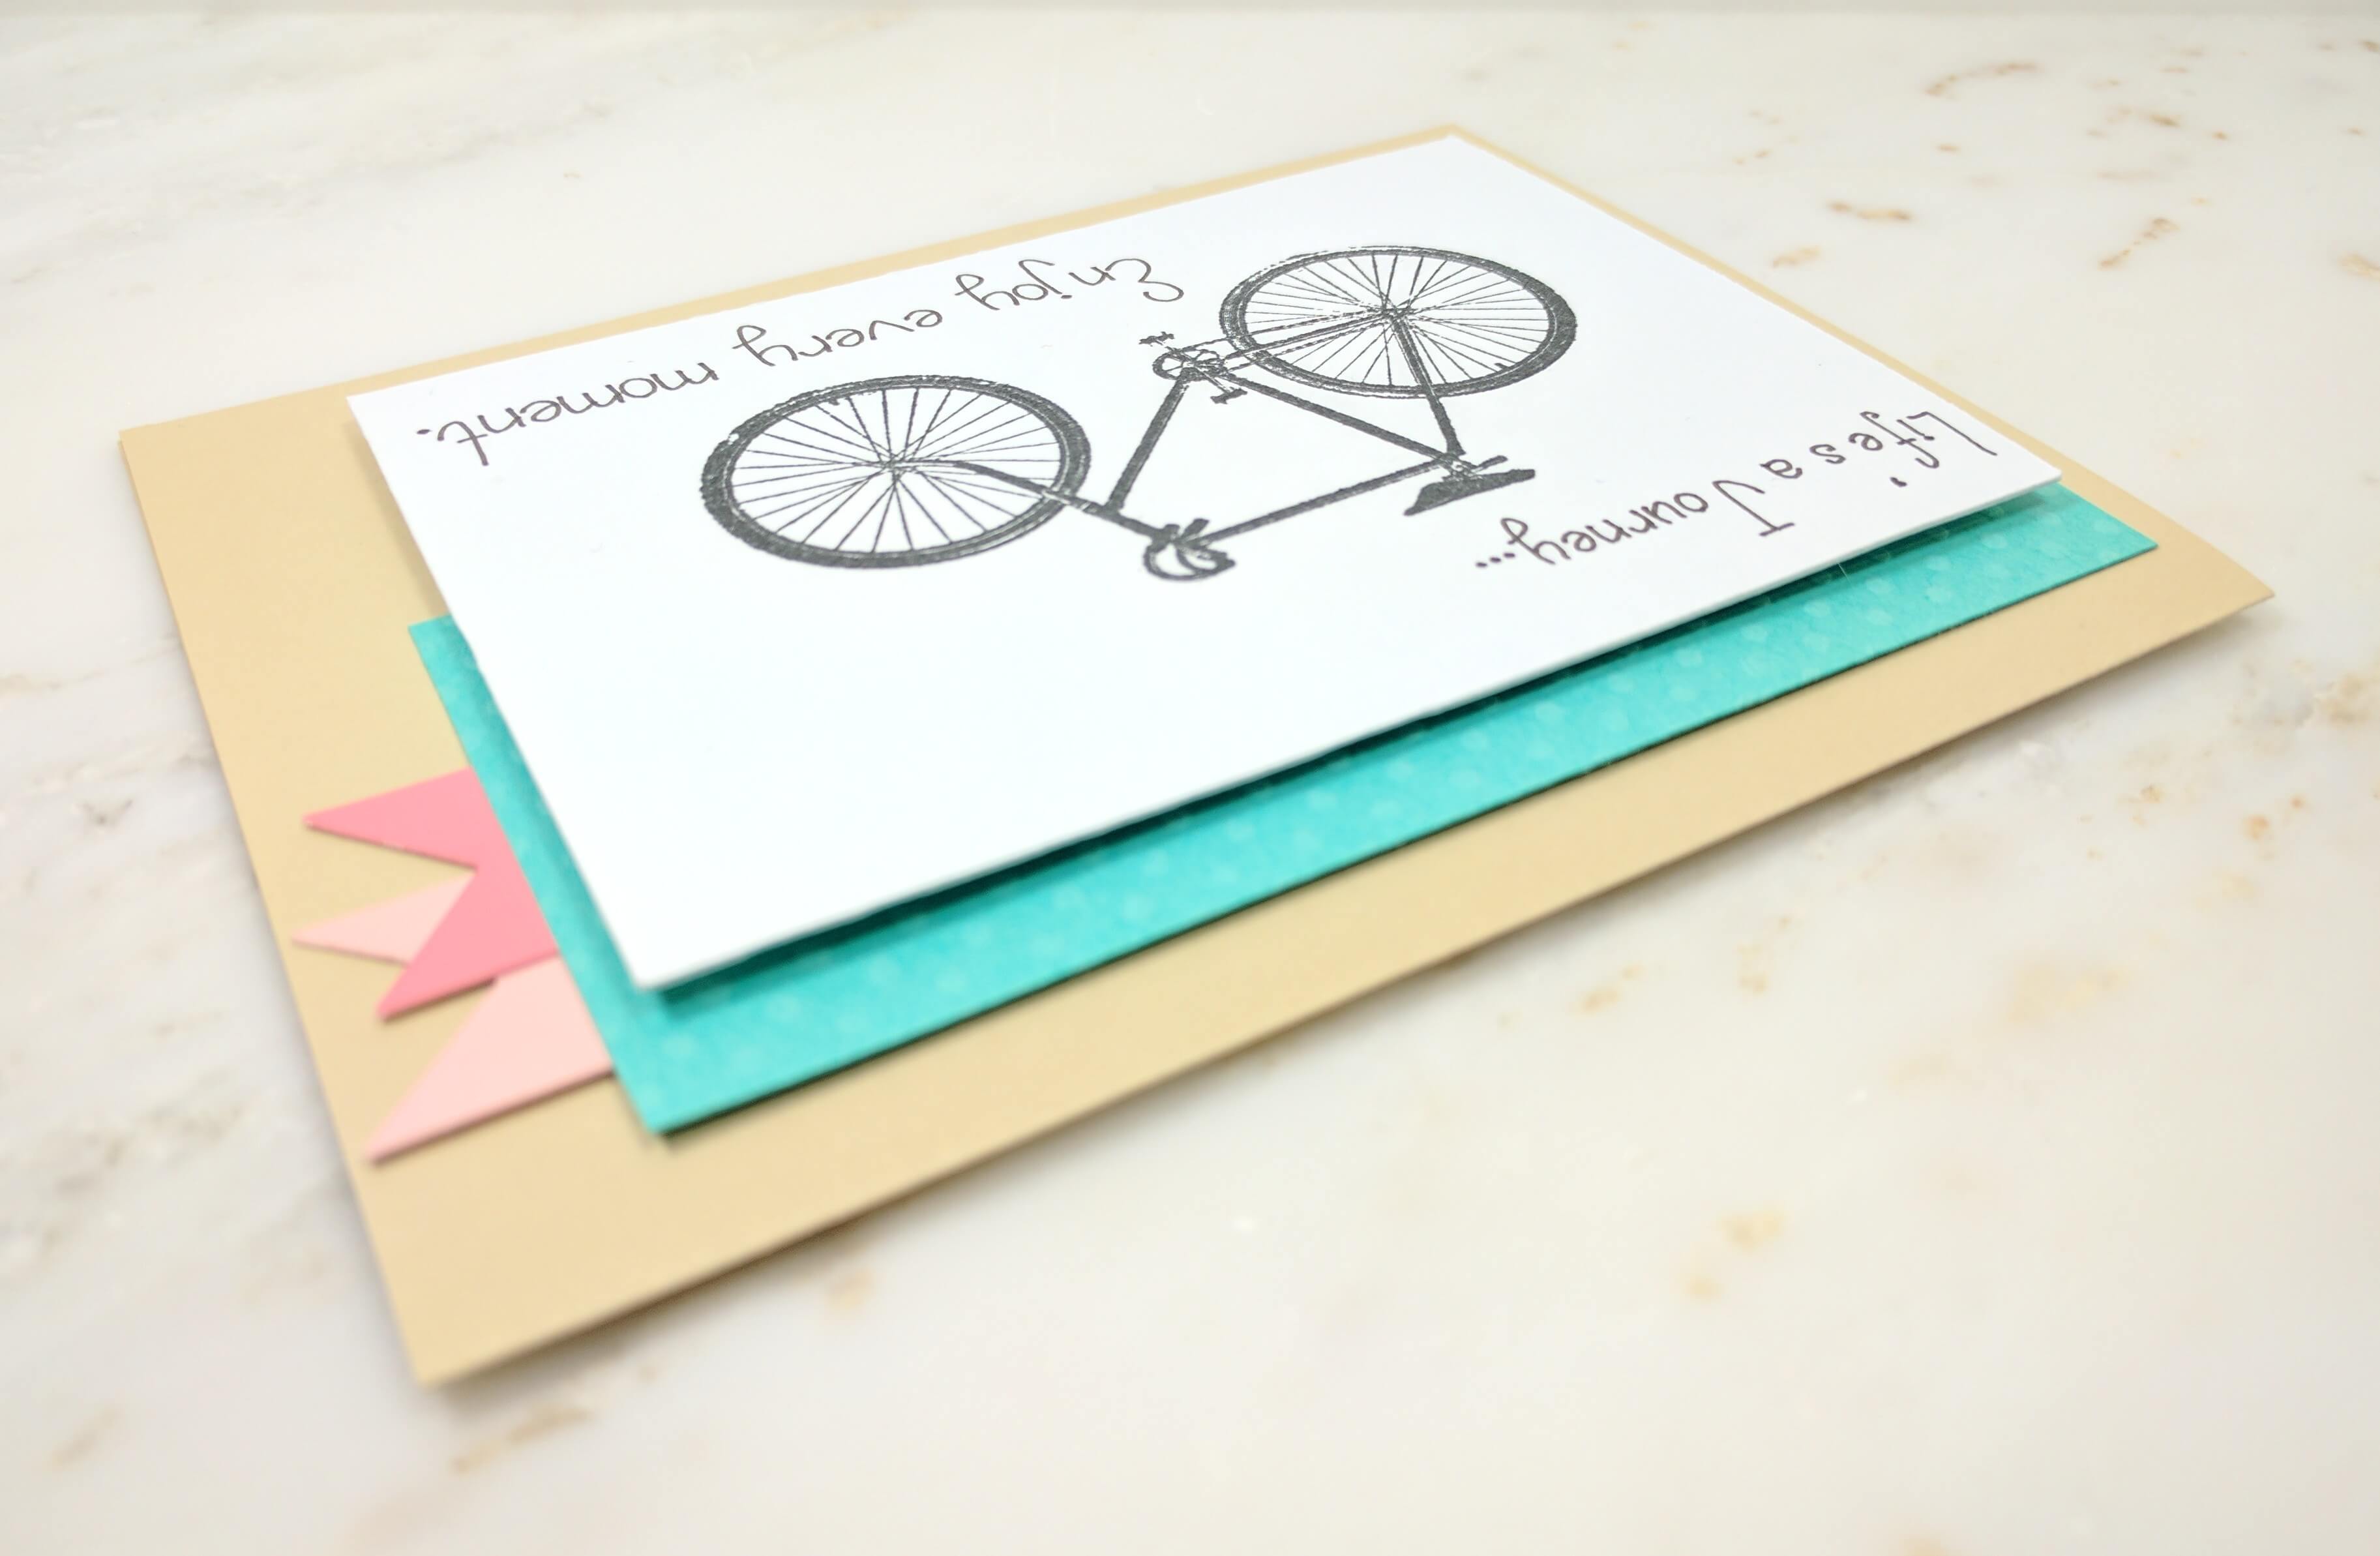
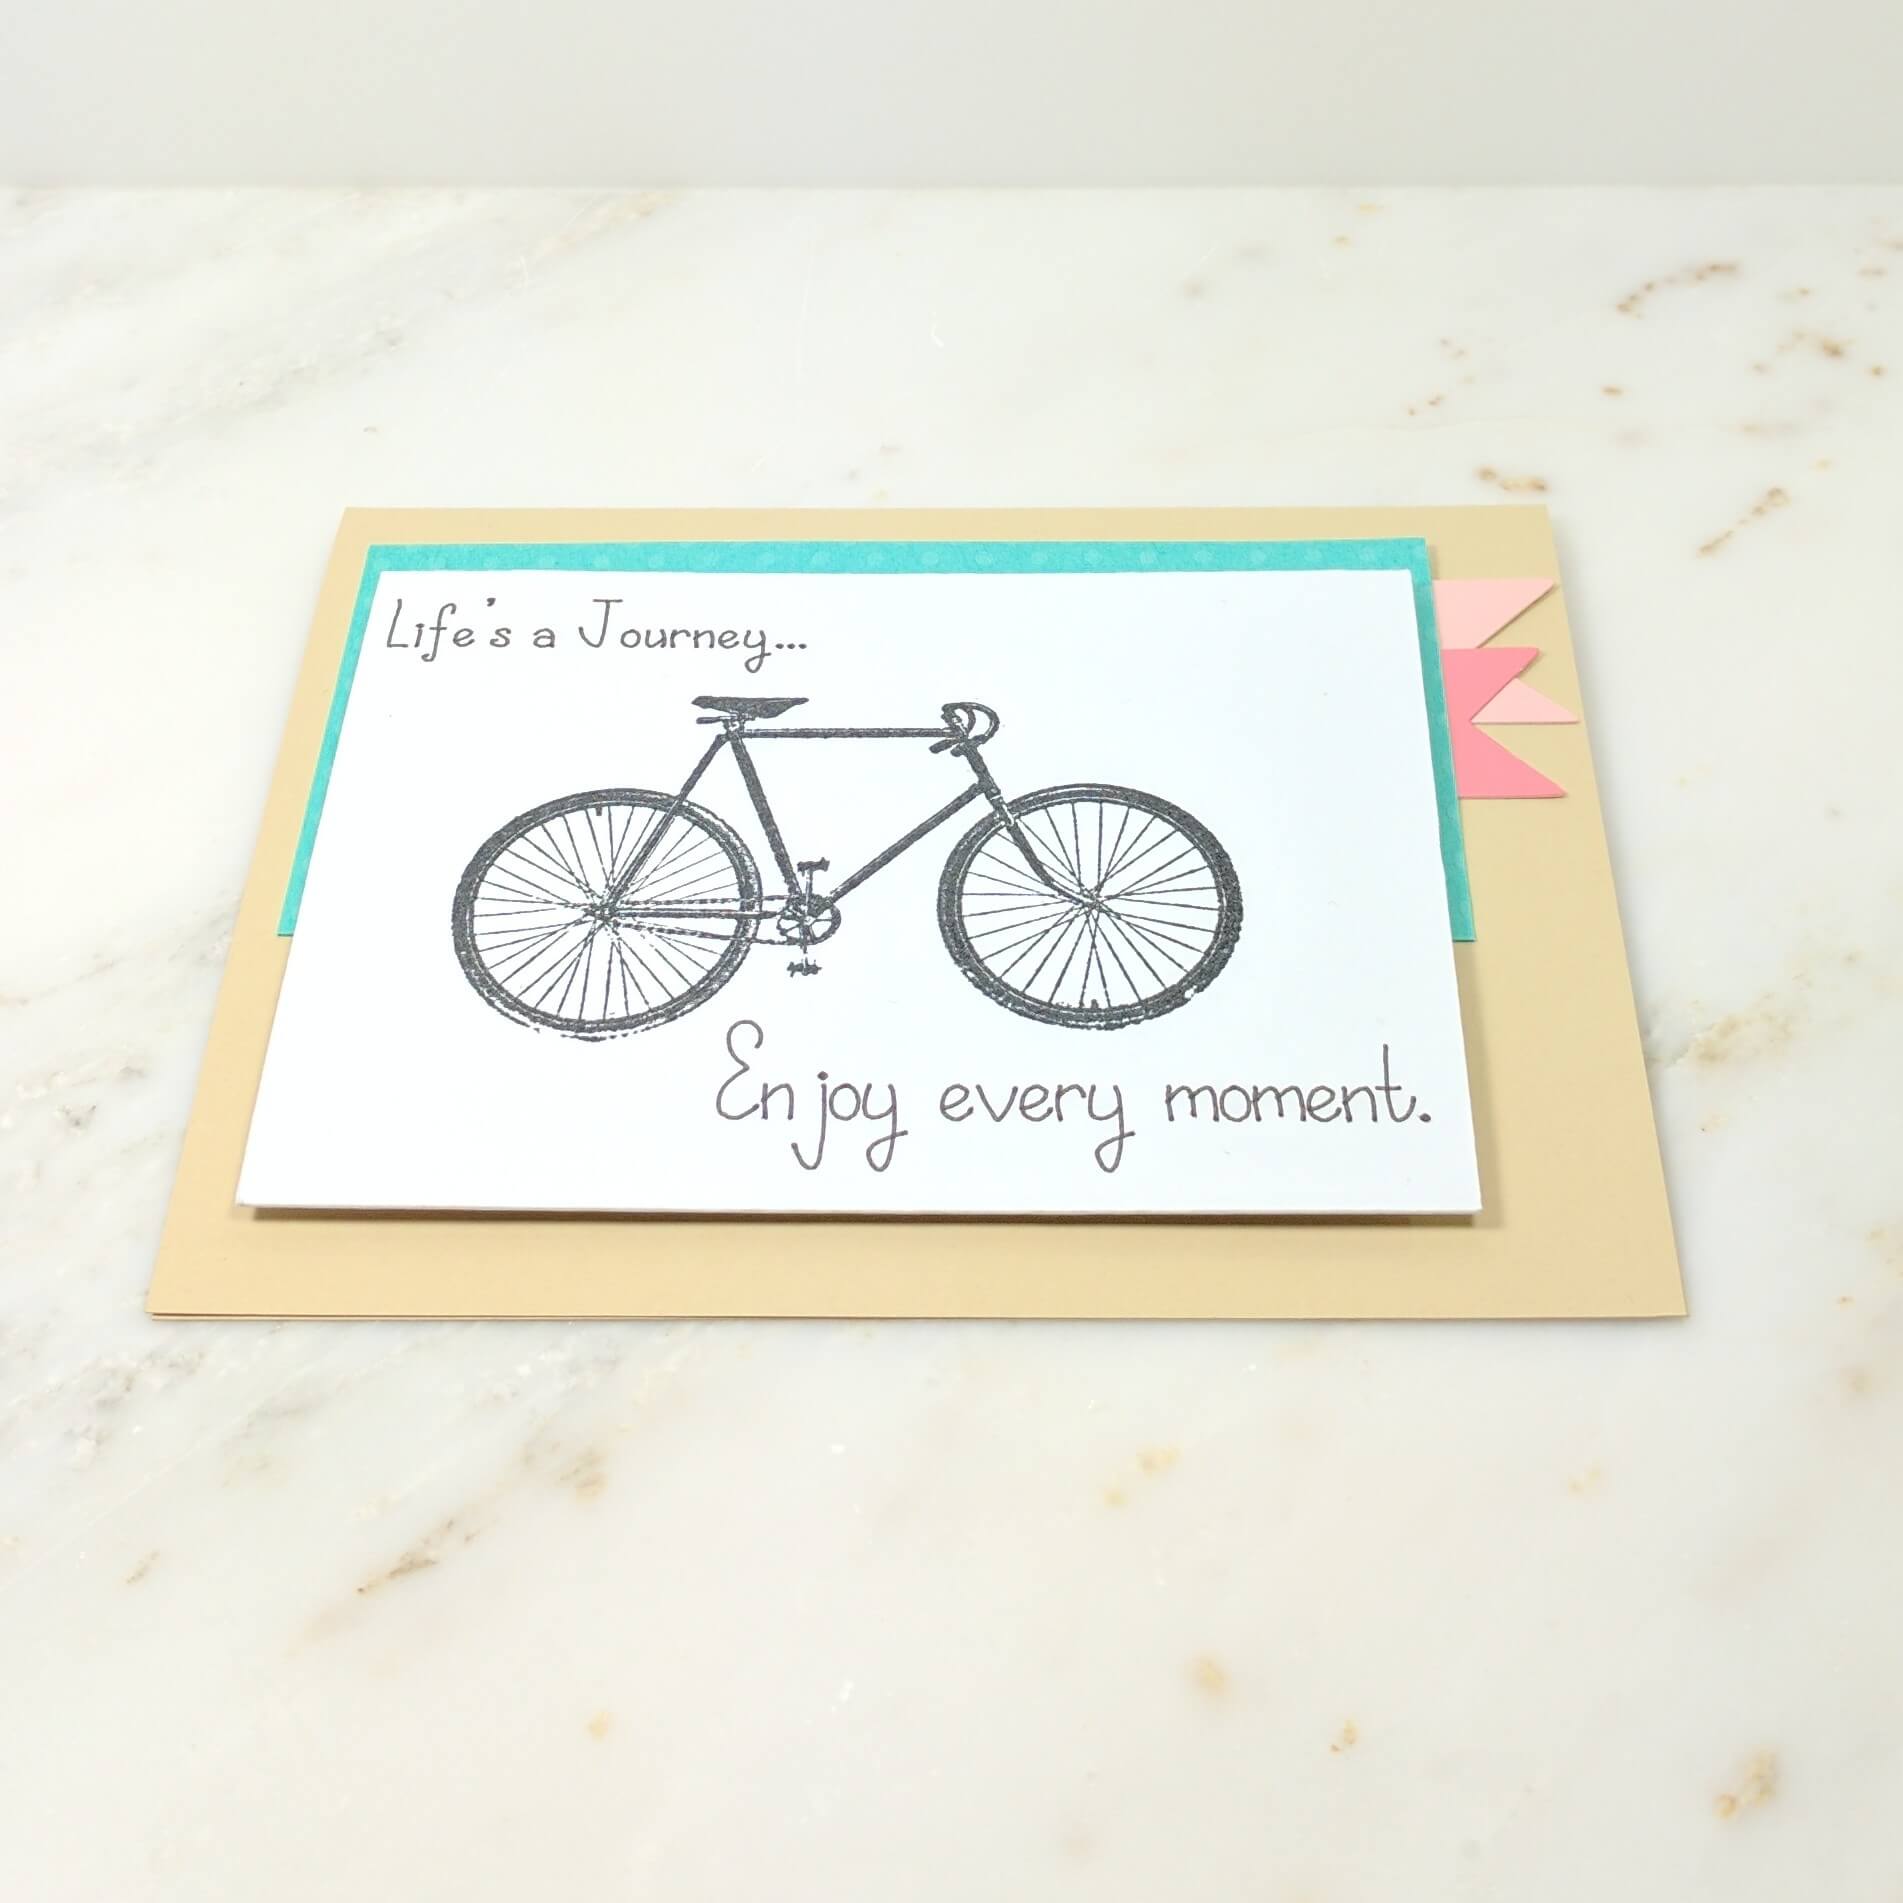
Beige Cardstock – Card Background (5.5”x8.5” folded in half)
White Cardstock – Exterior Design (5″x5”)
White Cardstock – Interior (5”x3.75”)
Medium Pink Cardstock (2”x2”- I used a paint swatch)
Light Pink Cardstock (2”x2” – I used a paint swatch)
Teal Cardstock (4.75”x2.25”)
Cricut Images Used:
1 Standard Square
Chloe Font 37pt.
Walk through:
This project began by using a basic paper trimmer to cut an 8.5”x11” inch sheet of cardstock in half, and the teal Bazzill cardstock cut down to size. I really like Bazzill paper because it’s an easy way to add a little extra dimension to a card. Next I scored the tan cardstock scored down the middle to make an A2 sized greeting card.
Since I didn’t have a stamp with the exact sentiment I wanted, and because my handwriting isn’t anything to brag about, I let the Cricut Design Studio to the work of cutting out the white cardstock and drawing the words “Life’s a Journey… Enjoy every moment”. In hind sight, I could have also changed the sentiment to say “Enjoy the ride”, but I guess I’ll just have to save that for the next greeting card.
Tip: Check out the dimensions of this portion of the project by going to the Cricut Design Studio here.
After finishing the sentiment, I used a rubber bicycle stamp, a large rubber stamping block, and black archival ink to add the bicycle to the white cardstock. If you don’t plan to emboss, archival ink is a good option because it dries quickly. I’ve also found it helpful to lay something heavy on the edge of you cardstock when your stamping, if the paper has a slight curve to it when you lay it flat. This will ensure that no excess ink gets onto the paper you are trying to stamp.
Tip: An easy (and free) way to create an ombre look for a small embellishment is to go to a hardware store and find some paint swatches.
I used my Sizzix BIGkick machine to cut out the banners for this card. Since I was hiding the edge of the card, I didn’t really need them to be exactly the same size, so I was able to cut two out at the same time. Once that was complete, I could start piecing everything together!
I laid down the teal Bazzill cardstock and pink banners first so that I could find the perfect positioning. Next was the white cardstock. I placed this on dimensional tape, so that it would stand off of the card base, and really complete the exterior design. The card turned out exactly how I wanted it to look, and the only other step that remained was to add a piece of white cardstock on the interior for a message.
Thanks for stopping by! If you enjoyed this card making tutorial and would like to see more of my card making designs, please visit any of the social media links at the top of the page, or view more posts using the catalog to the left.
My blog uses affiliate links. If you choose to make a purchase through one of these links, I may receive a small commission at no cost to you. I will only link to products that I know and trust. Thank you for your support.