
Today I have a special project to share with you. Several paper crafters are standing up today as part of the Paper Crafters Unite Against Racism Hop. This hop allows us to stand with our crafty sisters and brothers of color while using our talents to help raise awareness about the fight for equality all over the world. In addition to this Tulips for Change tutorial, I’ve also included a link to Justine Hovey’s website where you can find the full list of paper crafters participating in the hop.
I’ve also included some resource links if you’re looking for more ways to get educated on this topic. Nancy Salkeld from Soul Stampin Designs is the next paper crafter in the hop, so please check out their amazing work here. Now let’s get started!

Reading Resouces:
I’ve been reading these three books, so I thought I’d share them with you. These may also be available at your local library.
- So You Want to Talk About Race by Ijeoma Oluo
- White Fragility by Robin DiAngelo
- How to Be an Antiracist by – by Ibram X. Kendi
Watch the Tulips for Change YouTube video here.
Materials Used:
This blog may use affiliate links when they’re available. If you choose to make a purchase through one of these links, I may receive a small commission at no cost to you. I don’t make recommendations lightly, and will only link to products I know and trust.
- Cricut Explore Air 2 Machine [Cricut] [Amazon]
- Adhesive Cricut Cutting Mat, Standard Grip [Scrapbook.com] [Cricut] [Amazon]
- Basic Tool Set – Cricut [Cricut] [Amazon]
- Ultimate Fine Point Pen Set – Cricut [Cricut] [Amazon]
- Copic Sketch Marker – Y13 Lemon Yellow [Scrapbookpal.com] [Amazon]
- Copic Sketch Marker – Y17 Golden Yellow [Scrapbookpal.com] [Amazon]
- Copic Sketch Marker – Y19 Napoli Yellow [Scrapbookpal.com] [Amazon]
- Copic Sketch Marker – N2 Neutral Gray No. 2 [Scrapbookpal.com]
- Copic Sketch Marker – N4 Neutral Gray No. 4 [Scrapbookpal.com] [Amazon]
- Copic Sketch Marker – N6 Neutral Gray No. 6 [Scrapbookpal.com] [Amazon]
- Copic Sketch Marker – N8 Neutral Gray No. 8 [Scrapbookpal.com] [Amazon]
- Feather No.55 Switch-Blade Shear, 5.5 Inch [Amazon]
- Fiskars Recycled Bypass Trimmer, 12 Inch [Amazon]
- Trim Slant Tip Tweezers [Amazon]
- Misti Stamp Tool Original Size Stamp Positioner [Amazon]
- Lawn Fawn Stamp Shammy [Scrapbook.com] [Amazon]
- Ranger Archival Ink Pad, Jet Black [Scrapbook.com] [Amazon]
- Waffle Flower Crafts – Tulip Stamp Set [Scrapbook.com] [Waffle Flower Crafts]
- Waffle Flower Crafts – Tulip Die Set [Waffle Flower Crafts]
- Waffle Flower Crafts – Tulip Stamp and Die Set Combo [Scrapbook.com] [Waffle Flower Crafts]
- Sizzix BIGkick Machine [Scrapbook.com] [Amazon]
- Neenah Solar White Cardstock [Scrapbook.com] [Amazon]
- Scrapbook Adhesives Initially Repositionable Mounting Squares [Scrapbook.com] [Amazon]
Cricut Images Used:
- Banner (Bits and Pieces cartridge)
- Cake Basics Original Font
Tulips for Change Tutorial:
Step 1. Chose the tulip stamp and Copic colors.
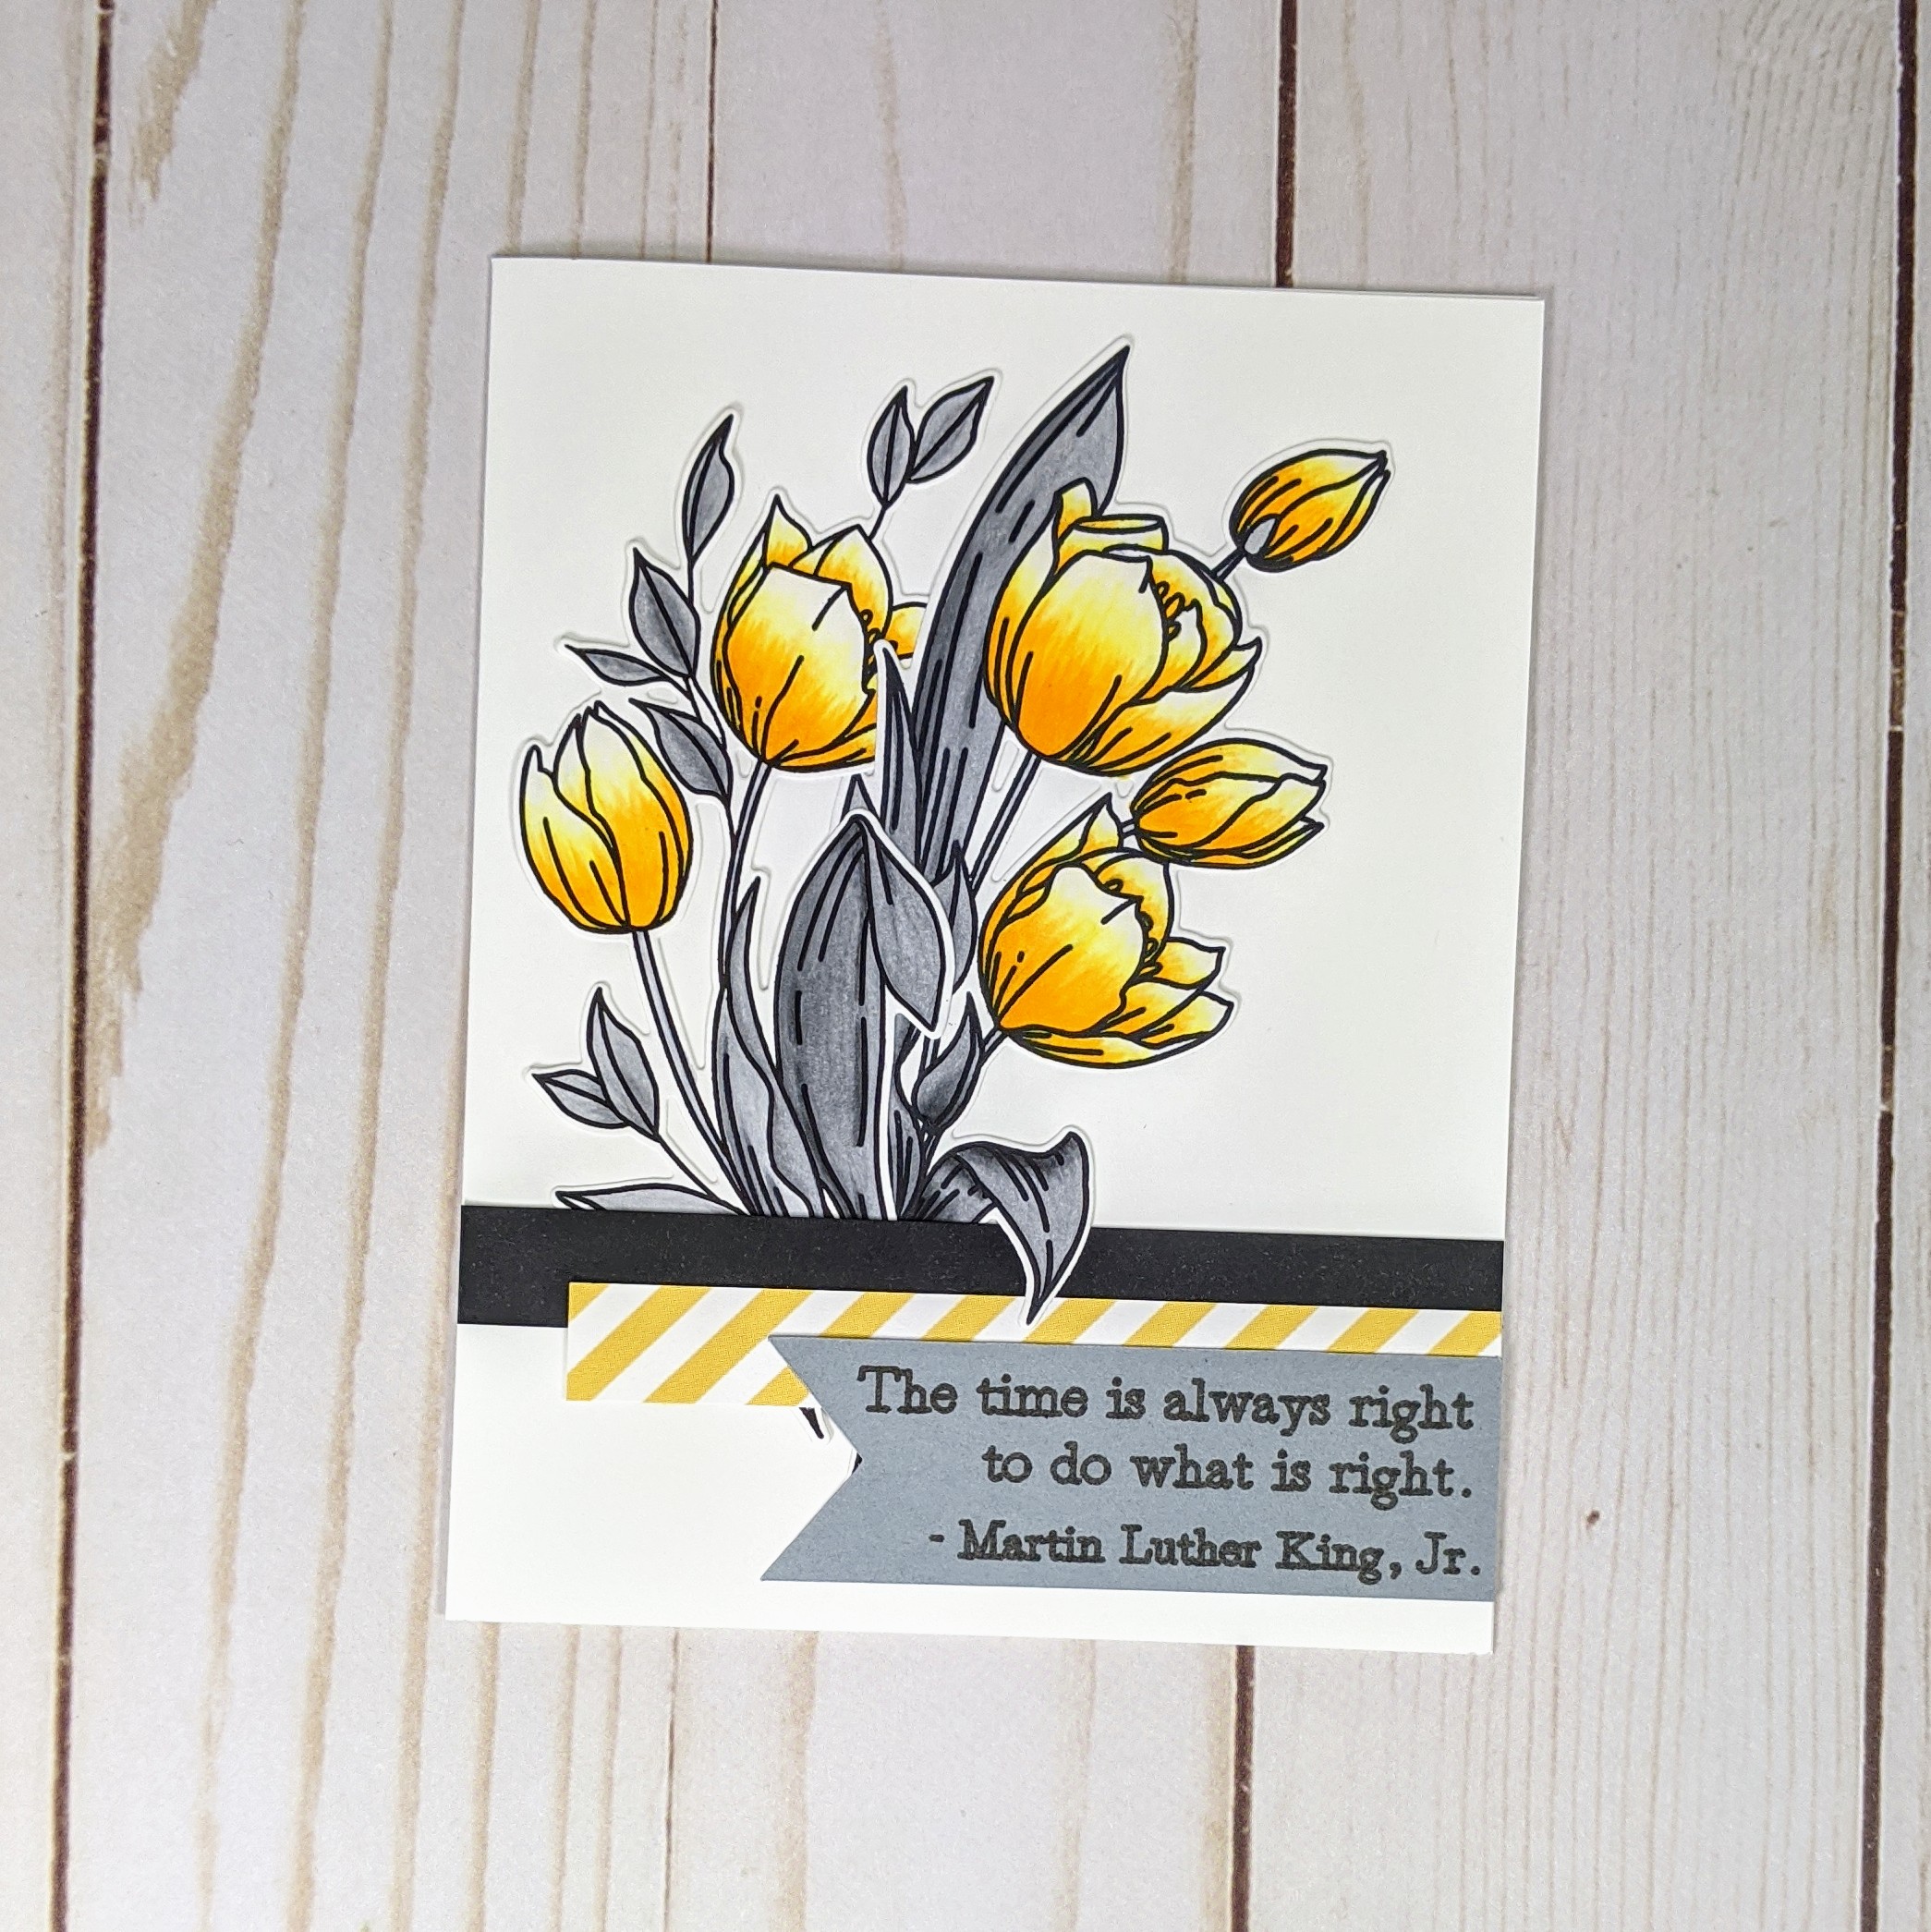
I’m using this beautiful tulip stamp set from Waffle Flower Crafts as the focal point for this card. I also have the coordinating die which makes cutting it out super easy to cut out these flowers. I’m also using yellow (Y13, Y17, Y19) and neutral gray (N2, N4, N6) toned Copic markers to make this design. I thought it would look really beautiful on this flower stamp, and I really like that they’re not just the normal natural colors that you would find on a tulip.
Step 2. Color the tulip heads
I colored the tops of the flowers first, and as I did, I would start from the bottom and make my brush strokes swipe upwards towards the top of the tulip. This allows me to get a nice gradual release of the ink onto the top of the paper. I also avoided bringing my Y13 all the way down to the bottom of the flower base because I’m going to add some darker colors there.
Next, I moved to the Y17 Copic marker and just repeated this technique, but this time, I made these swipes a little shorter than the Y13 strokes. I do this on all the flowers, then I used my Y19 as the last layer, coloring the very bottom of the Tulip’s heads and making very small upward stroke motions.
Once I’m done with the Y19, I’m moving to a clear marker, and starting at the top of the Tulip, I’m swiping my stroke down instead of up. This allows me to blend out the Y13 color that I started with. This is the base technique of this design, but Copics really work best in layers, so to get a nice blended look I’ll go over these flowers with all three colors about two to three times.
Copic Tip: Don’t be afraid of your Copic Markers or worried that you’re going to mess up. Copics are not cheap and they can bleed, so they feel a little intimidating. But that bleed can also allow you to easily hide a mistake. The more you play with them the more comfortable you’ll feel.
Step 3. Color the leaves of the tulips
Now, I’ll move over to the leaves. I used N2, N4, and N6 for them. Similar to the tulip heads, I started with the lightest color, N2, and brought it over most of the area. Then I went back through with N4 and started at the edge of the leaf and started to slowly create a shadow on the leaf. After that, I used N6 to darken the shadow. Again, I repeated these steps a few times to blend everything out.
Step 4. Apply the tulips to the card base.
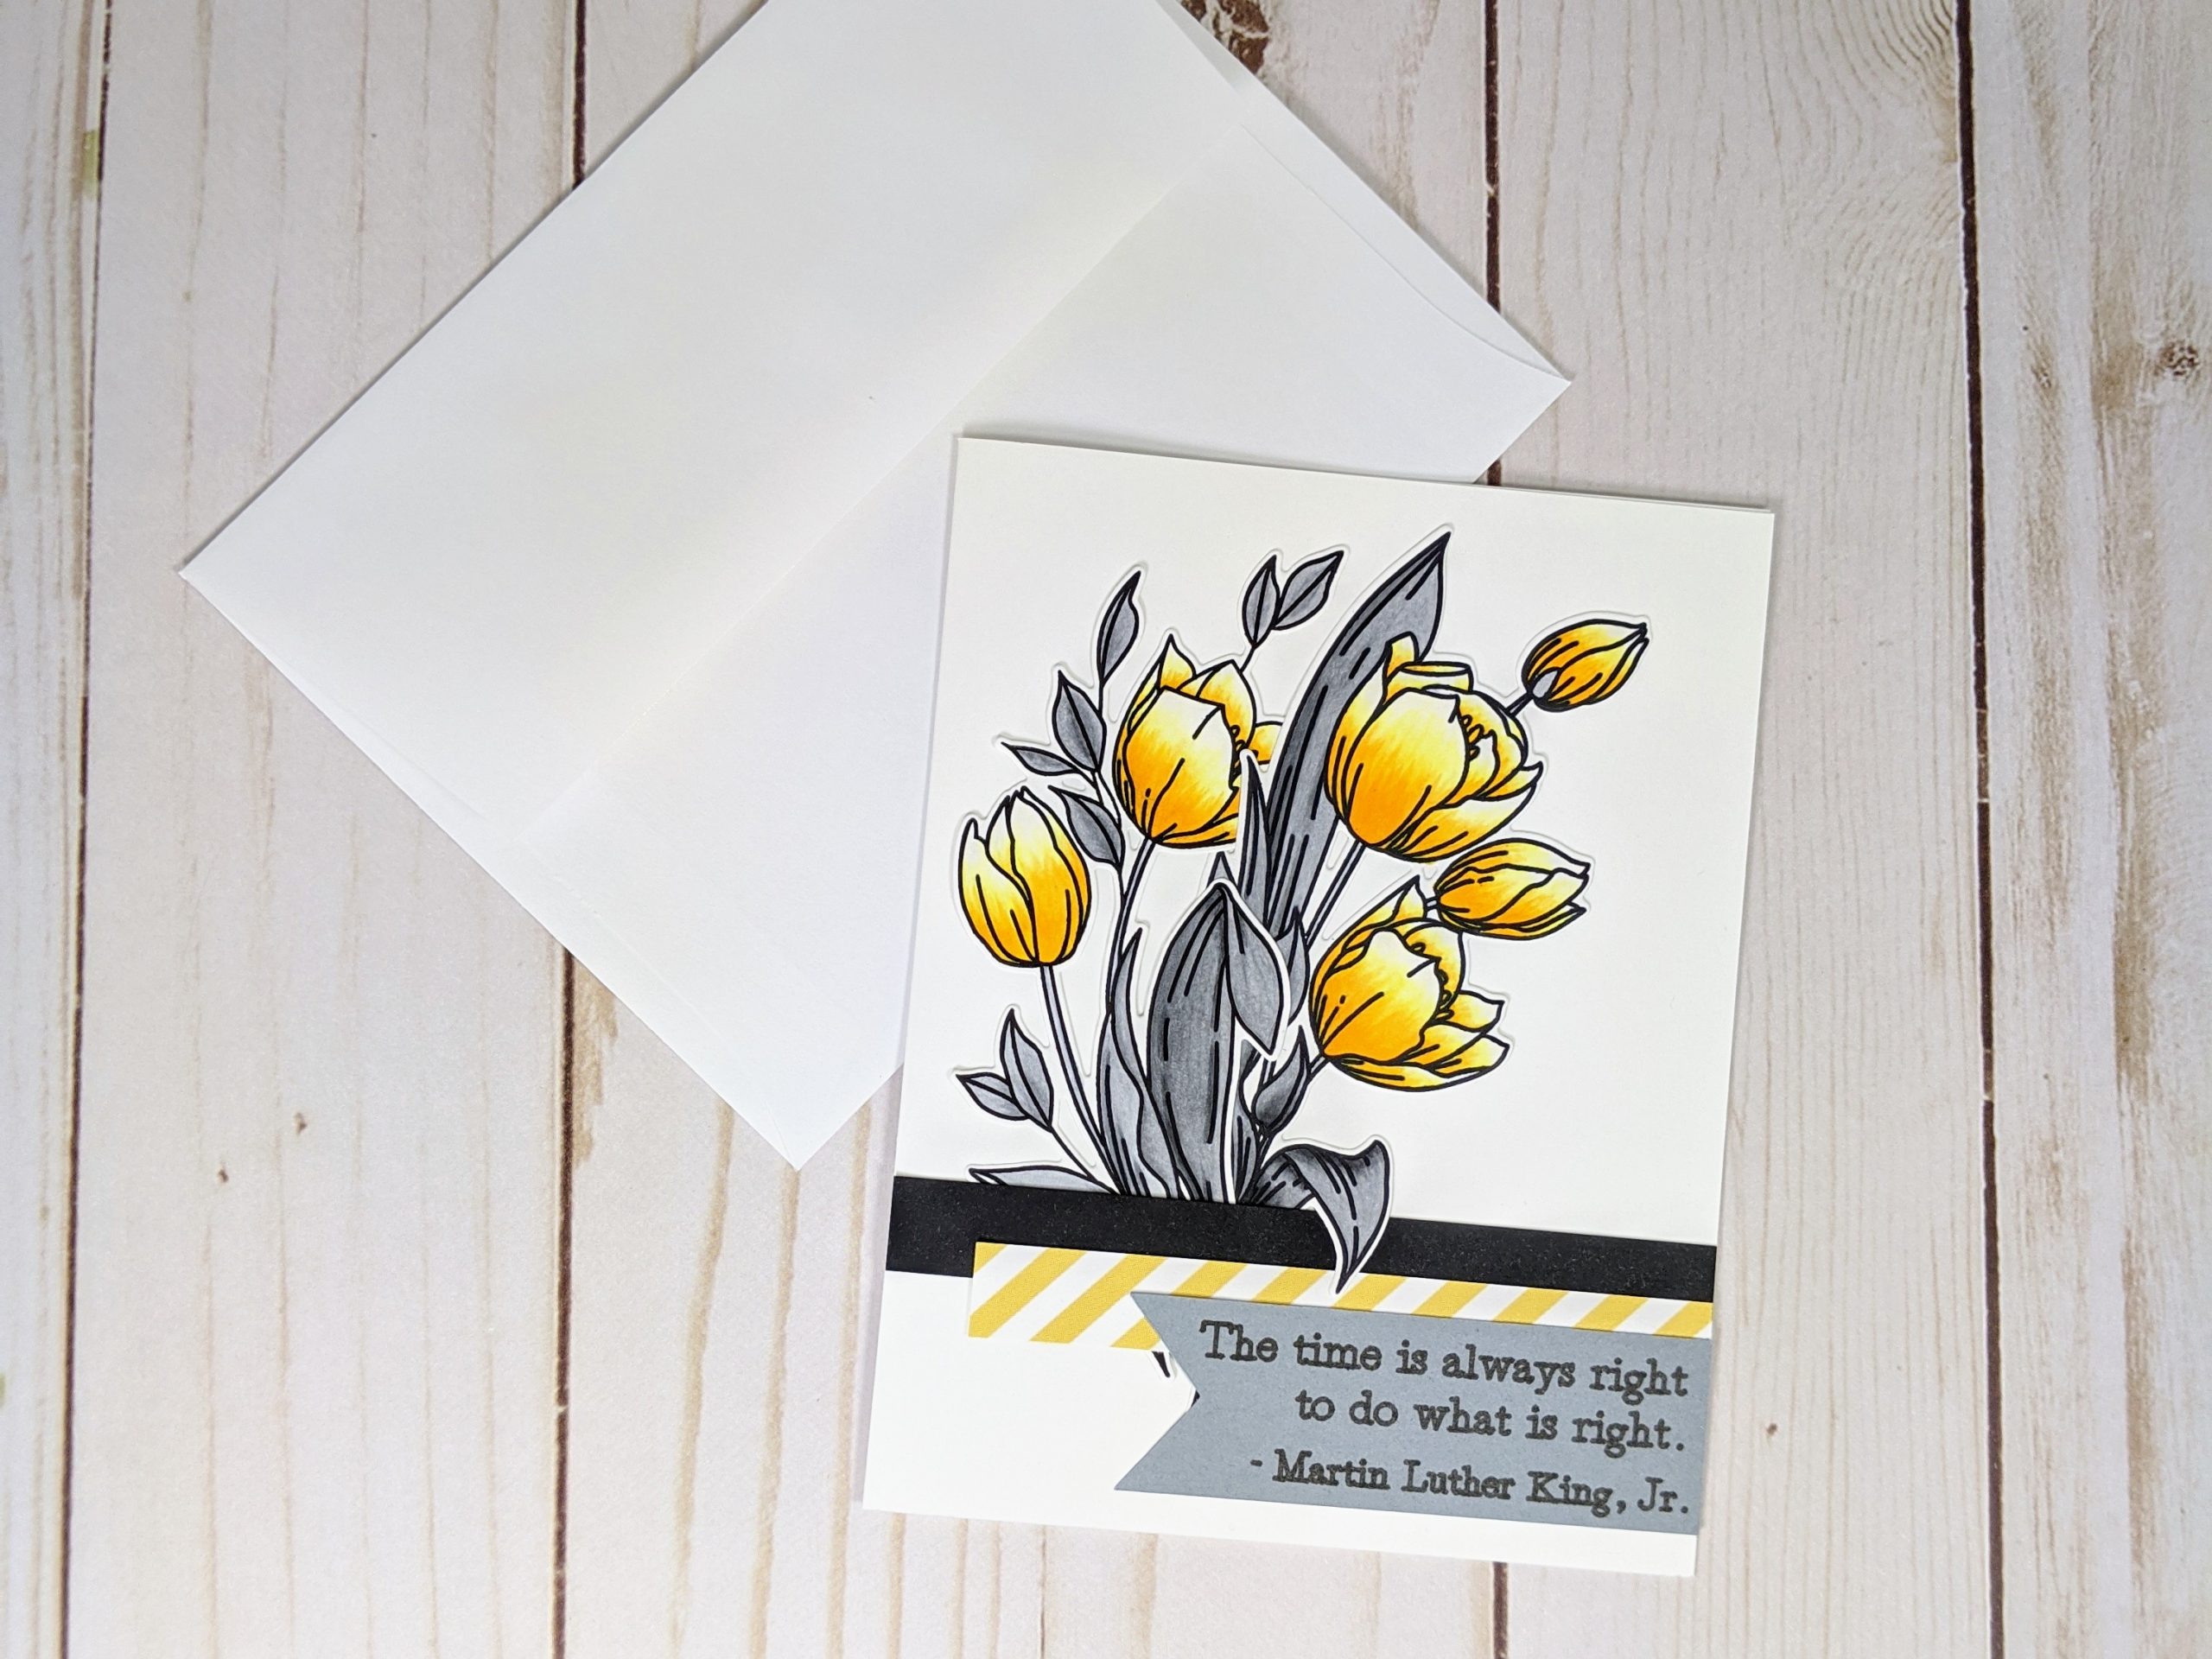
I ended up coloring both tulip stamps from my stamp set so that I could turn it into a bouquet. I cut them out using the pairing dies and my Sizzix die cutting machine, then I added some mounting squares on the back of the stamped design. Then I placed my tulip bouquet on an A2 card base that I made from Neenah Solar White cardstock.
Step 5. Add embellishments.
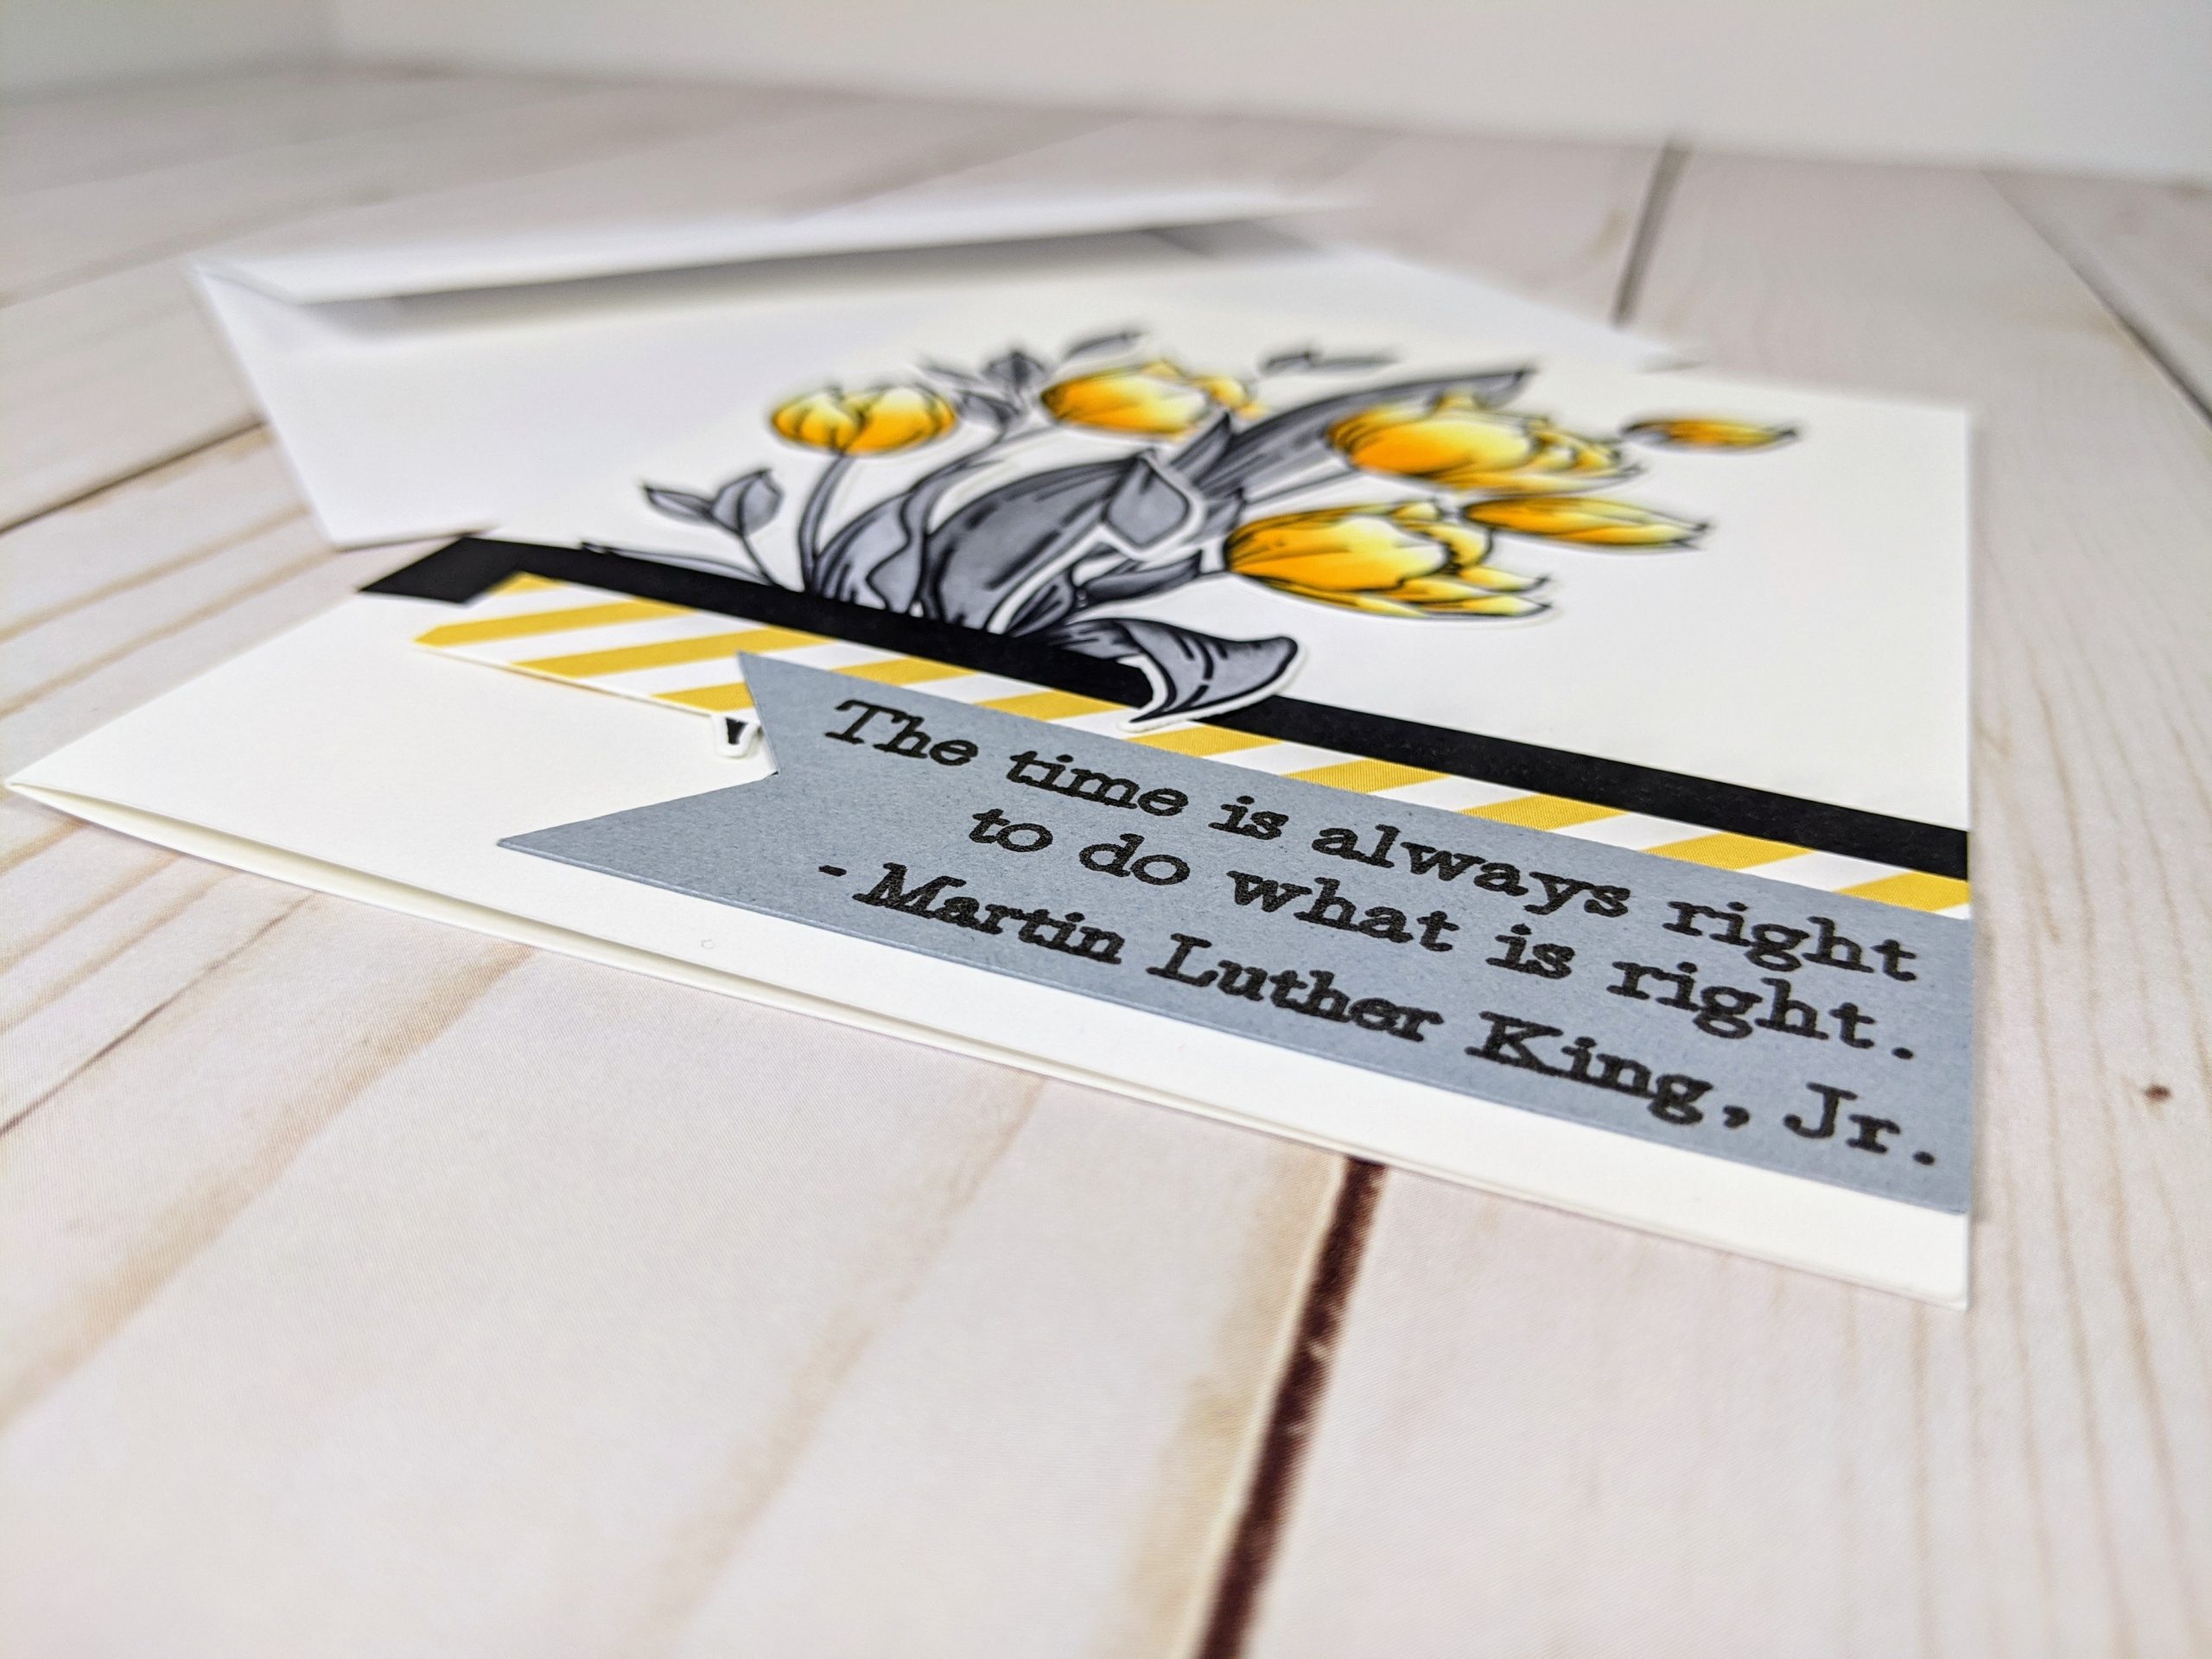
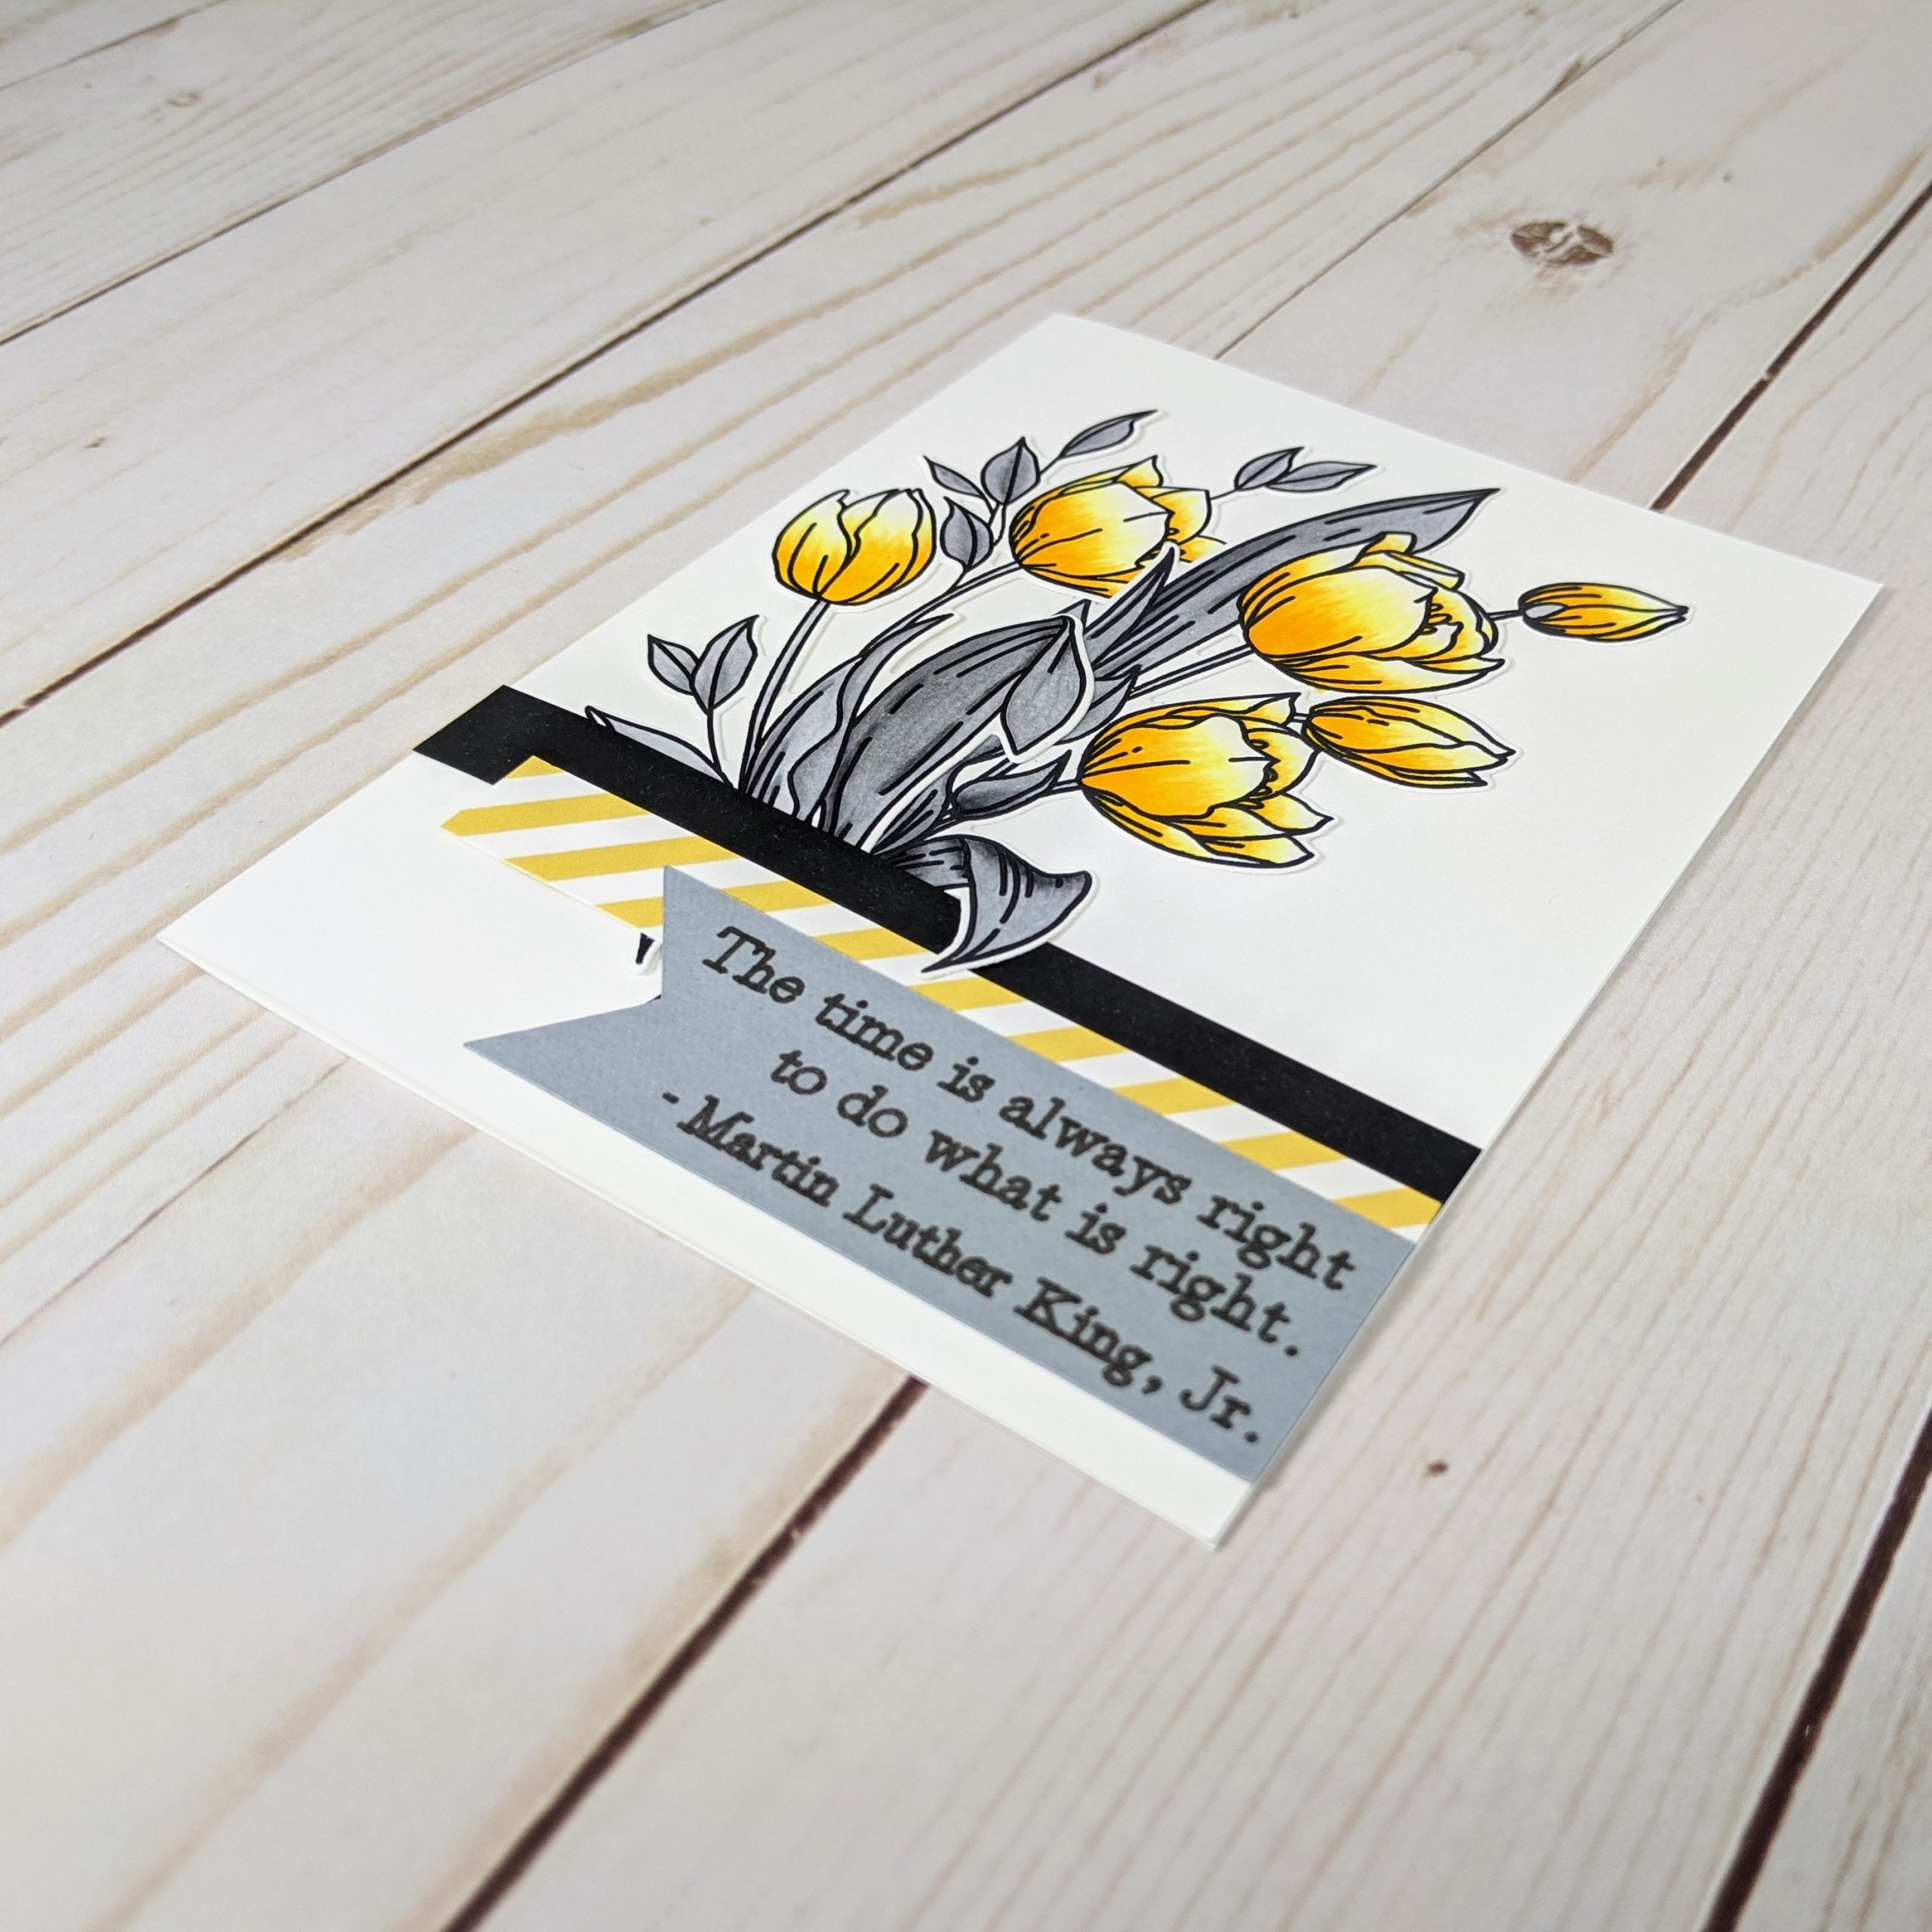
I wanted to add some 1/2 inch strips of cardstock to the bottom of my card design. I didn’t have any black paper that matched the tone of the neutral Copic markers used, so I ended up taking a strip of Neenah Solar White cardstock and coloring it with my N8 Copic marker. I also grabbed some yellow striped cardstock leftover from a previous project. Since the flower bouquet is offset to the left of the card I wanted my yellow cardstock to fall to the right to balance everything out.
Step 6. Add the sentiment.
Lastly, I added the sentiment. I created the sentiment using my Cricut machine to cut out the banner, and my Cricut Markers to draw the words onto the banner. The sentiment reads “The time is always right to do what is right.” by Martin Luther King Jr. I placed the final sentiment on the lower right-hand side of the card overlapping the yellow striped cardstock.
I hope you enjoyed this tutorial. If you like this tutorial and you’d like to see more coloring tutorials check out my Copic tutorials here, or my Polychromos pencil tutorials. You can also find me on Instagram, Facebook or Pinterest for the latest updates! You can also shop all the handmade cards that I’ve designed here.
7 comments
This is amazing!! Absolutely beautiful colour choices and the quote makes the perfect sentiment!
Your card is so very beautiful. Lovely use of colours and a great quote for the sentiment.
This is stunning and that quote is perfect!
Love your tulips and love you sentiment.
Beautiful card, in great colourcombination; with a great sentiment – perfect for this important blog hop !
Love the color combination on your card. The tulips are beautiful!
Such a stylish and gorgeous card! Hopping along!